
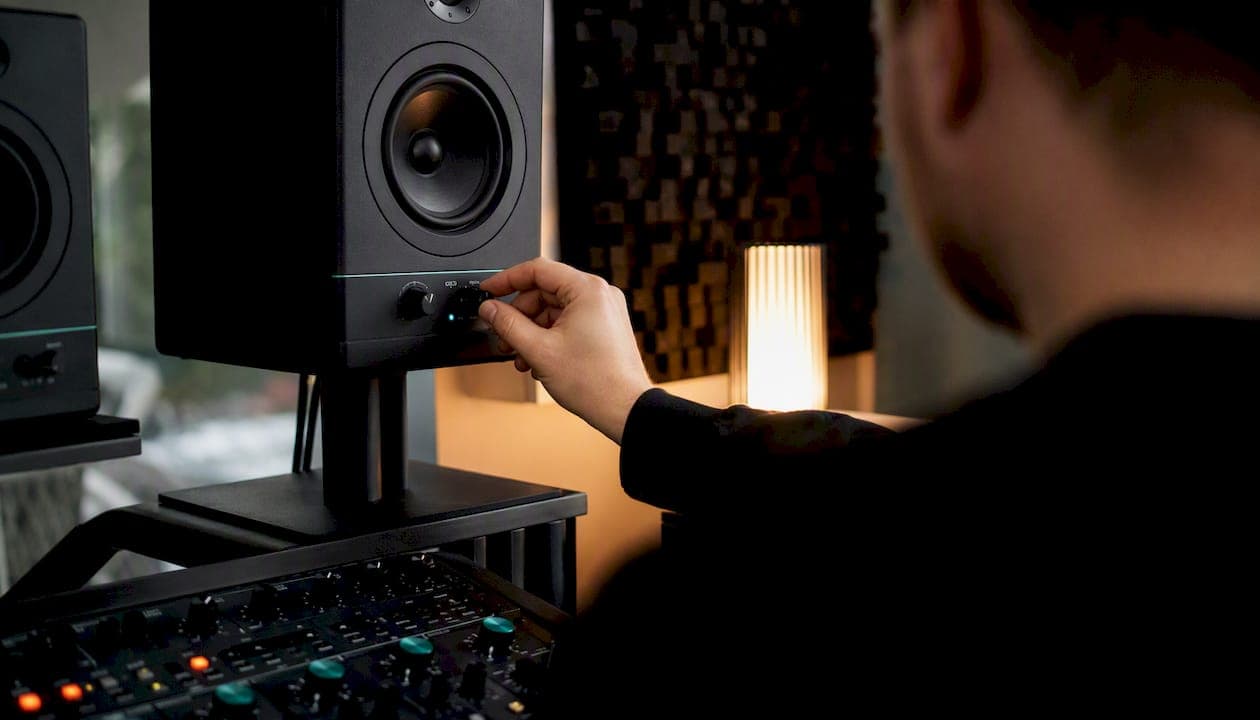
Here's the fastest route to a mix that holds up everywhere: run every mix through a repeatable QA pass that combines volume-matched reference tracks, a properly calibrated main monitor setup, a couple of cheap consumer speakers, a mono check, and one last listen at low volume before you call it done. Do those five things in order and most translation problems reveal themselves before a listener ever hears them.
Here's your in-session checklist:
- Reference first — load a commercial track in the same genre and volume-match it to your mix before you touch another fader.
- Check on calibrated monitors — confirm your main speakers are placed and (ideally) measured correctly, so what you hear is the mix, not the room.
- Switch to a consumer speaker — a MixCube, a Bluetooth speaker, or a laptop, whatever's within arm's reach.
- Collapse to mono — if the vocal or kick disappears or thins out, you've found your problem.
- Finish at low volume — a mix that still sounds balanced quietly will hold together on almost anything.
Pro Tip: Run this whole checklist in under ten minutes, twice per session, once around the halfway point and once before you export. Catching a masking problem at minute 90 costs you five minutes. Catching it after the client's heard the "final" mix costs you the client's confidence.
Key Takeaways
A reliable QA routine, volume-matched references, calibrated monitors, a mono check, and low-volume auditioning, is what makes a mix translate consistently across speakers.
| Point | Details |
|---|---|
| Run the five-step checklist every session | Reference, calibrate, consumer speaker, mono check, low-volume listen, in that order. |
| Mono reveals what stereo hides | Phase issues and masking that survive stereo playback often collapse a mix in mono. |
| Keep cheap speakers in the studio | A Logitech S120 pair and an Avantone Active MixCube each expose different weaknesses fast. |
| Fix translation with subtraction, not addition | High-pass filtering, subtractive EQ, and saturation preserve clarity better than boosting. |
| Automated feedback speeds triage | AubioMix flags mono collapse, masking, and harshness so you know where to listen first. |
Table of Contents
- What is mix translation, and why do mixes fail across speakers?
- How do you choose and use reference tracks effectively?
- How do you calibrate your listening environment and monitors?
- Which consumer speakers should you keep in your studio?
- Which mixing techniques actually improve cross-speaker translation?
- Which levels and loudness targets keep playback consistent?
- What's a practical QA workflow for testing a mix across systems?
- What tools help diagnose translation problems mid-session?
- How does automated mix feedback speed up the translation check?
- Get flagged translation issues before your listeners do
- Frequently asked questions
- Sources
What is mix translation, and why do mixes fail across speakers?
Mix translation is the degree to which a mix keeps its balance, clarity, and emotional impact when it moves from your studio monitors to a phone speaker, a car stereo, or a pair of earbuds. It's less a technical spec and more an assurance: the song should hit the same way on a tinny laptop speaker as it did when you finished it at 2am in a treated room. As Gray Spark puts it, translation is about preserving that emotional consistency, not just matching a frequency curve.
Most translation failures trace back to a handful of usual suspects. Your room colours what you hear, adding or subtracting bass depending on where your desk sits relative to the walls. Your monitors have their own frequency personality. Your mix might have phase issues invisible in stereo but devastating once summed to mono. Loudness and dynamic range choices that feel right on big speakers can crush or bury detail on small ones. And there's masking, where two or three elements fight for the same frequency space and only one wins once you're not on a full-range system anymore.
Picture a mix that sounds enormous on your monitors, with a deep sub-bass and airy top end. Play it on a phone and the sub disappears entirely (phones can't reproduce it), the vocal suddenly feels buried because it was relying on space the low end was occupying, and the whole track feels thin and disconnected.
Now flip it: a mix that's bright and exciting on a phone turns harsh and fatiguing in a car, because the car's system emphasises the same 3 to 5kHz region your vocal EQ was already pushing.
A mix that translates well isn't a mix that sounds identical everywhere. It's a mix where the important parts, the vocal, the groove, the hook, survive no matter what's playing them back.
Understanding these failure points is what makes the checklist make sense. Every step exists to catch one of them before your listener does. If you want the fuller breakdown of why speakers render mixes so differently, this guide on why mixes sound different across systems goes deeper into the room and monitor side of the equation.
How do you choose and use reference tracks effectively?
Pick references that share your genre, your target loudness, and ideally a similar arrangement density, then volume-match them obsessively. A pop reference tells you nothing useful about a doom metal mix, and a reference that's 6dB louder than your rough mix will always sound better purely because loudness is deceptive to the ear. SoundGym's breakdown calls consistent, volume-matched A/Bing the single most powerful habit you can build for improving translation, and it's hard to argue otherwise once you've felt the difference it makes.
Here's a workflow that works in almost any DAW:
- Import two or three commercially released references into your session on their own track, muted by default.
- Level-match them to your rough mix using a loudness meter, not by ear, so you're comparing tone and balance rather than volume.
- A/B at fixed intervals, every 15 to 30 minutes rather than constantly, so your ears don't fatigue and stop hearing differences accurately.
- Switch sections, comparing your chorus to their chorus, your verse to their verse, rather than jumping between a build and a drop.
- Listen specifically for low end and vocal presence, the two elements that shift most dramatically between playback systems.
Pro Tip: Use match EQ and headphone correction (tools like SoundID or Realphones) as diagnostic toggles during this process, not permanent fixes. Flip correction on, note what jumps out, flip it off, and make the adjustment yourself with your ears. Baking correction curves directly into your mix bus tends to overcorrect for problems only your specific headphones have.
How do you calibrate your listening environment and monitors?
Start with placement before you spend a penny on software. Your monitors should form an equilateral triangle with your listening position, sit at ear height when you're seated, and ideally be pulled away from walls and corners where bass builds up unnaturally. A quick physical checklist covers most of the low-hanging fruit:
- Monitors and ears form a triangle, tweeters roughly level with ear height.
- At least 30 to 50cm of clearance from the back wall to reduce boundary bass buildup.
- Symmetrical room treatment, or at minimum, symmetrical furniture either side of your desk.
- Something absorptive at the first reflection points on the side walls.
- Bass trapping in corners if low-end judgement has always felt unreliable.
Once placement is sorted, it's worth knowing whether your ears are being lied to by the room itself. A basic SPL check and a frequency sweep (many DAWs and free plugins can generate one) will tell you if there's an obvious peak or null around your mix position. If you keep hearing the same complaint, a mix that's bass-heavy everywhere else, or thin everywhere else, that's usually the room talking, not your ears.
This is where measurement-based correction earns its keep. Software like Sonarworks Reference uses a calibrated microphone to map your room's actual frequency response, then applies corrective EQ so what you hear is closer to a neutral signal. It won't fix bad monitor placement or physical room modes on its own, but it takes a genuinely wonky room from unreliable to workable.
Here's how the main monitoring options stack up against each other:
| Monitoring Option | What It Reveals | Price/Affordability | Convenience |
|---|---|---|---|
| Untreated studio monitors | Raw signal plus room colouration | Already owned, no extra cost | Always on, but judgement can be misleading |
| Measurement + correction software (e.g. Sonarworks Reference) | True frequency response after room correction | Mid-range one-off cost | Set up once, runs continuously in-session |
| MixCube-style single speaker | Midrange clarity, vocal presence | Affordable, one-time purchase | Fast in-session A/B, not a final check |
| Budget consumer speakers (e.g. Logitech S120) | How mixes sound to most real listeners | Very low cost | Instant toggle, ideal for quick reality checks |
None of these replace the others. Correction software fixes your reference point. A MixCube and a pair of consumer speakers tell you how the mix behaves once it leaves your calibrated bubble entirely.
Which consumer speakers should you keep in your studio?
Three cheap additions to your setup will do more for translation than another plugin purchase ever will: a pair of budget computer speakers, a mid-focused single-driver speaker, and a small Bluetooth unit. Each one exposes a different weakness.
Logitech S120 speakers cost next to nothing and sound exactly like what most casual listeners actually own. Wiring a pair into your interface's second output, or even running them straight off a laptop headphone jack, makes it effortless to flip over and hear your mix the way most real-world listeners will. They're brutally revealing about anything that relied on deep bass or extended top end to sound good.
An Avantone Active MixCube, or similar mid-focused reference speaker, works differently. It deliberately narrows the frequency range to emphasise the midrange, which is exactly where vocal intelligibility and instrumental clarity live. Black Ghost Audio notes that a single MixCube-style speaker communicates relative balance information that's genuinely hard to judge on full-range monitors, because full-range monitors are busy flattering you with detail a phone speaker will never reproduce.
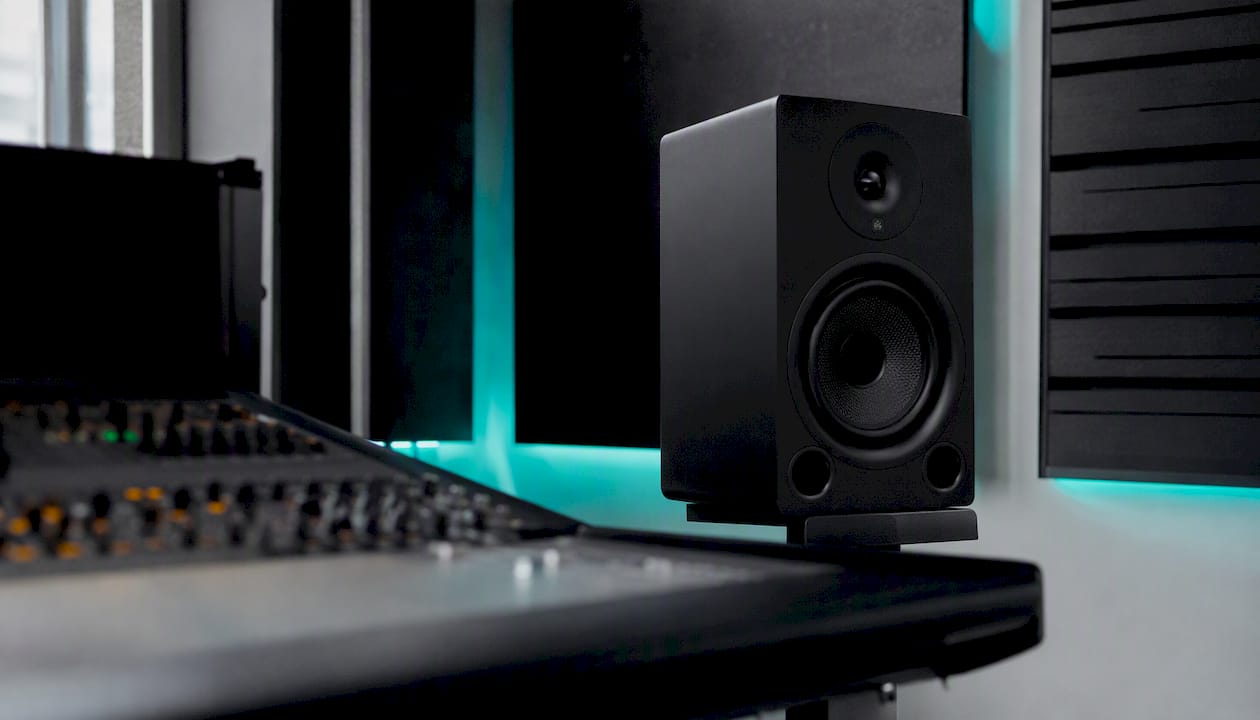
A small Bluetooth speaker rounds things out, since it introduces its own compression, its own wireless latency quirks, and its own bass hump or dip depending on the model. It's the closest thing in your studio to how a mix sounds blaring from someone's kitchen counter.
Wiring these up doesn't need to be complicated. Most audio interfaces support a second monitor output you can switch with a single button or a control room knob. If yours doesn't, a simple analogue switcher or even a manually swapped headphone cable into a Y-splitter gets you there for a few pounds.
Pro Tip: Keep one consumer speaker permanently powered and connected, even mid-session, purely for intermittent glances. You don't need a formal A/B every time. Sometimes just catching a passing snippet of your mix on the MixCube while you're reaching for a coffee tells you something your focused studio-monitor listening missed entirely.
Which mixing techniques actually improve cross-speaker translation?
Translation problems get fixed at the mixing stage, not the mastering stage, and most of the fixes are less glamorous than producers expect. They're subtractive, structural, and often invisible until you've collapsed the mix to mono or dropped it through a lo-fi speaker.
Start with a mono check
Summing your mix to mono is the single most revealing diagnostic you can run, and it's the one most producers skip. SoundGym's research points out that mono checking exposes phase problems and frequency masking that stay hidden in stereo, and because a huge number of consumer playback systems, laptop speakers, phones held to an ear, and plenty of cheap Bluetooth units are effectively mono, a mix that falls apart in mono predicts real-world translation failure with uncomfortable accuracy.
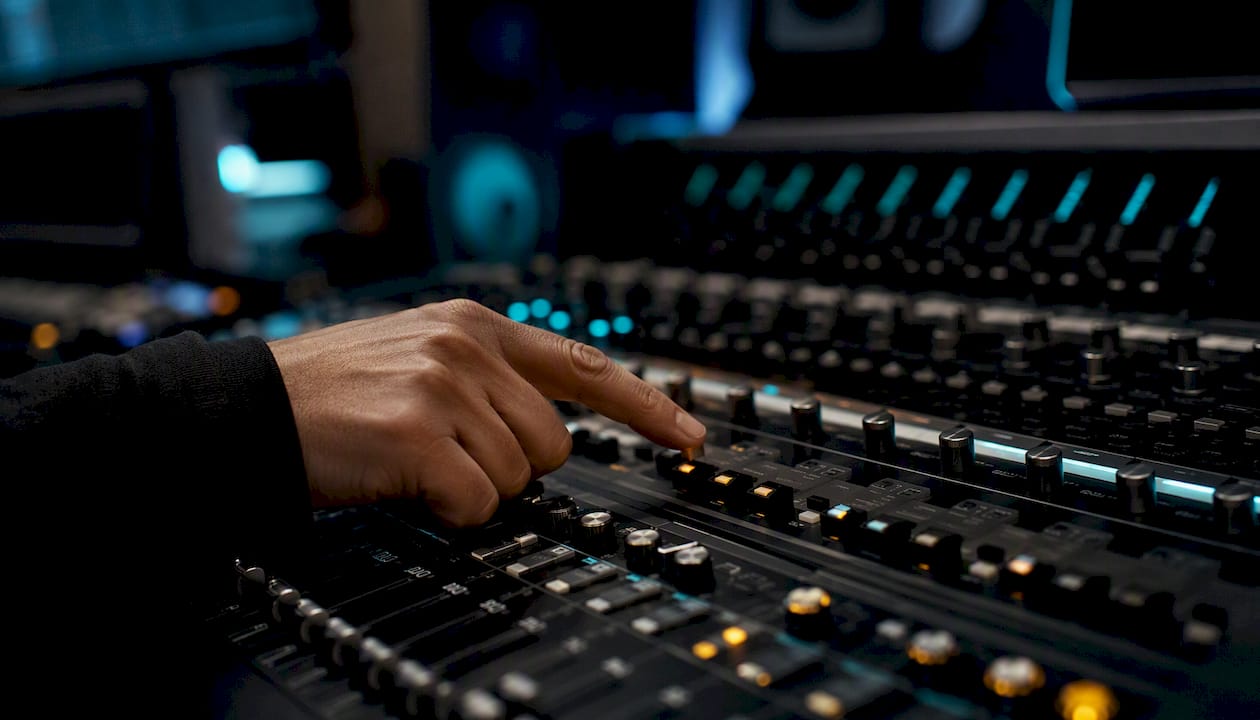
Run the mono check by flipping a mono/stereo button on your master bus, or by summing both channels through a utility plugin. Listen for anything that noticeably thins out, disappears, or develops a hollow, phasey quality. Double-tracked guitars, wide synth pads, and heavily processed stereo reverbs are the usual culprits. If an element vanishes in mono, check its phase relationship to anything panned similarly, and consider narrowing its stereo width slightly rather than abandoning the effect entirely.
Get subtractive with your EQ
Cutting rather than boosting is what actually clears space in a busy mix. Audio Issues treats subtractive EQ and filtering as standard corrective moves precisely because most muddiness comes from too much information competing in the low-mids, not from a lack of brightness anywhere.
A sensible default policy: high-pass almost everything that isn't the kick or bass, somewhere between 80 and 150Hz depending on the instrument, to strip out rumble that's doing nothing but eating headroom. Then hunt for the 200 to 500Hz zone on your fuller elements, guitars, pianos, pads, where boxiness and mud tend to accumulate, and make targeted narrow cuts rather than broad shelving moves. The goal is a midrange that stays clear without sounding thin, because that midrange is exactly what survives on a phone speaker or car dashboard unit.
Fix masking with slotting, mid/side, and dynamics
When two instruments occupy the same frequency range at the same time, one of them loses on a small speaker even if both sound fine on full-range monitors. Frequency slotting, deciding in advance which instrument owns which range and carving space in the other to make room, solves this at the source rather than trying to EQ your way out of it afterwards.
Mid/side processing gives you another lever: narrowing low-frequency content to mono in the sides while keeping width in the highs keeps your low end translatable without sacrificing the sense of stereo space up top. Common mid/side mixing mistakes is worth a read if you're new to this, since it's easy to overdo and end up with a hollow-sounding centre.
Sidechain compression, ducking a bass or pad slightly whenever the kick hits, keeps your low end from turning into an undefined blur on speakers that can't separate closely stacked low frequencies. Transient shaping on drums and plucked instruments adds punch that survives compression and small drivers, since transients are what your ear uses to identify an instrument even when the sustain gets lost.
Use saturation to add presence, not distortion
A touch of harmonic saturation on a vocal, bass, or drum bus generates upper harmonics that remain audible even when a cheap speaker can't reproduce the fundamental frequency cleanly. This is genuinely one of the more underrated fixes: instead of boosting a frequency that a small driver physically can't produce, saturation creates new, higher-frequency content that the same driver handles easily.
- Try a light saturation plugin on your bass bus if it disappears on phone speakers; the added harmonics give the ear something to latch onto even without the fundamental.
- A subtle saturation pass on a lead vocal can push it forward on cluttered mixes without reaching for another dB of level.
- Avoid stacking saturation on every bus. Two or three targeted instances beat a blanket approach that muddies the whole mix.
Picture a bass-heavy dance track that sounds powerful on club speakers but vanishes on a phone. Adding saturation to the bass bus, rather than simply boosting 2kHz, gives the phone something audible to work with, and the mix keeps its low-end character even where the sub itself can't physically play.
Pro Tip: Build yourself a "translation template", a saved chain of a high-pass filter, a gentle mid-scoop EQ, and a light saturation plugin, that you can insert on your master bus temporarily as a diagnostic. It's a rough approximation of a cheap speaker's limitations and it's much faster than bouncing a file to actually test on one every time.
Which levels and loudness targets keep playback consistent?
Headroom discipline on your mix bus matters more than most producers give it credit for. Leaving around 6dB of headroom before your master fader hits 0dB gives streaming platforms and consumer devices room to apply their own gain and limiting without introducing clipping or unpleasant distortion on the playback end.
- Leave headroom on the mix bus, roughly 6dB below 0dB, so downstream processing on phones and streaming platforms doesn't clip.
- Volume-match every reference comparison, since louder always sounds better regardless of actual quality, and mismatched levels are the most common source of false confidence in a mix.
- Test at low listening volume, because the Fletcher-Munson equal-loudness curves mean your ear perceives bass and treble differently depending on how loud you're monitoring. A mix that holds its balance quietly is far more likely to translate.
- Trust LUFS over peak meters for judging perceived loudness, and use true peak metering specifically to catch inter-sample clipping before it reaches a streaming platform's own limiter.
Getting these levels right in the first place saves a lot of the corrective mixing described above. Balancing levels properly is one of those fundamentals that pays off every time you sit down to check a mix on a new system.
What's a practical QA workflow for testing a mix across systems?
Run your checks in a deliberate order, because fixing things in the wrong sequence wastes time reworking decisions you'll undo two steps later.
- Studio monitors first (2 to 3 minutes) — confirm the mix sounds intentional and balanced in your primary, calibrated listening environment.
- Mono check (1 minute) — collapse to mono and listen for anything that thins, disappears, or turns hollow.
- MixCube, phone, or laptop speaker (2 minutes each) — check vocal presence and whether the low end survives in some translated form.
- Car or a larger consumer system (5 to 10 minutes, best done away from the desk) — Audio Issues recommends at least three distinct systems in any check, and a car stereo behaves differently enough from a laptop speaker that it catches problems the others miss.
- Headphones last (3 to 5 minutes) — useful for catching panning extremes and stereo issues, though headphones can flatter detail that won't survive on speakers.
Fix problems in priority order rather than chasing everything you notice. Balance and masking issues come first, since they affect whether the song is even listenable. Spectral problems, harshness, muddiness, thin top end, come second. Stereo width and dynamic polish come last, because they're the things a casual listener is least likely to consciously notice.
A rough prioritisation matrix helps here: anything that makes an element inaudible or distractingly loud is essential and gets fixed immediately. Anything that's merely "could be a bit better", a touch more brightness, marginally tighter stereo image, is cosmetic and can wait until the essential fixes are locked in. Chasing cosmetic details before the essential ones are solved is one of the most common ways producers burn an entire evening without actually improving the mix.
What tools help diagnose translation problems mid-session?
A handful of plugins exist specifically to simulate or expose translation problems rather than to shape tone, and treating them as diagnostic toggles rather than permanent processing keeps you from overcorrecting for a single playback scenario.
- Headphone correction (SoundID Reference, Realphones) — toggle it on and off during playback to reveal frequency problems that are invisible in a single listening mode, a habit Sound On Sound specifically recommends as a diagnostic step.
- Spectral analysers — useful for spotting masking visually when your ears are fatigued, though they should confirm what you hear, not replace listening.
- Transient designers — help you check whether percussive elements retain their punch after the EQ and compression moves you've made elsewhere in the chain.
- Saturation or "grotbox" emulators — inserted at the very end of the mix bus, these simulate the harmonic limitations of a lo-fi speaker faster than bouncing a file and playing it back on an actual cheap device.
The discipline that matters more than any individual tool is remembering these are checks, not fixes. Flip on headphone correction, note the problem, flip it off, and solve it manually with an EQ move or a level adjustment. Leaving these processes engaged permanently on your mix bus tends to overcorrect for whatever gear happens to be plugged in that day, which defeats the purpose of checking for translation in the first place.
How does automated mix feedback speed up the translation check?
A typical session with automated analysis looks something like this: you upload a mix, and within minutes you get back a flagged list, perhaps the mix loses low-end weight when summed to mono, a vocal is getting masked by a synth pad around 2 to 3kHz, or the high end turns harsh once you factor in how consumer speakers typically render that range. Each flag comes with a specific, actionable suggestion rather than a vague "needs work".
This doesn't replace the listening habits described above. It compresses them. Instead of manually running every check across every system before you even know where to look, an automated pass gives you a prioritised starting point, so your ear time goes toward the two or three genuine problems rather than a blanket re-listen to everything.
The value isn't in replacing your ears. It's in telling you where to point them first, so a 90-minute QA pass becomes a focused 20-minute one.
That triage function matters most for producers working solo, without a second engineer or a mentor to catch the mono collapse they've stopped hearing after eight hours in the same room. Progress tracking over multiple mixes adds another layer: if the same masking issue keeps appearing across three separate songs, that's a pattern worth addressing at the source, in your arrangement or your EQ habits, rather than patching individually every time. Reports of this kind typically arrive as a visual breakdown alongside written notes, similar to a sample analysis dashboard, which makes it easier to see at a glance which frequency range or stereo issue needs attention before you go hunting manually.
Small habit changes that made my mixes translate
The biggest shift wasn't a new plugin. It was adding a genuine ten-minute QA routine to the end of every session, no exceptions, even when the mix felt finished. Before that habit, translation problems only showed up once a track was already out, which is the worst possible time to discover them.
One habit above the rest: mono-check twice per session, once at the halfway point and once right before export. It catches phase and masking issues while there's still time to fix them properly, rather than papering over them under deadline pressure.
If you take one thing from this and use it today, make it that. Collapse to mono, right now, on whatever you're currently mixing, and just listen.
Get flagged translation issues before your listeners do
Running the full checklist above by ear, every session, on every mix, takes real time, and most of us don't always catch our own mono collapse or a masked vocal after hours of listening to the same sixteen bars. AubioMix gives you a faster first pass: upload a mix and get back a flagged breakdown covering translation risks like mono collapse, frequency masking, and harshness that turns unpleasant on smaller speakers, alongside specific suggested fixes for each one.

Two ways producers actually use it: a quick pay-as-you-go upload when you just need a translation sanity check before sending a mix to a client, no subscription needed. Or, if you're mixing regularly, a subscription that tracks your reports over time, so recurring issues (that same masking problem on every track, for instance) become visible as a pattern rather than a one-off surprise. Either route gets you a written and visual report you can act on immediately, or hand straight to a client as proof of the work. Head to the full mix analysis platform to see a sample report and try it against your next mix, or look at a real analysed track to see what a flagged report actually looks like.
Frequently asked questions
What does it mean to improve mix translation across speakers? It means your mix keeps its balance, clarity, and impact whether it's played on studio monitors, a phone, a car stereo, or cheap earbuds, rather than sounding great in one place and falling apart everywhere else.
How often should I check my mix on different speakers? Twice per session is a realistic minimum, once around the halfway point and once before final export, plus a quick glance on a consumer speaker whenever you pass by one.
Do I need expensive monitors to get good translation? No. A calibrated pair of mid-range monitors, correctly placed, paired with a cheap consumer speaker and a MixCube-style unit for contrast, will get you further than expensive monitors alone.
Why does my mix sound fine on headphones but bad on speakers? Headphones flatter stereo width and detail in ways speakers can't reproduce, and they bypass the room entirely, so a mix can hide phase and masking problems that a mono-summing speaker exposes immediately.
Is Sonarworks Reference necessary for good translation? It's genuinely useful if your room has an untreated or awkward frequency response, since it corrects for that colouration, but it works best alongside proper monitor placement and multi-speaker checks, not as a replacement for them.
Sources
A few sources are worth bookmarking alongside this guide. Sound On Sound covers grotbox and headphone-correction diagnostics in more technical depth. SoundGym is strongest on reference-track discipline and low-volume monitoring habits. Black Ghost Audio has the clearest breakdown of budget monitoring hardware. Audio Issues is best for the multi-system testing routine, and Gray Spark frames the concept itself for anyone still building intuition around why translation matters.
- Tips To Help Your Mix Translate
- Why your mix sounds great in studio but bad elsewhere
- How to Make Your Mixes Translate to Consumer Speakers
- Tips and tricks on making your mixes translate to other speakers
- What is mix translation? Why sound engineers are obsessed with it?