
Structuring a mixing session is the practice of organising your DAW environment, signal routing, track layout, and workflow sequence before a single fader moves. A well-organised session with templates and bus routing lets engineers begin mixing within five minutes of opening a project. That speed comes from decisions made in advance, not talent applied in the moment. The core tools are DAW templates, consistent naming conventions, submix buses, and proper gain staging. Get these right and your audio mixing workflow stops feeling like archaeology and starts feeling like craft.
How to structure a mixing session with a DAW template
A DAW template is the foundation of every repeatable mixing session. Rather than rebuilding your session from scratch each time, a template gives you a pre-wired starting point with tracks, buses, and effects already in place. Think of it as your mixing studio, set up and ready to go the moment you walk in.
Start by planning your track layout in zones. Group your session into logical instrument families:
- Drums and percussion: kick, snare, hi-hats, overheads, room mics, and a drum bus
- Bass: DI and amp tracks routed to a bass bus
- Guitars and keys: separate submix buses for each instrument group
- Vocals: lead, backing, and doubles, all feeding a vocal bus
- Effects returns: dedicated aux channels for shared reverb and delay
Within each zone, create and name every track with consistent colour coding. Drums might be orange, bass yellow, guitars blue, and vocals green. This visual language becomes second nature quickly, and it pays dividends when you are deep in a session at 2am. Colour coding by instrument group, rather than by mood or section, offers the clearest navigation in large track counts.
Load your utility plugins on each bus in a bypassed state. A gain trim plugin, a spectrum analyser like FabFilter Pro-Q 3, and a bus compressor such as the SSL G-Bus Compressor can all sit dormant until needed, ready to be activated without interrupting your creative flow. Pre-routing reverb and delay as aux sends rather than insert effects manages mix space and CPU usage far more efficiently than inserting them per track.

Build genre variants of your template. A template for a dense hip-hop production will look different from one for a sparse acoustic folk record. Having two or three genre-specific starting points saves meaningful setup time. Finally, place timeline markers for every song section, verse, chorus, bridge, and outro, so you can jump between sections instantly during recall or revision.
Pro Tip: Save your template with a master bus chain already loaded. A metering plugin, a gentle broad EQ, a transparent compressor, and a true-peak limiter give you a controlled, professional signal path from the very first play-through.
How should you organise tracks for faster navigation?
Consistent track organisation is the single biggest time-saver in any audio mixing workflow. Disorganisation slows the mixing process exponentially, and the fatigue that comes from hunting for a mislabelled track is real and cumulative. Clear, descriptive names and a logical visual system eliminate that friction entirely.
Avoid generic labels like "Audio 01" or "Track 3." Instead, use names that describe the instrument and its role: "Kick In," "Snare Top," "Lead Vox," or "Gtr Riff R." When you return to a session after a break, or hand it off to another engineer, these names communicate instantly. Consistent naming conventions with version control accelerate collaboration and prevent costly errors. A format like "[TYPE][DESCRIPTION][VERSION]` works well for both audio files and session backups.
Order your tracks logically according to signal path and frequency balance. Low-frequency instruments sit at the top of the session, high-frequency elements towards the bottom, mirroring the way a mixing console is traditionally laid out. This frequency-aware ordering makes it easier to spot spectral clashes visually before you even hear them.
Use folders or track stacks to collapse and expand instrument groups. In Ableton Live, Logic Pro, and Pro Tools, grouping tracks into folders lets you hide an entire drum kit with a single click, keeping your session view clean during focused work on vocals or guitars.
Here is a quick reference for track organisation best practices:
| Practice | Why it matters |
|---|---|
| Descriptive track names | Eliminates confusion during recall and collaboration |
| Colour coding by instrument group | Speeds up visual navigation in sessions with high track counts |
| Frequency-ordered track layout | Mirrors console workflow and reveals spectral balance at a glance |
| Folder or stack grouping | Reduces visual clutter and speeds up focused editing |
| Timeline section markers | Enables instant navigation between song sections |
| Versioned session saves | Protects against data loss and supports iterative improvement |
Place timeline markers at every structural boundary in the song. Label them clearly: "Intro," "Verse 1," "Pre-Chorus," "Chorus 1," and so on. In Pro Tools, Logic Pro, and Reaper, markers are keyboard-shortcut accessible, meaning you can jump to the chorus in under a second rather than scrubbing through a waveform.
What is gain staging and why does it matter for mixing?
Gain staging is the practice of setting appropriate signal levels at every point in your signal chain before applying any processing. Tracks should be gain staged to peaks between -12 and -6 dBFS before insert plugins to maintain headroom and prevent clipping. This is not a rule of thumb. It is the difference between a mix that breathes and one that fights you at every stage.
When individual tracks arrive too hot, every plugin in the chain receives an overloaded signal. Compressors behave unpredictably, saturators clip unintentionally, and EQs boost frequencies that are already congested. A gain trim plugin such as Trim in Pro Tools or a simple utility gain plugin in Ableton Live inserted at the top of each channel strip solves this before it becomes a problem.
Route every instrument track to its corresponding submix bus before the master bus. Drums feed the drum bus, vocals feed the vocal bus, and so on. Grouping instruments into submix buses with send and return effects reduces fader and plugin overload while preserving mix clarity. This architecture also gives you a second tier of dynamic control, where bus compression on the drum bus glues the kit together before it even reaches the master.
"A mix engineer's sweet spot in gain staging preserves dynamic control and avoids fader creep that limits expressive mixing." — Beat Kitchen
Set up your aux returns for shared reverbs and delays at the start of every session. A single plate reverb on an aux return, fed by sends from multiple vocal tracks, sounds more cohesive than six separate reverb instances and uses a fraction of the CPU. Monitor your master bus levels carefully and set a LUFS target appropriate to your delivery platform. Spotify targets around -14 LUFS integrated, Apple Music around -16 LUFS, and YouTube around -14 LUFS. Knowing your target before you start mixing shapes every level decision you make.
Pro Tip: Insert a LUFS metering plugin such as Youlean Loudness Meter on your master bus from the very start of the session. Watching integrated loudness build as you work prevents the common mistake of mixing too loud and losing dynamics before mastering.
What is the step-by-step workflow for an effective mixing session?
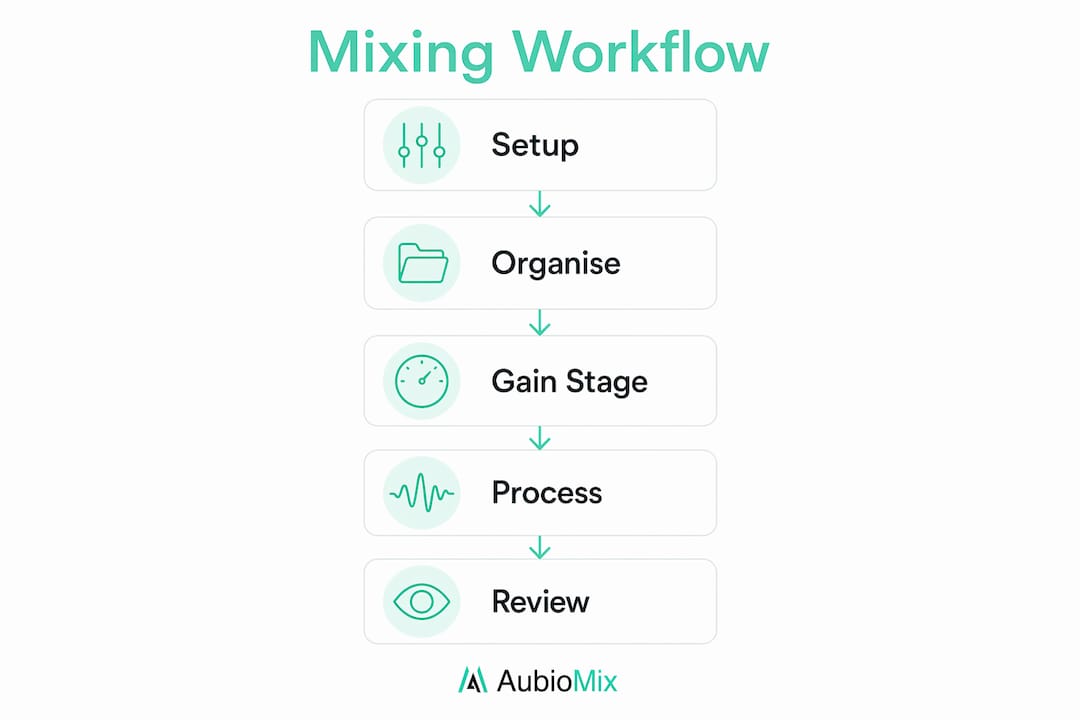
A structured mixing session follows a repeatable sequence. Deviating from this order is where most mixes go wrong, not because of bad ears, but because of premature decisions. A typical mixing workflow includes session cleanup, static balance, EQ, compression, effects, bus processing, automation, and translation checks. Here is how to execute each stage:
-
Initial listen-through and session cleanup. Play the session from start to finish without touching a single control. Note problem areas, identify any misaligned or mislabelled tracks, and remove any duplicate or unused audio files. Export stems starting at bar 1 of the full song length to preserve alignment if you are receiving files from a producer.
-
Static balance. Set all faders and panning without any plugins active. This is your mix's skeleton. A good static balance means the song already sounds musical before a single EQ or compressor is applied. Spend real time here.
-
EQ pass. Work through each track and bus, cutting problem frequencies before boosting anything. High-pass filter everything that does not need low-end energy. Address masking between competing instruments, particularly in the 200Hz to 500Hz range where muddiness lives.
-
Compression pass. Apply dynamic control to individual tracks, then to buses. Compression on the drum bus with a slow attack and fast release adds punch. Vocal compression with a faster attack tames transients and seats the voice in the mix.
-
Effects sends. Dial in your shared reverbs and delays. Use pre-delay on vocal reverb, typically 20 to 40 milliseconds, to keep the dry signal upfront before the reverb tail blooms behind it. This separation is what gives a mix that lush, three-dimensional quality.
-
Bus processing and automation. Apply gentle processing to your submix buses, then write automation for level, panning, and effects sends across the song. Automation is what transforms a static mix into a living, breathing performance.
-
Translation checks. Play your mix on at least three different playback systems: studio monitors, headphones, and a small Bluetooth speaker or car stereo. Check mono compatibility by summing your mix to mono in your DAW. A mix that holds up in mono is a mix that translates everywhere.
-
Save a versioned session. Save your session with a new version number after every significant change. Formats like
MixName_v01,MixName_v02make it easy to roll back if a later decision proves wrong.
Pro Tip: Before your translation check, reference your mix against a commercially released track in a similar genre. Load it into your DAW at a matched loudness level and A/B between the two. The gaps you hear are your mixing session checklist for the next revision.
Key takeaways
A well-structured mixing session built on a reusable DAW template, consistent track organisation, correct gain staging, and a disciplined workflow sequence produces better mixes in less time, every single session.
| Point | Details |
|---|---|
| Build a reusable DAW template | Pre-wire buses, colour coding, and bypassed plugins to start mixing within minutes. |
| Organise tracks with clear names and colours | Descriptive names and instrument-group colour coding eliminate navigation friction. |
| Gain stage before any processing | Set track peaks between -12 and -6 dBFS to preserve headroom throughout the chain. |
| Follow a fixed workflow sequence | Move from static balance through EQ, compression, effects, and automation in order. |
| Check translation and save versions | Test on multiple playback systems and save versioned sessions after every major change. |
Why your template is never truly finished
Here is something I have come to believe strongly after working with hundreds of mixing sessions: the engineers who mix fastest are not the ones with the most plugins. They are the ones with the most honest templates.
Template drift is a real and frustrating problem. You build a great template, use it for six months, and then realise you have been deleting half the tracks at the start of every session because your workflow has evolved. Templates should be treated as living documents, updated regularly to reflect your actual session habits and the plugins you genuinely reach for. If you have not opened that vintage tape emulator in three months, pull it from the template.
I recommend keeping a simple log, even a text file, of what you add, remove, or change in each session. After ten sessions, patterns emerge. You will notice you always add a specific saturation plugin to the drum bus, or that you never use the default reverb you loaded. Those observations are your template's next update.
The balance between consistency and flexibility matters too. A template that is too rigid forces you to fight it on unusual projects. A template that is too loose offers no real time saving. The sweet spot is a template that handles 80% of your setup automatically, leaving the remaining 20% for the creative decisions that make each mix unique. That is where the mix engineer workflow becomes genuinely personal rather than mechanical.
Investing time upfront on organisation is not a luxury. In professional mixing environments, session recall, client revisions, and tight deadlines make a well-maintained template the difference between a smooth delivery and a stressful one.
— AubioMix
Get objective feedback on every mix you make
Building a great session structure is only half the picture. Knowing whether your mix actually sounds right is the other half, and that is where objective feedback becomes genuinely useful.

Aubiomix is an online tool that lets you upload your audio file and receive detailed, pro-level feedback on your mix and master within minutes. Rather than guessing whether your low end is too heavy or your vocals are sitting too far back, you get specific, actionable mix evaluation based on a professional framework. It fits directly into your workflow between your translation check and your final version save, giving you a clear picture of what to address before you call a mix done. Try Aubiomix at aubiomix.com and hear the difference that structured feedback makes.
FAQ
What is the best way to structure a mixing session?
Start with a pre-built DAW template containing named tracks, colour-coded buses, and bypassed utility plugins. Follow a fixed workflow sequence from static balance through EQ, compression, effects, and automation before performing translation checks.
How should I set up gain staging in my mix?
Set individual track peaks between -12 and -6 dBFS before any insert plugins are active. Use a gain trim plugin at the top of each channel strip to correct levels without touching the fader.
How do I organise tracks for a faster audio mixing workflow?
Use descriptive track names, colour code by instrument group, order tracks by frequency range, and use folder or stack grouping to collapse sections. Place timeline markers at every song section for instant navigation.
Why should I use aux sends for reverb and delay?
Routing reverb and delay as aux send and return effects rather than inserts means multiple tracks share a single effect instance, saving CPU and creating a more cohesive, unified sense of space across the mix.
How often should I update my DAW mixing template?
Review and update your template after every ten sessions or whenever your workflow changes significantly. Removing unused plugins and adding tools you reach for consistently keeps your template accurate and genuinely time-saving.