
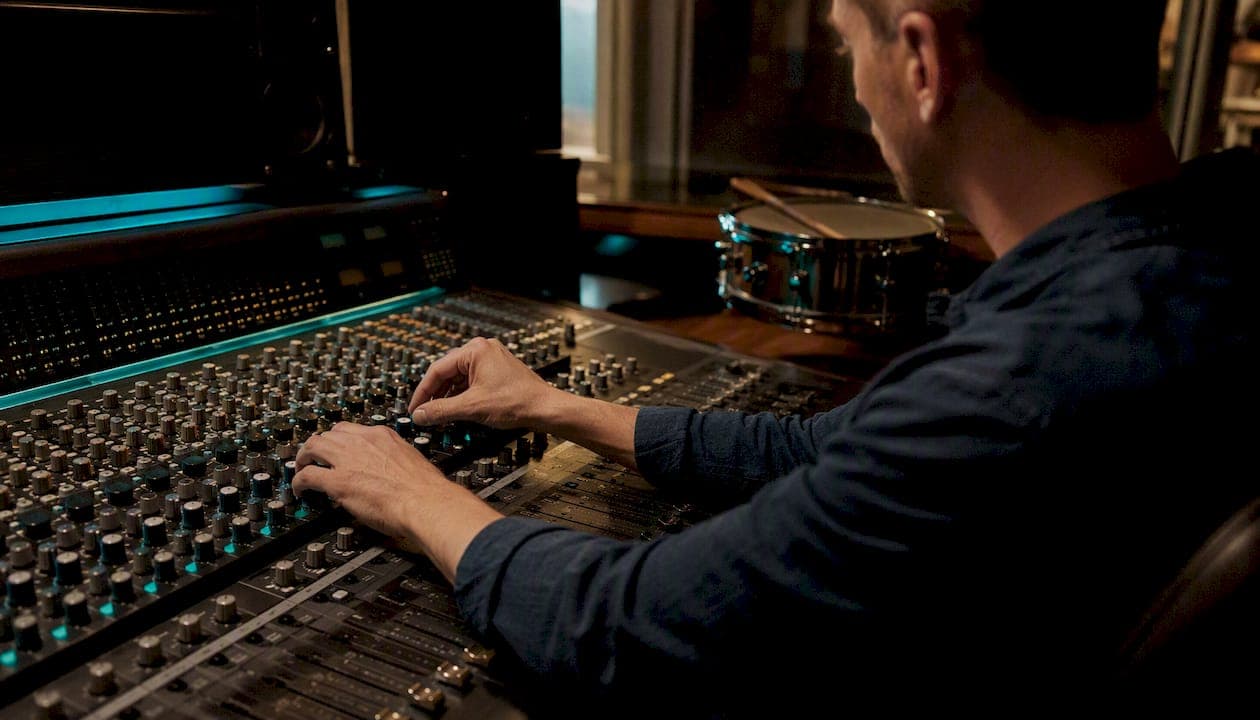
The snare is the backbeat and the biggest driver of energy in your mix after the kick, and it needs its own clear space in frequency, dynamics and stereo width to do that job properly. Get it wrong and the whole groove feels flabby or buried; get it right and the track lifts off. That's the rhythmic anchor role the snare plays in most Western popular music, sitting on beats two and four, and it's the reason so many mixes live or die on this one drum.
Before you touch a single plugin, run this two-minute check:
- Solo the kick and snare together and listen for phase cancellation or muddiness where they overlap.
- Check the snare's level against the kick. Most mixes want the snare felt as strongly as the kick, not hiding behind it.
- High-pass filter the snare somewhere between 60Hz and 100Hz to strip out rumble it doesn't need.
- Listen for whether the transient (the crack) or the body (the thump) is missing, because that tells you which processing chain to reach for first.
- Compare against a reference track in the same genre before you make a single EQ move.
Key Takeaways
The snare's role in any mix is to anchor the backbeat and drive energy, and it only does that job when phase, frequency balance and dynamics are all controlled together rather than fixed in isolation.
| Point | Details |
|---|---|
| Snare is the second-most-critical element | It anchors the backbeat on beats two and four and drives energy right after the kick. |
| Fix phase and levels before EQ | Most "won't sit" complaints are polarity or gain staging issues, not tonal problems. |
| Target the crack and body zones | Work the 100 to 250Hz body and 800Hz to 1.5kHz crack first, since they carry most of the tone. |
| Use parallel compression for density | Blend a heavily compressed aux under the clean signal to add weight without losing transient snap. |
| Keep the main hit centred | Pan supporting layers and room mics wide, but leave the primary snare transient dead centre. |
| Get a second opinion when stuck | AubioMix flags masking, dynamics and stereo issues automatically when your ears have hit a wall. |
Table of Contents
- What the snare's musical and sonic role actually is
- How does the snare interact with the kick and low end?
- What frequency zones matter most for snare EQ?
- How should you control snare dynamics and transients?
- How do you give the snare character without losing clarity?
- Why does snare choice and tuning matter before you mix?
- What's the ordered workflow for making a snare sit?
- How does snare treatment change across genres?
- What are the most common snare mistakes, and how do you fix them?
- How should the snare sit and move in the stereo field?
- Can automation improve how the snare behaves through a track?
- Our take on getting the snare right
- What to do when the snare still won't sit right
- Sources
What the snare's musical and sonic role actually is
The snare's musical job is to mark the backbeat, and everything else it does builds outward from that single function. In most four-four grooves, it lands on beats two and four, working against the kick to create the push-pull that makes people nod their heads. Ghost notes, rim clicks and accents around that backbeat add texture, but the core job never changes: it's the pulse that tells the listener where "two" is.
Sonically, the snare lives across three zones that matter for very different reasons. The body gives it weight and presence in the mix, roughly where a tom or a bass guitar might also sit. The crack is the transient, the stick hitting the head, and it's what cuts through a busy arrangement. The air is the shimmer of the wires and the room, and it's what makes a snare sound expensive rather than boxy.
A great snare sound is rarely built entirely at the mixing stage. As one production guide puts it, the instrument itself, the mic pairing, and the placement decisions made before a single fader moves usually account for more of the final tone than any EQ curve applied afterwards.
The snare also has to negotiate space with everything else fighting for the same real estate. Vocals often sit in a similar midrange pocket, hi-hats compete for the top end, and rhythm guitars can crowd the crack frequencies. Deciding what the snare is for in a given song, whether it's driving energy in a chorus or holding things back in a verse, determines how loud and how bright it needs to be relative to its neighbours.
How does the snare interact with the kick and low end?
Masking is the biggest practical problem in this relationship. The kick's beater click and the snare's low body both often park themselves somewhere in the 100Hz to 250Hz range, and when they overlap, you get a smeared low end that feels heavy but sounds unclear on smaller speakers. The fix starts with subtraction, not addition: find where each drum's fundamental sits and carve a small notch out of the one that matters less in that spot.
Phase is the sneakier culprit. If your snare's top and bottom mics, or your overheads, are even slightly out of alignment, you can lose punch without ever touching a fader. A quick polarity flip on the bottom snare mic, checked by ear while soloing kick and snare together, is one of the fastest wins available. Overhead mics picking up spill from both drums can cause the same cancellation, so nudging them or flipping polarity on one channel is worth trying whenever the combined kick and snare sound thinner than either drum does alone.
Pro Tip: Solo just the kick and snare, then flip the polarity on your snare bottom mic while listening on headphones. If the low end suddenly feels fuller and more solid, leave it flipped.
A few tactics solve most of these conflicts:
- High-pass filter the snare below 60 to 80Hz so it never competes with kick or bass fundamentals.
- Use a narrow EQ cut around the kick's dominant low frequency, applied to the snare, and vice versa.
- Try light sidechain ducking on the kick whenever the snare hits, which can clean up low-end congestion without any EQ at all.
- Align transients manually or with a transient-alignment tool if the kick and snare consistently arrive a few milliseconds apart.
- Reach for a transient shaper instead of heavier compression if you need punch without disturbing the tonal balance you've already dialled in. This connects directly to how you handle the kick drum in your mix, since the two are really one decision, not two.
What frequency zones matter most for snare EQ?
A useful starting map, drawn from widely used snare EQ guidance, breaks the spectrum into four practical zones:
- Sub 100Hz: rumble and stand noise, almost always worth cutting entirely with a high-pass filter.
- 100 to 250Hz: the body and "thud" of the drum, where kick overlap causes the most trouble.
- 800Hz to 1.5kHz: the crack and stick attack, the frequency that lets a snare punch through a dense arrangement.
- 8kHz and above: air, brightness and the shimmer of the snare wires.
A significant portion of the tonal decision on a typical snare comes down to correctly balancing just two of those zones: the 100 to 250Hz body and the 800Hz to 1.5kHz crack, since those two ranges do most of the perceptual heavy lifting.
Corrective moves tend to follow a similar pattern regardless of genre. A narrow cut, often with a Q around 3 to 5, at whatever frequency sounds boxy or ringy, usually between 300 and 600Hz, removes the "papery" quality that plagues a lot of dry snare recordings. A gentle boost, a couple of decibels with a wider Q, around 3 to 5kHz adds presence without harshness. Pushing the air band above 8kHz with a high shelf, even just 1 to 2dB, often does more for perceived quality than people expect.
Static EQ works well for broad tonal shaping, but dynamic EQ earns its place when a resonance only appears on the loudest hits, a common problem with metal-shell snares that get harsh under pressure. If your snare and vocal are colliding in the same midrange pocket, a small dynamic cut on the snare that only triggers when the vocal is present keeps both elements audible without a permanent tonal compromise. Full frequency-shaping principles carry over from the broader EQ fundamentals that apply across every instrument in your session.
How should you control snare dynamics and transients?
Attack and release settings on a compressor shape how much "hit" survives processing, and getting this wrong is probably the single most common way engineers strangle a good snare sound. A slower attack, somewhere around 10 to 30 milliseconds, lets the initial crack through before the compressor clamps down, which preserves punch while still controlling the tail. A medium release, often in the 100 to 250 millisecond range, keeps the drum feeling natural rather than pumping.
Parallel compression is one of the most reliable tricks in the entire snare-mixing toolkit. Send the snare to an aux channel, hit it hard with a compressor set for heavy, obvious squash, then blend that crushed signal back under the clean, uncompressed original. The result is density and sustain without sacrificing the transient snap that a single heavily compressed channel would destroy. Standard advice for snare compression leans on exactly this approach, favouring a slower attack and medium release specifically to keep that transient snap intact.
- Try a fast attack, fast release compressor purely for control on an unpredictable performance, accepting some transient loss as the tradeoff.
- Reach for a transient shaper instead of a compressor when you want to boost the crack independently of overall loudness.
- Consider upward compression, which lifts quiet ghost notes and room tone without touching the main hits, for a snare that feels more consistent without losing its peak energy.
- Build parallel compression into your session template so it's a one-click decision rather than something you rebuild from scratch every time.
Pro Tip: If your snare sounds thin after heavy compression, don't reach for more compression. Reach for a second, gentler parallel bus instead and blend to taste.
How do you give the snare character without losing clarity?
Saturation is where a flat, clinical snare recording turns into something with personality. Tape-style saturation rounds off harsh transients and adds a pleasant, slightly compressed quality across the whole signal. Tube saturation tends to add warmth and low-order harmonics that flatter the body. Band-targeted saturation, applied only to the crack frequencies around 2 to 5kHz, can add edge and grit without dirtying up the low end. One practical approach worth trying is finding the fundamental for body and an overtone above 1kHz to emphasise, then applying saturation specifically to that overtone region to help the drum cut through a dense mix.
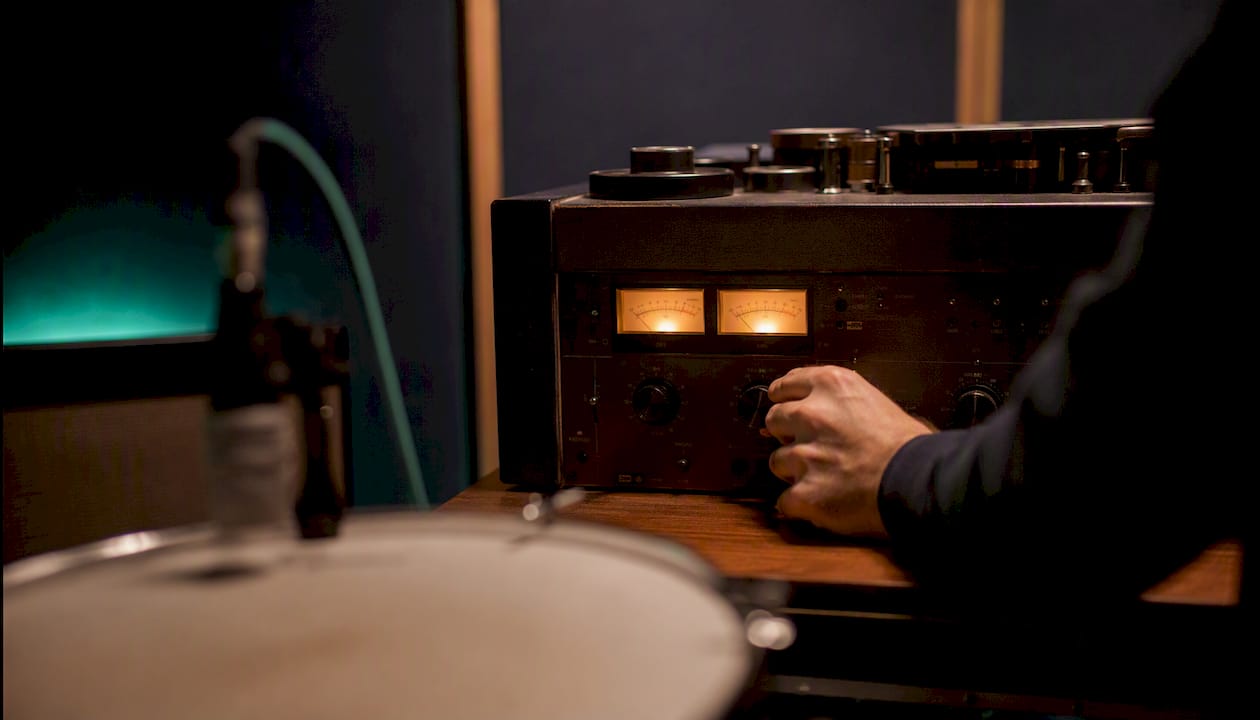
Layering an acoustic snare with a sample is enormously common, and it's not cheating, it's craft. The trick is phase alignment and pitch matching: nudge the sample until its transient lines up with the recorded hit, and pitch it if necessary so the fundamentals agree rather than clash. Done well, this layering technique adds consistent punch without flattening the natural feel of the original performance, which matters enormously in genres like trap and modern hip-hop where consistent low-end pop is expected on every single hit. The same layering logic that works for trap drum programming applies just as well to strengthening a weak acoustic snare.
Reverb and ambience finish the job of placing the snare in a physical space. A short room or plate reverb, with a pre-delay of around 15 to 30 milliseconds, adds size without smearing the transient into the next hit. Longer halls suit ballads and sparse arrangements but can flood a busy sixteenth-note groove with unwanted tail. Gating the reverb return, so it cuts off before the next snare hit arrives, is a simple way to get size in choruses without mud in fast passages.
- Choose tape saturation for warmth, tube for body, and targeted band saturation when you specifically need more crack.
- Layer samples underneath, not instead of, a usable acoustic snare wherever possible.
- Match pre-delay to tempo so the reverb tail doesn't collide with the next hit.
- Gate long reverb tails in dense sections and let them breathe in sparser ones.
Pro Tip: When layering a sample, solo the acoustic snare and the sample together and nudge the sample in small increments until the transients look like a single spike on your waveform display, not two.
Why does snare choice and tuning matter before you mix?
Every mixing decision downstream of the recording is constrained by what happened at the source. Shell material changes the overtone content dramatically, metal shells tend to sound brighter and more aggressive while wood shells sound warmer and rounder, and no amount of EQ fully converts one into the other. Head choice and tuning shift where the fundamental sits and how long the sustain rings, which is why a poorly tuned snare often sounds fine solo but disappears the moment a full band comes in.
Mic choice and placement do a huge amount of the tonal work before the signal ever reaches a plugin. A dynamic microphone like the Shure SM57, aimed at the head a couple of inches from the rim, remains a standard choice because its midrange focus captures crack without excessive harshness. A bottom mic, usually another dynamic pointed at the snare wires, adds sizzle and air but needs careful polarity checking against the top mic and the overheads, since the two signals are picking up the same event from opposite sides of the drum.
Getting this right at the source really is the difference between a mix that fights you and one that comes together quickly, and it's why experienced engineers spend real time on mic placement before touching a single fader, since instrument and mic choices tend to remove more mixing headaches than any EQ curve applied afterwards.
- A dull or lifeless recording is often a tuning problem, not a mixing problem, so retune before reaching for a saturation plugin.
- A thin recording with no low body may need a fresh mic placement pass rather than an EQ boost that just adds noise.
- Sampling or layering is the right call when the drum itself is genuinely unusable, badly out of tune, poorly isolated, or riddled with unwanted resonance you can't EQ around.
- Always check polarity between top mic, bottom mic and overheads before committing to any processing.
What's the ordered workflow for making a snare sit?
A repeatable process beats guesswork every time, and this sequence works whether you're mixing a full acoustic kit or a programmed beat.
- Listen first, decide the role. Reference a commercial track in the same genre and ask what job the snare needs to do in this specific song, driving energy, holding a groove back, or sitting quietly under a verse.
- Run the technical checks. Confirm polarity across mics, set gain staging so the snare sits at a sensible level against the kick, and apply a high-pass filter to remove unwanted low rumble.
- Carve frequency space. Cut where the snare clashes with the kick and vocal, then boost the crack and air zones that help it cut through.
- Control dynamics. Apply compression with a slower attack and medium release, or set up parallel compression on an aux for density without losing snap.
- Add character. Bring in saturation, sample layering, and reverb, checking pre-delay and gating against the tempo and arrangement density.
- Glue and finalise. Run the drum bus through light compression, check stereo placement, automate levels where the arrangement demands it, and A/B constantly against your reference.
Pro Tip: Do the A/B comparison at matched loudness. A louder snare always sounds better in a blind comparison even when it isn't actually better, so match levels before you judge.
- Diagnose before you fix: most snare problems are level, phase or masking issues, not tonal ones.
- Fix technical issues before creative ones; saturation on a phase-cancelled snare just adds distortion to a problem.
- Bus processing and stereo imaging come last, once the individual snare sound is right. The broader mixing chain and bus routing principles apply directly here.
- Keep your reference track loaded for the entire session, not just the first five minutes.
How does snare treatment change across genres?
Rock and pop generally want the snare front-and-centre, loud, punchy, and often wrapped in a room or plate reverb that gives it size without drowning the vocal. This is the genre where a snare frequently sits nearly as loud as the vocal in the mix, because it's carrying so much of the song's forward momentum.
Hip-hop and R&B tend to favour a tighter, lower, sample-enhanced snare with real low-end weight and a shorter, often gated ambience rather than a lush natural room. The goal is consistency, every hit sounding equally solid, which is exactly why sample layering is such a standard tool in that world.
EDM pushes further still, with heavily processed, transient-enhanced snares that are frequently layered three or four samples deep, shaped with sidechain compression against the kick, and brightened aggressively in the top end so they cut through a wall of synths.
Jazz sits at the opposite extreme. Brushes replace sticks, the natural room mic often does most of the tonal work, and heavy processing tends to strip away exactly the subtlety that makes a brushed snare interesting in the first place. Across the board, these genre-specific role differences are less about better or worse technique and more about matching the processing to what the genre actually needs from the drum.
- Rock and pop: loud, punchy, plate or room reverb, front-and-centre in the mix.
- Hip-hop and R&B: tight, low, layered samples, shorter and often gated ambience.
- EDM: heavily processed, multi-layered, sidechained against the kick, bright top end.
- Jazz: brushes, natural room capture, minimal processing throughout.
What are the most common snare mistakes, and how do you fix them?
Over-EQing the top end is probably the single most common error. It's tempting to keep pushing 8kHz and above until the snare sounds "exciting" in isolation, but that same boost turns harsh and fatiguing the moment it sits inside a full mix. The fix is almost always a narrow cut somewhere in the 2 to 4kHz range, combined with a phase check between the bottom mic and overheads, since phase misalignment is frequently the real cause of a snare that sounds thin no matter how much top end you add.
Ignoring polarity is the second big one. A snare that sounds weak or hollow when the full kit comes in, despite sounding fine solo, almost always has a phase problem between its own mics or against the kick and overheads. Flip polarity on each channel one at a time while listening for the fuller, punchier version.
Reverb misuse rounds out the top three. Using a reverb that's too long, or letting the wet signal spill unchecked into the next bar, buries the groove in wash. Shortening the decay time, adding pre-delay, or gating the tail so it clears before the next hit almost always solves this without sacrificing the sense of space entirely.
- Narrow-cut the harsh top end rather than blanket-cutting the whole high shelf.
- Test polarity on every mic pointed at the snare before blaming the EQ.
- Shorten or gate reverb tails in dense passages, and save the long decays for sparse ones.
- Recheck gain staging whenever you add a new plugin, since level drift causes more "it doesn't sit" complaints than tone ever does.
How should the snare sit and move in the stereo field?
The snare is almost always dead centre in the stereo image, alongside the kick, bass and lead vocal, and there's a good reason nobody breaks this convention casually: anything panned hard centre reads as the anchor of the mix, the thing every listener locates instinctively regardless of speaker or headphone setup. Moving a lead snare off-centre almost always sounds like a mistake rather than a creative choice, because it disrupts the mono-compatible foundation that the rest of the arrangement is built around.
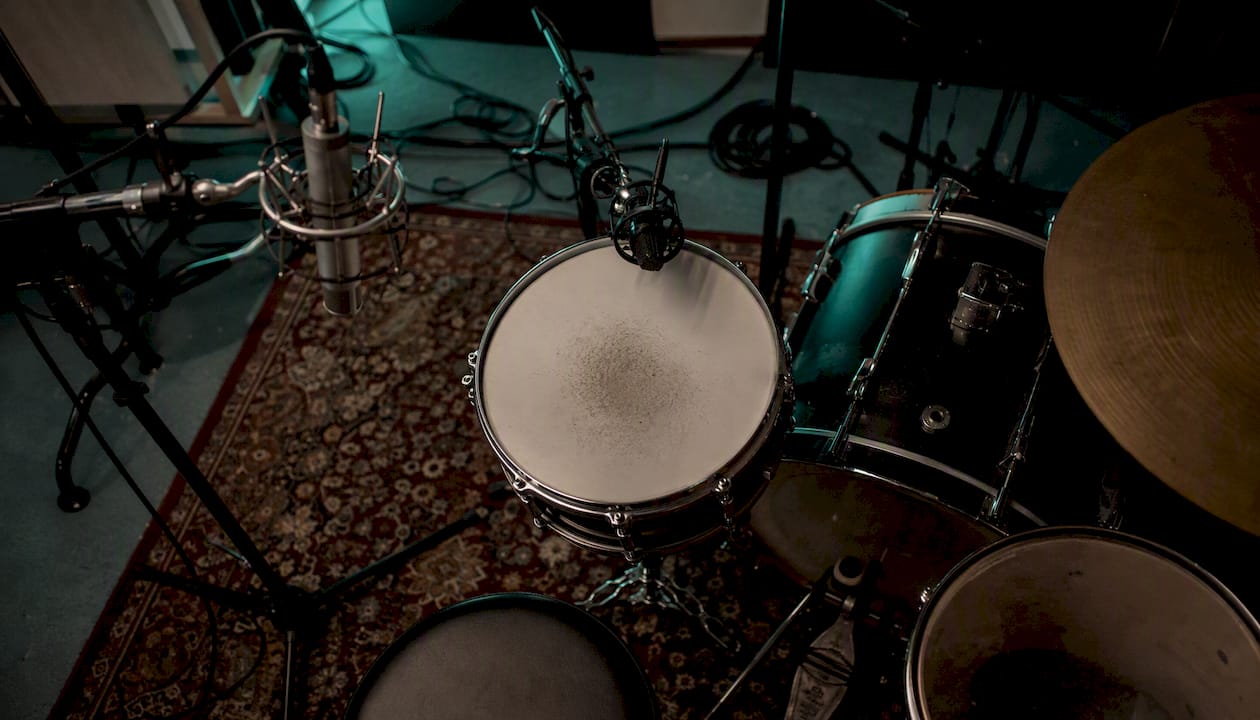
Where stereo width genuinely helps is in the supporting layers, not the main hit. Room mics, layered snare samples used for texture rather than the primary transient, and reverb returns can all spread wide in the stereo field without threatening the centred anchor of the main snare. This creates a sense of size and depth around a tightly focused, punchy centre image, which is exactly the combination most professional mixes are chasing. If you're layering a sample under the main hit, keep the sample centred too, since even a slight pan offset on a supposedly "doubled" transient will smear the attack and soften the punch you were trying to add in the first place.
Can automation improve how the snare behaves through a track?
Automation is how a snare that sounds perfect in the chorus doesn't disappear or overwhelm everything in the verse, and skipping this step is one of the more common reasons a static mix feels flat across a full arrangement. A snare set once and left untouched almost never suits every section of a song, because arrangement density, energy and vocal presence all shift the amount of space actually available for it.
Level automation is the most obvious application: pulling the snare down half a decibel in a dense double-chorus where six other elements are competing for the same frequency range, then pushing it back up in a stripped-back bridge where it needs to carry more of the groove alone. Automating a parallel compression blend works the same way, dialling in more of the crushed, dense signal during a big chorus for extra weight, and easing off in a verse where you want more natural dynamics. Reverb send automation matters too, adding a touch more ambience on a final chorus hit or a fill to signal a section change, then pulling it back for the next verse so the mix doesn't feel washed out. None of this needs to be dramatic. Small, section-by-section moves, often no more than a decibel or two, are usually what separates a mix that feels alive from one that just feels correctly balanced.
Our take on getting the snare right
The biggest misconception in snare mixing is that it's primarily an EQ problem. It isn't. Most of the "my snare won't sit" complaints producers bring to a mix are actually phase issues, gain staging mistakes, or arrangement conflicts that no amount of EQ tweaking will ever resolve, because you're trying to fix a structural problem with a cosmetic tool.
What we'd push back on is the instinct to keep adding: another EQ band, another saturation plugin, another layer of samples, hoping the next tweak is the one that finally makes it click. The more reliable path is diagnostic. Check phase first. Check levels against the kick second. Only reach for tonal shaping once you're certain the underlying technical foundation is solid, because processing decisions made on top of an unresolved phase problem never actually fix anything, they just mask it temporarily until the next section of the song exposes it again.
Recording decisions and mixing decisions aren't really separate disciplines, they're one continuous process with an artificial line drawn through the middle of it. A snare tuned badly or miked poorly will cost you far more time in the mix than the twenty minutes it would have taken to fix at the source. That's the uncomfortable truth a lot of mixing content skips over in favour of plugin recommendations. If you've run through every diagnostic and correction here and something still feels off, that's usually the point where a second, more objective set of ears helps most, because ears fatigued by hours on the same snare hit stop hearing problems they'd catch instantly on a fresh listen.
What to do when the snare still won't sit right
Sometimes you've run every check in this guide, phase, gain, EQ, compression, and the snare still feels slightly wrong, and you can't quite pin down why. That's usually a sign you need an objective second opinion rather than another round of guesswork on the same plugin chain.

AubioMix analyses your uploaded mix across more than fifteen specific areas, including frequency masking between elements like your kick and snare, dynamics processing, and stereo imaging, and returns a detailed report with concrete, actionable steps rather than a vague score. Upload your track, and within minutes you get a breakdown that flags exactly where your snare might be clashing with the kick, whether your compression is genuinely doing what you think it's doing, and how your stereo placement compares against professional references. Every report can be downloaded as a PDF, so you've got a checklist to work through rather than a set of numbers to interpret alone. You can see the kind of detail involved in a real analysis on tracks like Beautiful Things by Benson Boone. If your snare has been fighting you for a whole session, run a single mix analysis and see exactly where the technical issues are hiding.
Sources
For deeper reading on the specific techniques covered above, these are worth bookmarking.
Recording and source selection
- Drumbeats (OpenLearn)
- The Art Of Snare Drum Mixing... And A Frog - ProSoundWeb
- 5 Snare Drum Mixing Tips for a Better Sound | iZotope
- How to mix snare (Sage Audio)
- How to Mix Snare Drums Like a Pro (emastered)
EQ and dynamics
Creative processing