
Getting a great master starts long before the mastering engineer ever opens your file. When you prepare a mix for mastering properly, you give that engineer the cleanest, most dynamic canvas to work with. Skip this stage, and even the most skilled mastering session will struggle to rescue what could have been a brilliant record. This guide covers every practical step: the technical file specs, level management, quality control checks, and delivery best practices that separate mixes that master beautifully from those that come back needing revisions.
Table of Contents
- Key takeaways
- How to prepare a mix for mastering: the essentials
- Step-by-step export process
- Quality control before you send
- File delivery and communicating with your mastering engineer
- My honest take on mix preparation
- Get professional mix feedback before you master
- FAQ
Key takeaways
| Point | Details |
|---|---|
| Headroom is non-negotiable | Keep mix peaks between -6 dBFS and -3 dBFS so the mastering engineer has room to work. |
| Strip the master bus | Remove all limiters and heavy compression from your master bus before exporting your final mix. |
| Export at native resolution | Use 24-bit or 32-bit float at your project's native sample rate to preserve every detail. |
| Leave natural silence | Add one to two seconds of silence before and after the track to protect reverb tails and room tone. |
| Communicate your vision | Send reference tracks and written notes so the mastering engineer understands your creative goals. |
How to prepare a mix for mastering: the essentials
Before you touch the export dialogue, you need to get the fundamentals right. Think of this stage as laying a solid foundation. Mastering is corrective and enhancement-oriented but not a tool for fixing an imbalanced or unfocused mix. If the bass is masking the kick, or the vocals are buried in the midrange, mastering will not save you. Sort those problems first.
File format and resolution
The gold standard for mastering delivery is a WAV or AIFF file. MP3 and other lossy formats discard audio data permanently, which limits what a mastering engineer can do. Export at 24-bit or 32-bit float at your project's native sample rate, whether that is 44.1 kHz, 48 kHz, or 96 kHz. Avoid the temptation to upsample. Upsampling introduces artefacts without adding any real quality, and a sharp mastering engineer will notice.
Here is a quick reference for export formats:
| Format | Bit depth | Sample rate | Recommended for mastering? |
|---|---|---|---|
| WAV | 24-bit or 32-bit float | Native (44.1/48/96 kHz) | Yes, preferred |
| AIFF | 24-bit | Native | Yes |
| MP3 | Lossy | Any | No |
| WAV | 16-bit | Any | No, use 24-bit minimum |
Headroom and peak levels
Mix peaks between -6 dBFS and -3 dBFS are what most mastering engineers ask for, and there is a very good reason for that. Headroom gives your mastering engineer the dynamic range to apply gain staging, compression, and limiting without immediately pushing into distortion. A mix that arrives peaking at -0.5 dBFS leaves almost no room to breathe.
You also need to think about true peak levels. Digital clipping is essentially irreparable, and inter-sample peaks can trigger distortion during format conversion even when your mix looks clean on a standard peak metre. Aim for a true peak ceiling of around -1 dBTP to be safe.
Pro Tip: Check your level balance with a true peak metre, not just a standard peak metre. Many DAWs include a true peak option in their master bus metering, and it is worth switching it on before every export.
Strip the master bus
This is the single most common mistake we see from producers sending mixes for mastering. Disable brickwall limiters, heavy compression, and normalisation on the master bus before you export. Normalisation destroys the headroom your mastering engineer needs, and a brickwall limiter that sounds great in your DAW will compress and colour the audio in ways that fight against the mastering chain.

Light colouring from an analogue-style saturation plug-in or a gentle master bus EQ that is genuinely part of your creative vision is a different matter. If it is a creative choice that defines the sound, leave it in. If it is there to make the mix feel louder, take it off.
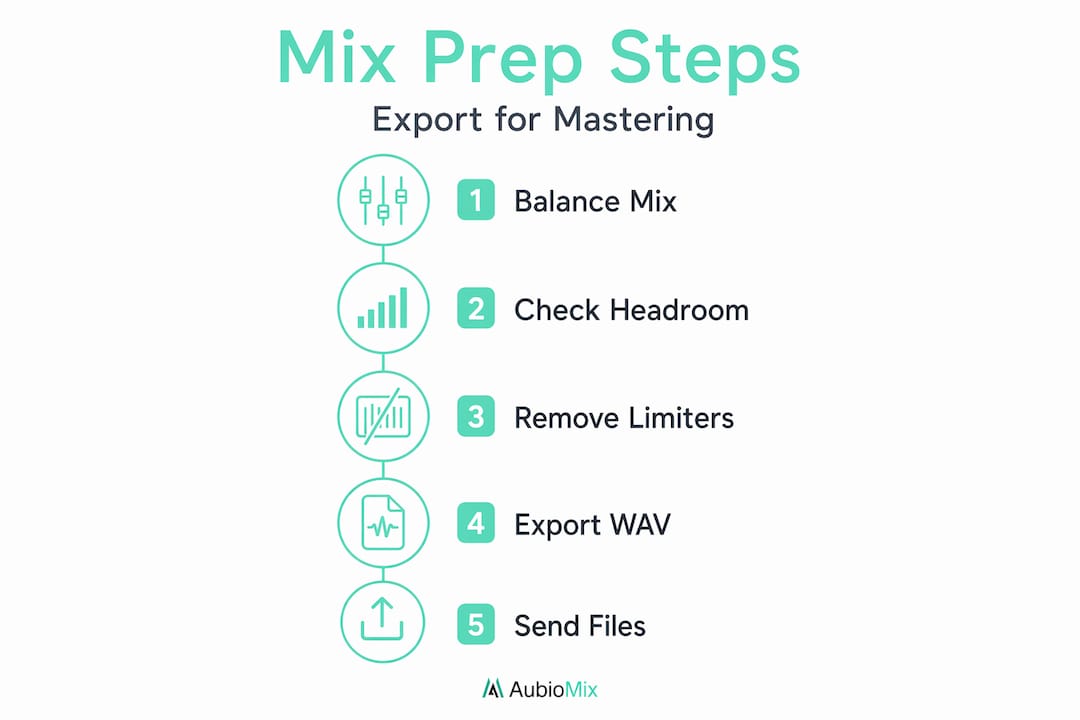
Step-by-step export process
Once your mix is balanced and your master bus is clean, follow this process every time before rendering your final files.
- Bypass all limiters and normalisers on the master bus. Double-check that nothing is set to auto-normalise on export in your DAW settings.
- Check your headroom. Play through the loudest section of the track and confirm peaks are sitting between -6 dBFS and -3 dBFS on your master metre.
- Extend your session timeline. Add at least one to two seconds of silence before the track begins and after it ends. This preserves reverb tails, fade-outs, and room tone, which the mastering engineer needs for clean noise reduction and natural-sounding fades.
- Set your export format. Choose WAV or AIFF, 24-bit minimum, at your project's native sample rate. No dithering unless you are exporting to 16-bit, which you should not be doing at this stage.
- Render the full mix. Let the file bounce in real time if you have any analogue hardware in your chain, or use offline bounce if your session is entirely in-the-box.
- Create alternate versions. Print a vocal-up version and a vocal-down version, each with the lead vocal adjusted by roughly ±3 dB. Alternate vocal versions save considerable time during mastering revisions and are considered industry-standard practice for professional deliveries.
- Label your files clearly. Use a consistent naming convention, for example: ArtistName_TrackTitle_MixVersion_Date.wav. Include the BPM and key in your notes if relevant.
Pro Tip: Before you send anything, check your mixing chain one final time with fresh ears, ideally after a break of at least 30 minutes. You will catch things you missed during the session.
Quality control before you send
Rendering a mix and sending it straight to the mastering engineer without checking it is a risk not worth taking. Listening to rendered mixes outside the DAW on multiple playback systems uncovers artefacts like pops, clicks, sibilance and distortion that you simply cannot hear through studio monitors alone. Play your rendered file back through your phone speaker, a Bluetooth speaker, earbuds, and your car stereo. Each system will reveal something different.
Here is a checklist of common issues to listen and look for:
- Clipping or distortion at transients or loud passages. Zoom into the waveform and look for flat-topped peaks.
- Missing reverb tails or abrupt endings. If the song ends and you hear the reverb cut off sharply, you did not leave enough silence at the tail.
- Pops or clicks at the start or end of the file, often caused by incorrectly set loop points or DAW export settings.
- Phase issues in mono. Play your mix in mono and check that nothing important collapses or disappears. Bass frequencies are especially vulnerable.
- Level inconsistency between versions. If you printed a vocal-up and vocal-down version, make sure the only difference is the vocal level and that all other elements match exactly.
- Incorrect sample rate or bit depth. Open the file in your DAW or a dedicated audio editor and confirm the specs match what you set during export.
Pro Tip: A mono compatibility check is one of the most overlooked mix preparation tips you will ever receive. A significant portion of streaming listeners hear music in environments with poor stereo separation. If your mix holds up in mono, it holds up everywhere.
File delivery and communicating with your mastering engineer
Sending a technically perfect mix file is only half the job. How you communicate with your mastering engineer shapes the outcome just as much. Clear communication of artistic intent and reference tracks consistently leads to better mastering results because the engineer understands the sonic target you are aiming for.
Include a short brief with every delivery. You do not need to write an essay. A few bullet points covering the genre, the mood, the target streaming platform, and one or two reference tracks with notes on what specifically you love about them is all it takes. "Make it sound like X" is vague. "The low-end control on X at 2:14 is the kind of depth I want" is useful.
Here is a simple delivery checklist to keep things organised:
| Item | Details |
|---|---|
| Main stereo mix | 24-bit WAV, peaks at -3 to -6 dBFS, true peak at -1 dBTP |
| Vocal-up version | Lead vocal raised by approximately +3 dB |
| Vocal-down version | Lead vocal lowered by approximately -3 dB |
| Instrumental version | Full mix without lead vocal, if applicable |
| Reference tracks | Two or three tracks with brief notes on what to reference |
| Written brief | Genre, mood, target platform, any processing on master bus to flag |
| File naming | ArtistName_TrackTitle_Version_Date.wav |
On the subject of mixing vs mastering roles and where your responsibility ends: send the mix you genuinely believe in. Do not send a rough mix hoping the mastering engineer will sort out the low-end mud or the brittle high frequencies. Send the mix that represents your clearest creative vision. The mastering stage is for polish, not reconstruction.
Metadata is also worth attending to. Embed your ISRC codes, track titles, artist names, and any relevant copyright information in the file metadata before delivery where possible. It saves admin time further down the chain.
My honest take on mix preparation
In my experience working with producers at all levels, the biggest mistake is not technical at all. It is rushing. I have seen beautifully crafted mixes arrive with a brickwall limiter still active on the master bus, peaks touching 0 dBFS, and no brief attached. The mastering engineer does their best, but the result is always a compromise.
What I have found actually works is this: treat the export stage with the same care you give the mix itself. That means a dedicated QC pass, a fresh set of ears, and a short but specific brief. Trusting your ears over critical listening vs meters is something mastering engineers talk about constantly, and it is true. Metres confirm what you hear, but they do not replace listening.
The other thing I would encourage you to let go of is the urge to over-process the master bus to make your mix sound "almost mastered." I understand the impulse. We all want the mix to feel finished before it leaves our hands. But a clean, dynamic mix at -4 dBFS will always master better than a squashed, limited mix peaking at -0.3 dBFS, regardless of how polished it sounds in your DAW.
Proactive communication with your mastering engineer is not a sign of inexperience. It is the mark of a professional who knows what they want and respects the collaborative nature of the process.
— AubioMix
Get professional mix feedback before you master
If you want to know exactly how your mix holds up before it reaches the mastering stage, Aubiomix is built for that moment. You upload your audio file, and our platform analyses it against industry-standard criteria, delivering specific, detailed feedback on level balance, frequency issues, dynamic range, and mastering readiness. Not vague pointers. Actual steps you can act on.

Whether you are a producer working on your first release or an engineer refining your delivery workflow, Aubiomix's mix evaluation gives you a clear picture of where your mix stands before it enters the mastering chain. You can also explore the evaluation framework we use to understand exactly what criteria your mix is assessed against. It is the fastest way to close the gap between a good mix and a master-ready one.
FAQ
What peak level should my mix be before mastering?
Most mastering engineers recommend mix peaks between -6 dBFS and -3 dBFS with no clipping. This headroom gives the mastering engineer room to apply processing without immediately running into distortion.
Should I remove plug-ins from my master bus before exporting?
Yes. Disable brickwall limiters and normalisation before export. Light creative processing you consider part of your sound can stay, but anything designed to increase loudness should come off.
What file format should I use when delivering a mix for mastering?
Export as a 24-bit or 32-bit float WAV or AIFF file at your native sample rate. Avoid upsampling, which introduces artefacts, and never deliver a lossy format like MP3 for mastering.
Do I need to send alternate mixes to my mastering engineer?
It is strongly recommended. Vocal-up and vocal-down versions at ±3 dB are industry standard and save significant time if revision decisions need to be made during or after mastering.
How much silence should I leave at the start and end of my mix?
Leave at least one to two seconds of silence at both ends. This protects reverb tails and gives the mastering engineer clean audio to work with when setting fades and noise reduction.