
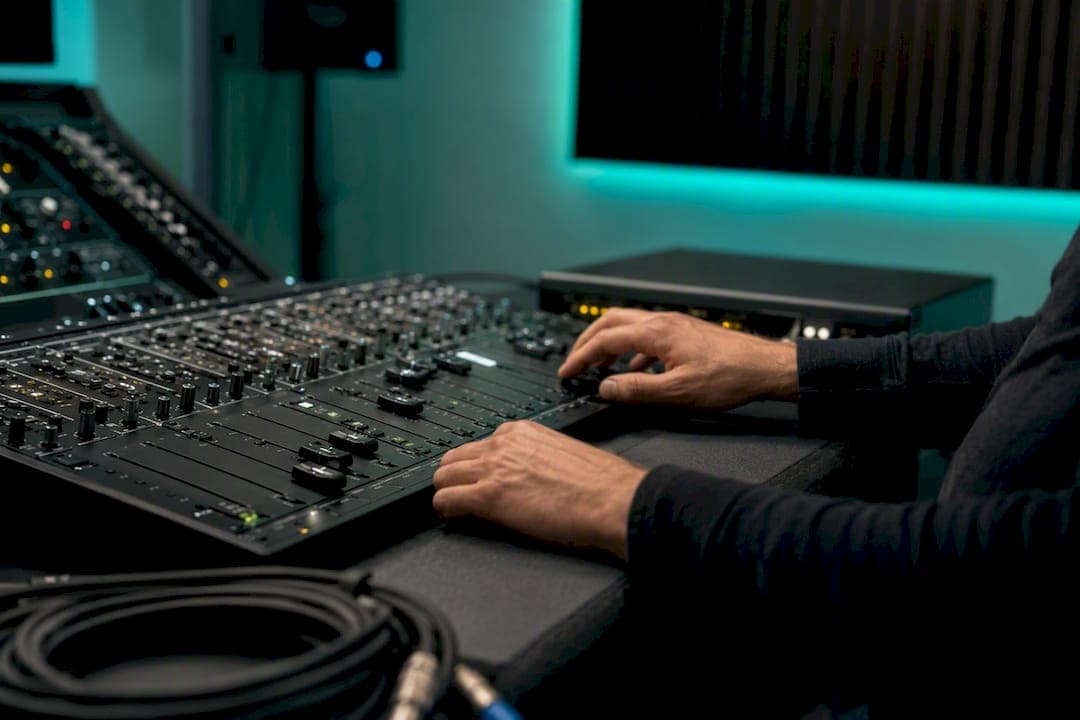
Here's the short version: before you touch a single fader, make a safe copy of your session, gather and consolidate every file, name and colour your tracks, gain stage everything into healthy headroom, set up your groups and buses, drop in starter processors, set your markers, load your reference tracks, and back the whole thing up. That's the mix session organization checklist in one breath. Everything below unpacks each step, but if you do nothing else today, do that.
Session prep isn't glamorous. Nobody brags about their track colour scheme at a mastering session. But a scattered session with fifty unlabelled tracks called "Audio 14" and "Audio 14-1" will cost you more time hunting than you'll ever spend mixing. The Mixing Engineer's Handbook checklist covers fourteen prep points for exactly this reason, and most of them take minutes, not hours.
Before you open a single plugin, you need three things sorted: a stable playback system (monitors calibrated, headphones on hand), your reference tracks loaded and ready, and a session template or a clear naming convention decided in advance. Skip any of those and you're mixing blind.
- Make a safe, clearly named copy of the session before editing anything
- Gather every stem, sample, and exported MIDI file into one project folder
- Label and colour every track by instrument family
- Gain stage each channel toward sensible headroom targets
- Build your groups, subgroups, and aux sends
- Insert starter EQ and compression where problems are obvious
- Set markers for song sections and problem spots
- Load your calibrated reference tracks
- Back everything up before your first fader move
Pro Tip: Run AubioMix on a rough bounce before you start mixing, not after. It flags loudness, phase, and frequency issues while they're still cheap to fix.
Key Takeaways
A well-organised mix session with consistent naming, gain-staged levels, proper routing, and a final automated check saves significant revision time and prevents avoidable mixing errors.
| Point | Details |
|---|---|
| Copy and consolidate first | Save a versioned working copy and gather every file into one project folder before editing. |
| Gain stage before mixing | Target roughly -12 to -6 dBFS on individual tracks to preserve headroom for bus processing. |
| Build routing early | Create subgroup buses and send/return aux effects before inserting any starter processors. |
| Calibrate before you judge | Set a consistent monitoring level and level-match reference tracks before trusting your ears. |
| Run an automated check last | Use AubioMix on a rough bounce once gain staging and routing are done to catch loudness, phase, and masking issues. |
Table of Contents
- Step 1: Make a safe session copy and gather every file
- Step 2: Clean and consolidate audio: trims, fades and noise removal
- Step 3: Timing alignment and basic tuning where it's actually needed
- Step 4: Track hygiene: naming, ordering and colour coding
- Step 5: Create groups, subgroups, buses and aux returns
- Step 6: Insert starter effects and mix-bus processors
- What gain staging targets actually keep your mix clean?
- How should you calibrate monitoring before mixing?
- Step 9: Set up markers, memory locations and navigation shortcuts
- Step 10: Run final pre-mix sanity checks
- What's the best order to actually start mixing in?
- How does AubioMix fit into a pre-mix checklist?
- Why a strict prep checklist actually saves mixing time
- Frequently asked questions
- Sources
Step 1: Make a safe session copy and gather every file
Never mix inside your tracking session. Save a copy first, name it something that sorts logically, like SongTitle_Mix_v01, and work from there. If something goes wrong three hours in, you want the original untouched and waiting.
Once you've made the copy, consolidate. Most DAWs have a "save copy" or "collect files" function that pulls every audio file into a single project folder rather than leaving them scattered across drives. This matters more than it sounds: a session that references files on three different hard drives is a session waiting to break the moment you move studios or send it to a collaborator.
Gather the extras too. Sample libraries, external stems, and any MIDI parts that were played back through virtual instruments should get printed as audio where practical, so nothing depends on a plugin you might not have installed next year. Lordreverb's ten-step prep guide recommends exactly this consolidation pass before any creative decisions happen.
- Save a versioned copy with a clear naming convention
- Use your DAW's collect/consolidate function to gather all audio in one folder
- Print external instruments and samples as audio files
- Store the folder somewhere backed up, not just on your desktop
Pro Tip: Use a version number, not a date, in your file name. _v01, _v02 sorts correctly in every file browser; _Jan14 does not once you're past a few months of work.
Step 2: Clean and consolidate audio: trims, fades and noise removal
Once your files are gathered, tidy them. Consolidate edited regions so every clip starts from a consistent bar or beat reference. This sounds pedantic until you're three hours into automation and realise half your vocal comps start at slightly different points relative to the grid.
Trim silent regions and count-ins. A count-in bleeding into the mix bus, or a mic left hot during a chat between takes, adds noise you'll only notice once you've boosted a compressor too hard. Add short fades, typically 5 to 20 milliseconds, on every edit point to kill clicks. Crossfades of around 10 to 50 milliseconds usually smooth over comped transitions without smearing the transient.
- Consolidate edited clips to a consistent start reference
- Trim silence, count-ins, and dead air between takes
- Add short fades (5 to 20 milliseconds) on hard edit points
- Crossfade comped sections (roughly 10 to 50 milliseconds) to avoid clicks
Pro Tip: If a plugin was used creatively during tracking, like a guitar amp sim the player relied on to perform, leave it printed into the audio rather than stripping it out "for the mix." If it was just a safety net, bypass it and let the mix engineer decide.
Step 3: Timing alignment and basic tuning where it's actually needed
This step is about restraint as much as correction. Fix the timing problems that genuinely hurt the track, and leave the rest alone. A slightly early snare hit that gives a drummer's groove its character is not a problem. A bass note that drifts a sixteenth note off the kick, every single bar, is.
Use your DAW's warp or elastic audio tools for small nudges, and lean on transient detection to align doubled parts, like a rhythm guitar overdub that should lock with the original take. For pitch, light correction on a lead vocal or a slightly sharp harmony is normal; heavy correction changes the performance and belongs in a creative decision, not a prep checklist.
Tracks that usually need a look: drum hits that clash with the grid, vocal doubles that should tighten against the lead, and bass parts that drift against the kick pattern.
- Nudge only the parts that are audibly wrong, not everything close to the grid
- Use transient-based tools to align doubled or layered parts
- Apply light tuning correction on obvious pitch problems only
- Leave performance-driven timing quirks alone
Pro Tip: Keep your original, uncorrected takes on a separate track underneath the comped version. If the correction sounds wrong two days from now, you haven't lost the source.
Step 4: Track hygiene: naming, ordering and colour coding
A readable session is a fast session. Give every track a name that tells you instrument, role, and character in a glance: Kick_In, Snare_Top, Gtr_Rhythm_L, Vox_Lead_Dry. Anyone opening this session, including future you at 11pm, should know exactly what's playing without soloing a single channel.
Order matters too. A logical layout runs roughly kick, snare, hats, percussion, then bass, guitars, keys, lead vocal, backing vocals, and FX returns last. This mirrors how most engineers think through a mix, from rhythm section up to vocals.
Colour by instrument family, not by mood or whim. Drums in one colour, bass in another, guitars, keys, and vocals each getting their own. It takes thirty seconds per track and saves you from scanning fifty grey channels looking for the tambourine.
- Name tracks with instrument, role, and character (dry, doubled, wet)
- Order tracks logically from rhythm section to vocals to FX returns
- Colour code by instrument family for instant visual scanning
- Delete or hide unused tracks and consolidate duplicate takes
Session organisation guidance from Beat Kitchen's mixing masterclass backs this up directly: a consistently named, ordered session lets an engineer start mixing within minutes rather than losing time hunting for channels.
Step 5: Create groups, subgroups, buses and aux returns
Routing is where a messy session becomes a controllable one. Build your groups first: drums, bass, guitars, keys, and vocals each get their own subgroup bus, and your reverbs and delays live on send/return aux channels rather than sitting as inserts on individual tracks.
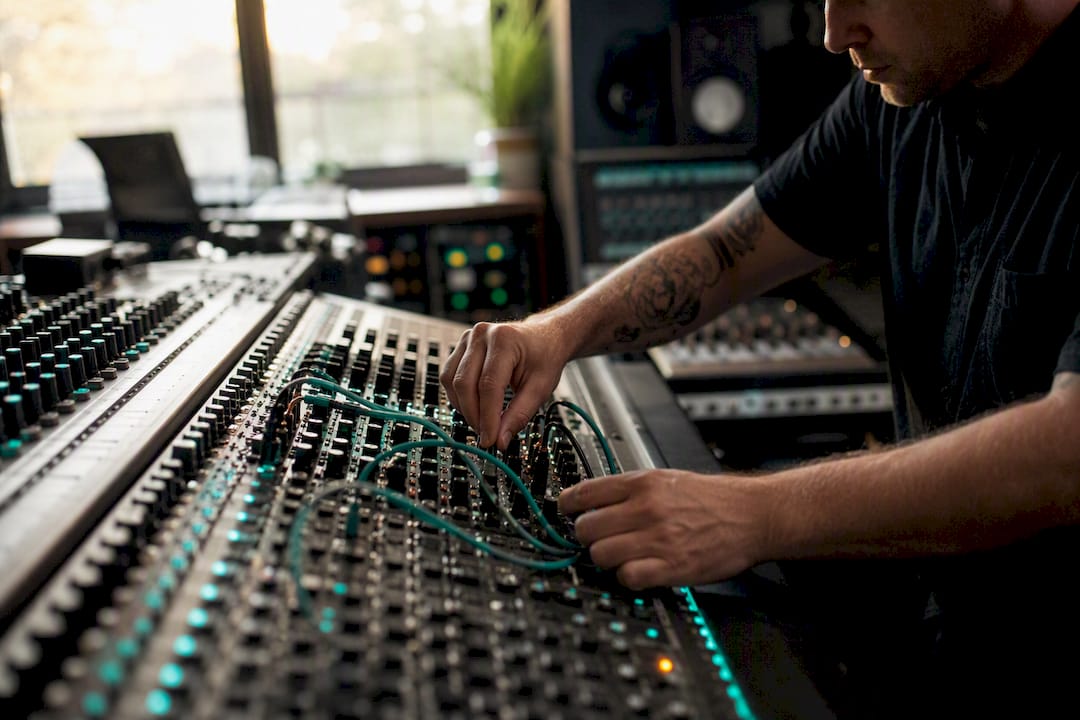
Send/return effects save CPU because you're running one reverb instance for ten tracks instead of ten separate instances, and they improve cohesion because every instrument routed to that reverb sits in the same shared space. That's the difference between a mix that sounds like ten separate performances and one that sounds like a room.
Label your buses the same way you labelled your tracks: BUS_Drums, BUS_Vox, AUX_Reverb_Room, AUX_Delay_Slap. And before you start, check for surprises left over from tracking, stray inserts on the master, sends routed to a bus that no longer exists, or a monitor mix bus accidentally left in the signal path.
- Build subgroup buses for drums, bass, guitars, keys, and vocals
- Route reverb and delay as send/return aux effects, not per-track inserts
- Label every bus and aux clearly and consistently
- Check for leftover inserts or orphaned sends from the tracking session
Sonarworks' guide to session setup also recommends keeping a dedicated monitor fader separate from your master bus, so metering and reference checks stay accurate no matter what you're doing to the mix itself.
Step 6: Insert starter effects and mix-bus processors
Load a pragmatic set of starting points, not final decisions. A high-pass filter on anything with no useful low end (most guitars, many vocals, hi-hats) clears space immediately. Light subtractive EQ on channels with an obvious problem, like a boxy tom or a harsh vocal sibilant, gets you started without committing to a final curve. Gentle bus compression, something like a 2:1 ratio with a slow attack, on your drum and vocal subgroups begins gluing the group together.
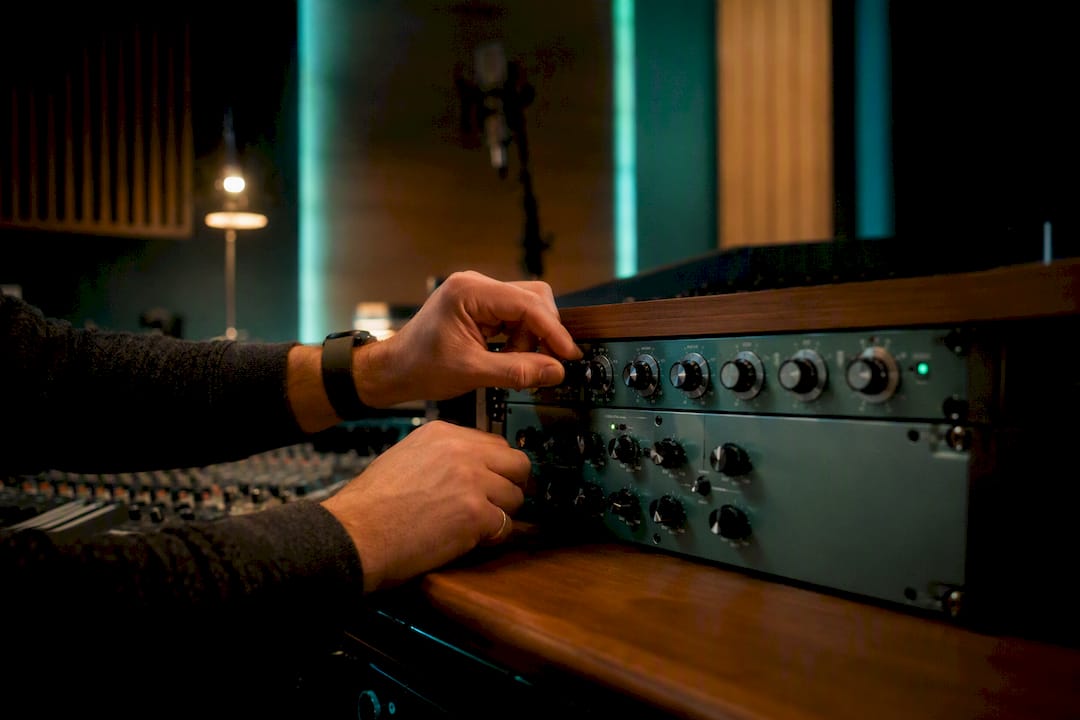
The trick is using templates without locking yourself in. Keep these inserts loaded but easy to bypass, so the actual mixing decisions still happen with fresh ears rather than inherited settings from a different song.
If you find yourself building the same starter chain every session, that's your cue to save it. A tidy, well-labelled session with sensible starter processing becomes a template you reuse project after project, and that's genuinely one of the biggest time savers available to a working engineer.
- High-pass unnecessary low content on guitars, vocals, and hi-hats
- Light subtractive EQ only where a channel has an obvious problem
- Gentle bus compression on drum and vocal subgroups to begin cohesion
- Keep starter inserts easy to bypass, never treat them as final
Pro Tip: Once you've built a clean session from scratch, save it as a DAW template immediately. Every future session starts with your groups, buses, and starter processors already in place.
What gain staging targets actually keep your mix clean?
Aim for individual tracks peaking somewhere around -12 to -6 dBFS, with corrective clip gain often bringing louder tracks down toward roughly -18 dBFS RMS before any processing touches them. This isn't a rigid rule, it's a target that keeps headroom available for bus processing and mastering later.
Use clip gain or trim, not your fader, to get a rough static balance first. Faders are for mixing decisions; clip gain is for fixing level problems that shouldn't exist in the first place, a verse that's quieter than the chorus, a take that was recorded ten decibels hotter than the rest.
Statistic: Proper gain staging and mixing order fix roughly 75% of common mixing problems before a single corrective plugin is even opened.
Check your master bus for overload before you start, and watch for plugins quietly adding gain as you go, a saturation plugin or a compressor's makeup gain can push levels up without you noticing until the meter's pinned red.
- Set individual track peaks around -12 to -6 dBFS
- Use clip gain, not faders, for corrective level fixes
- Watch for plugins silently adding gain as you insert them
- Check the master bus meter before your first mixing decision
Pro Tip: Skip the safety limiter on your master bus during prep. It hides genuine gain staging problems. Add one later, deliberately, once you understand where your peaks actually sit.
How should you calibrate monitoring before mixing?
Set your monitor level to a consistent, moderate volume, roughly 80 to 85 dB SPL is a common reference point, and stick to it. Mixing loud flatters everything; mixing quiet reveals problems your ears would otherwise forgive.
Load one to three reference tracks in a genre close to what you're mixing, and level-match them to your rough mix output so you're comparing tone and balance, not just loudness. iZotope's mixing workflow guide recommends calibrating your ears with reference material before you commit to any tonal decisions, precisely because a fatigued or uncalibrated ear will chase problems that don't exist.
A spectral analyser or a tool like Sonarworks' Tonal Balance Control gives you a visual sanity check against your references, useful when your ears are tired but your eyes can still read a curve.
Statistic: Engineers commonly test mixes across multiple playback scenarios, monitors, headphones, and a mono check, because a mix that only works on one system rarely translates once it leaves the studio.
- Set a consistent monitoring level and don't creep it up as you get tired
- Level-match one to three reference tracks against your rough mix
- Use a spectral analyser or Tonal Balance tool as a visual cross-check
- Check mono compatibility and test on headphones as well as monitors
Pro Tip: Take a five-minute break every 45 to 60 minutes and step away from the speakers entirely. Your ears recalibrate faster in silence than they do listening to something else.
Step 9: Set up markers, memory locations and navigation shortcuts
A handful of well-placed markers saves real time during revision passes, when you're jumping between the second verse and the outro dozens of times in an afternoon. Standard markers to set: intro, verse 1, pre-chorus, chorus 1, bridge, solo, and outro, plus a marker on any problem spot you've already noticed, a clicky edit, a harsh consonant, a spot where the low end gets muddy.
Colour code markers the same way you coloured tracks, sections in one colour, problem flags in another, so you can scan the timeline and know instantly what needs attention.
- Mark every major song section: intro, verses, chorus, bridge, outro
- Flag known problem spots with a distinct marker colour
- Name markers consistently so they're searchable in your DAW's marker list
Step 10: Run final pre-mix sanity checks
Before your first fader move, confirm the boring stuff. Check that I/O routing is consistent across every channel, that your sample rate matches your session settings, and that your tempo map or time signature changes are correctly placed if the song has any.
Scan for muted tracks left over from tracking, hidden automation lanes that might be doing something unexpected, and empty sends pointing at buses that don't exist. Any one of these can produce a nasty surprise twenty minutes into your first listen.
Save a version snapshot now, before you touch anything, and export a rough reference bounce of the untouched session. That bounce becomes your baseline, the thing you A/B against later to confirm you're actually improving the mix and not just moving problems around.
- Confirm consistent I/O routing and correct sample rate across all channels
- Check for muted tracks, stray automation, and orphaned sends
- Save a version snapshot before your first fader move
- Export a rough reference bounce of the untouched session
Pro Tip: Label that rough bounce clearly, something like SongTitle_PreMix_Reference, and keep it in the session folder. You'll want it again in a week when you've forgotten what the raw balance actually sounded like.
What's the best order to actually start mixing in?
Once the session is organised, decide your approach: bottom-up, starting with drums and bass to build a rhythmic foundation, or top-down, starting with the lead vocal and building the arrangement around it. Dense, rhythm-driven genres often suit bottom-up; vocal-forward pop and ballads often suit top-down. Neither is universally correct, and most engineers switch depending on what the song actually needs.
Whichever order you choose, the sequence within each track stays the same: static balance first, then corrective EQ, then compression, then space (reverb and delay), then automation last. Your groups and buses, already built in the prep stage, let you make decisions on eight drum tracks at once rather than repeating the same EQ move eight times individually.
- Choose bottom-up (rhythm section first) or top-down (vocal first) based on the song
- Work each track through static balance, EQ, compression, then space
- Use group buses to apply decisions across whole instrument families at once
- Save automation for last, once the balance and tone decisions are settled
Pro Tip: Write two or three lines of session notes stating what this mix is trying to achieve, "aggressive rock mix, vocal needs to cut through dense guitars," before you start. Read it back at the end to check you actually delivered it.
How does AubioMix fit into a pre-mix checklist?
Once your session is organised, gain staged, and roughly balanced, bounce a rough mix and run it through AubioMix before you commit to a full mixing pass. The report flags issues an engineer's ears might miss after hours of staring at the same session, frequency masking between two instruments fighting for the same space, a loudness target that's off before mastering, phase problems between doubled tracks, or clipping that crept in during your gain staging pass.
Run it again after your groups and buses are set, and you'll typically get a fresh list of specific, actionable items rather than vague advice, exactly which frequency range is congested, whether your stereo width is too narrow or too wide, and how your loudness compares to a released track in your genre.
- Bounce a rough mix once gain staging and rough balance are done
- Check the EQ balance and frequency masking report for congested ranges
- Review the loudness, phase, and noise/clipping sections before your first EQ move
- Download the PDF report and keep it as a version log alongside your session snapshot
Pro Tip: Treat the AubioMix report as your last prep step, not your first mixing decision. It's most useful once the obvious problems, bad gain staging, clashing routing, unlabeled chaos, are already sorted, so the feedback you get is about the music, not the mess.
AubioMix doesn't replace your ears or your judgement. It catches the objective, measurable problems, loudness, phase, frequency conflicts, that are easy to miss after a long session, and hands you a specific list of what to fix before you spend hours mixing around a problem that a five-minute upload would have flagged.
Why a strict prep checklist actually saves mixing time
Every hour spent on session prep buys back several hours of mixing time later. The engineers who skip this step are the ones who discover, two hours into a mix, that half their reverb sends point at a bus that got deleted during tracking, or that the "final" vocal comp was actually the second-to-last take.
A tidy, templated session with consistent naming and routing lets you start making creative decisions within minutes of opening the project, rather than losing the first half hour to detective work. That's not a minor convenience. Treat this checklist as a ritual you run before every mix, not a one-off exercise, and the payoff compounds over every project that follows.
Frequently asked questions
What should I do first when organising a mix session? Make a safe, clearly named copy of your tracking session before you edit anything, then consolidate every audio file, sample, and printed MIDI part into one project folder.
How much headroom should I leave before mixing? Aim for individual tracks peaking around -12 to -6 dBFS, using clip gain rather than faders to fix level problems before any processing goes on.
Do I need to fix timing and tuning before mixing? Only where it's genuinely a problem. Fix obvious drift between doubled parts or a bass note fighting the kick, but leave performance-driven timing quirks alone.
Should reverb and delay go on individual tracks or a send? Use send/return aux channels for reverb and delay wherever possible. It saves CPU and keeps every instrument routed through it sitting in the same shared space.
Where does AubioMix fit into the checklist? Run it last, once your session is gain staged, routed, and roughly balanced. It's a final automated pre-mix check for loudness, phase, and frequency masking issues, not a substitute for the earlier prep steps.
Sources
- In the studio: the fix-it before you mix it checklist
- How to mix music
- Prepare a mix session: 10 simple steps for clean mixes
- Session organization & gain staging
- How to set up your mixing sessions like a pro