

Reference track analysis is the habit of comparing your mix with a finished record you admire, one element at a time, so you hear exactly where your tone, level, width and dynamics differ. It only works if the comparison is fair: a well-chosen reference, matched loudness, and a clear question for every listen. Get those three right and a reference becomes the quickest honest feedback you can get in your own studio.
Below is the workflow we use and recommend: how to choose a reference, how to level-match it, how to read EQ balance without being fooled by a graph, and which mistakes make a comparison lie to you.
TL;DR
- Choose a finished record in your genre with the qualities you want, in the best file quality you can get (WAV or AIFF, not low-bitrate MP3).
- Match perceived loudness before you judge anything. A louder track sounds fuller in the lows and brighter in the highs, even when it is not.
- Compare one element at a time, in equivalent song sections, in short bursts. Use analysers as supporting evidence, never as the verdict.
- Genre frequency targets are ranges, not rules. Use them to spot outliers, then decide with your ears and your song's intent.
- Write down what you find as a list of actions, then fix, bounce and compare again.
Table of Contents
- What reference track analysis actually tells you
- Choosing a reference worth analysing
- Level matching for a fair A/B
- How to listen: short bursts, one element at a time
- Analysing EQ balance against a reference
- Frequency balance targets by genre: how to read them
- Mistakes that make a comparison misleading
- Turning your notes into a mix plan
- Get a written plan for your own mix
- A worked example: comparing a chorus
- FAQ
- Sources
What reference track analysis actually tells you
A reference track is a finished recording that guides your decisions during production, mixing or mastering. Analysis is the structured part: instead of vaguely thinking "mine sounds smaller", you break the difference down.
In mixing, a reference can help you compare tone, level balance, panning, effects and dynamics of one song against another. In mastering the focus widens to tonal balance, loudness and crest factor (the gap between peaks and average level).
MusicRadar adds a few more things a reference can reveal: tempo, stereo spread and depth, phase or muddy-frequency problems, beat energy, and how the instrumentation supports the hooks. The same article carries a useful warning: learn the structural and sonic lessons, but don't copy another artist's creative decisions wholesale.
Here is a quick map of what to check and the question to ask yourself:
| Area | The question to ask |
|---|---|
| Loudness | Are we sitting at a similar perceived level once matched? |
| Dynamics | Does mine breathe, punch and sustain like the reference, or is it flatter (or wilder)? |
| Tonal balance | Is the low end, lower mids, presence and air in a similar proportion? |
| Stereo width | Do the wide elements and the centre elements sit where I expect? |
| Depth and effects | Is the reverb and delay level similar, and does it change between sections? |
| Vocal level | Is the vocal as present against the band as it is on the reference? |
Choosing a reference worth analysing
The quality of the analysis can't be better than the reference you pick. A few principles that hold up across the engineers we respect:
- Match the song, not only the genre. Compare arrangement density, low-end design, the role of the vocal, tempo and energy, and the era's aesthetic. Logic Pros suggests adding another reference only when it answers a distinct question.
- Know it deeply. Bobby Owsinski recommends choosing a track you know extremely well rather than one simply because another engineer uses it, and using several references with different sonic characteristics.
- Use the best file you can get. Aim for a lossless WAV or AIFF, since the lossy formats strip detail you are trying to judge.
- Keep it attainable but aspirational. A record that sounds a little beyond what you can do yet pushes you to improve is a better teacher than one you already match.
A good practical habit: keep a small folder of three to five references per genre you work in, each chosen for a reason (this one for the low end, that one for vocal level, another for width). Label them with that reason, so a year from now you remember why they are there.
Level matching for a fair A/B
This is the step most people skip, and it ruins everything after it. Human hearing is not flat or linear with level. According to Sound on Sound, as sound pressure rises our sensitivity at the frequency extremes rises faster than through the midrange. A record played 2 dB louder sounds fuller at the bottom and more open at the top, and a difference of a few tenths of a decibel is enough to skew a preference judgement.
Translation: if your mix is slightly quieter than the reference, it will sound thin and dull, and you will reach for EQ you don't need. If it's slightly louder, you will think it's great, then be puzzled on a different day.
A simple level-matching routine
- Pick equivalent sections. Compare chorus with chorus, verse with verse. Don't match a whole-song average to a single section.
- Measure short-term loudness. Logic Pros recommends measuring a representative section with short-term LUFS, then reducing the louder source with a reversible gain trim until switching produces no obvious jump. LUFS (Loudness Units relative to Full Scale) measures perceived loudness rather than peaks.
- Turn down the louder side. Don't turn up the quieter one, or you risk clipping your own mix.
- Keep the reference outside your master chain. Your limiter and master-bus processing should not touch the reference.
- Finish by ear. The numbers get you close. Your ears settle the last fraction of a decibel.
There is no universal LUFS number you should hit for this. The same Logic Pros guide notes that the point is to match the two sources to each other at a comfortable monitoring level, then confirm by ear.
One more habit: don't touch the monitor volume during a comparison session. Set a comfortable level on your speakers and leave it there, so every switch is judged under identical conditions.
How to listen: short bursts, one element at a time
Once levels match, resist the urge to listen to everything at once. Switch in short passes of a few seconds and pick a single target each time: the kick, the snare, the bass, the vocal. Ask one question per pass.
Our favourite prompts:
- Is the low end tighter or looser than the reference?
- Is the vocal sitting higher or lower against the drums?
- Does the top end feel airy, or harsh and brittle?
- Does the stereo image feel as wide, and is the centre as solid?
- Does the chorus lift the way the reference chorus lifts?
Then write each answer down in plain words ("vocal about 1 dB low in chorus", "bass boomy around 200 Hz"). A note you can act on is worth ten feelings.
If you want a structure for the order, one proven approach is to go through perceived level, dynamics, EQ, panning, then imaging and transients. Waves lays out exactly that five-step sequence.
Analysing EQ balance against a reference
Tonal balance is where most reference sessions end up, and where graphs tempt us into mistakes. Here is how to use both ears and eyes sensibly.
Start with your ears, range by range
Work up the spectrum and judge each region in turn:
- Low end (roughly below 100 Hz): is it full without being overpowering or muddy?
- Lower mids (250 to 500 Hz): is there a buildup that makes the mix feel boxy or cloudy?
- Mids (around 1 kHz): do the vocal and lead instruments sit forward or recede?
- Upper mids: is there clarity and bite, or harshness?
- Highs and air: is there openness, or is it dull or sizzly?
That range-by-range approach follows the Waves method, and it works because it makes a big fuzzy impression into a short checklist.
Then confirm with an analyser
A spectrum analyser is a useful second opinion. A workable setup, based on Brent Hendrich's tonal balance workflow:
- Level-match the reference and your mix first.
- Use identical analyser settings on both.
- Capture or overlay the reference spectrum on your mix output.
- Inspect the low end below 100 Hz, any buildup between 500 Hz and 1 kHz, and the activity above 10 kHz.
If your DAW has a built-in comparison tool, the same logic applies. In Cubase's Spectral Comparison EQ, for example, the overall shapes or slopes of the two curves can indicate tonal-balance similarity, while the vertical axis also reflects level differences, which is one more reason to match levels first.
Don't EQ from the graph alone
This is the key caution. Waves cautions that matching EQ from a graph alone is inappropriate, because individual-programme variations make every graph track-specific. A reference with constant hi-hats will show more energy at 8 to 12 kHz than a sparse ballad, and that's the arrangement, not the mix. Use the analyser to find where to listen, then decide by ear.
Frequency balance targets by genre: how to read them
Producers often ask for numbers: "how much low end should a trap mix have?" There are tools offering genre target curves, and it is true that genres have distinct, well-defined tonal balances. A target curve is, however, a projection of typical energy distribution and not the tonal balance of your actual song.
Treat targets like this:
- As ranges. Hip-hop and EDM will usually carry more sub energy than folk or acoustic material. Your song can sit anywhere inside a healthy range.
- As outlier detectors. If your low mids are far above the typical range for your genre, that is worth a closer listen. If you are slightly off in the highs, it may be a deliberate choice.
- As a second opinion for your references. If your chosen reference is itself an outlier for its genre, you will want to know that before you copy it.
- Section by section. Separate verse, chorus and drop readings are more honest than a single whole-song average.
If you want real measured numbers to sit beside your own, we publish mix and mastering benchmarks by genre, including a view for acoustic material. Use them the way you would use any target: to see whether you are inside the neighbourhood, and then to make a creative decision.
Mistakes that make a comparison misleading
Most bad reference sessions come from the same handful of errors:
- Unmatched loudness. Covered above, and the biggest one. Peak-normalising is not the same as matching perceived loudness.
- An unrelated reference. A sparse acoustic record is a poor guide for a dense electronic arrangement.
- Ignoring arrangement. Different instrumentation changes the spectrum, so compare similar sections.
- Ignoring your room. If your monitoring has a bass hump or a dip, your comparisons carry it too. Cross-checking on headphones, a small speaker and a car helps.
- Treating a matching graph as a matching sound. Two spectra can look alike while dynamics, masking and phase behave very differently.
- Copying creative decisions. Borrow the lesson (for example, a controlled low end), not the artist's identity.
- Using a low-quality file. A compressed streaming rip can mislead you about the top end and the transients.
Turning your notes into a mix plan
Analysis is only useful if it ends in changes. Here is a loop that keeps sessions productive:
- Level-match and A/B one section.
- Note three differences at most, ranked by how much they affect the listener.
- Change one thing per difference (a broad EQ cut, a bus level, a send level).
- Re-match levels, because your changes may have shifted loudness.
- Compare again, then rest your ears and revisit the next day.
Work on the big moves first: balance, low end, vocal level. Fine detail comes after. For a larger workflow around this, our guide to step mixes shows how to break a mix into clear stages, and the benefits of reference tracks in mixing goes deeper into why this habit pays off.
Our perspective: a reference tells you where, a report tells you what to do
We love reference tracks. They are the fastest way to calibrate your ears. But we have seen the same pattern again and again: a producer hears that their mix is "not quite there" and can't translate the feeling into a move.
That is why we built AubioMix around specific, actionable steps across 15+ areas of mixing and mastering, from compression and EQ to frequency masking, stereo width, phase and loudness. Each report combines objective measurement with subjective guidance, and the framework behind it is shaped by our founder, a multi-award winning mix engineer with 20+ years of experience, and updated to reflect current genre standards.
Use your reference to learn what great sounds like. Use a detailed report to find out what your own file needs next. Together they close the loop quickly.
AubioMix
Get a written plan for your own mix
When you have compared by ear and still aren't sure what to fix first, upload the mix and let the analysis do the structured part. You get visual and written reports, specific steps for each area, and a downloadable PDF you can work through in your DAW.
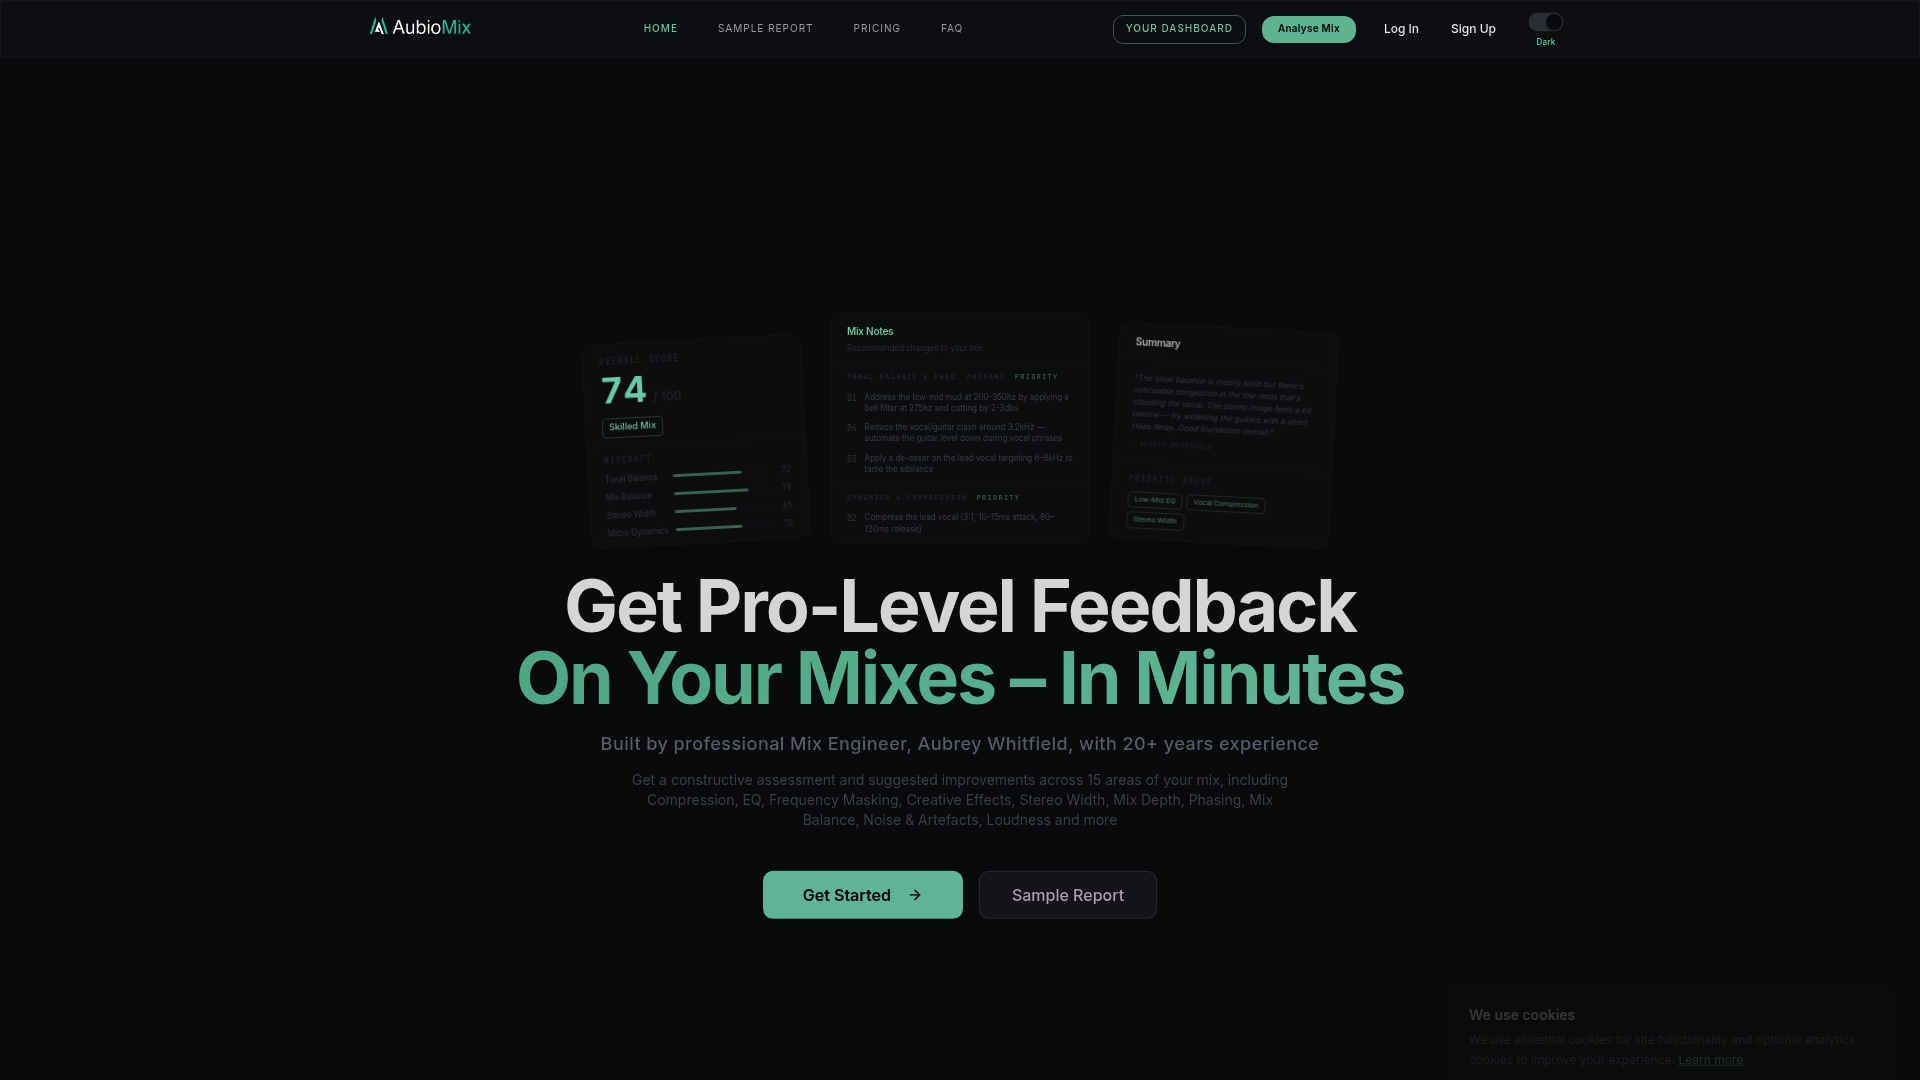
Our pricing page lists 1 Mix Review at £4.99, 1 Reference Pass at £2.99, and monthly plans: Professional at £19.99 per month and Professional + at £34.99 per month. You can see how the criteria are organised in the evaluation framework, or start on the AubioMix home page.
A worked example: comparing a chorus
To make this concrete, imagine a pop-leaning chorus you have just finished, and a reference you love.
First, you loop the reference chorus and your chorus, and use short-term loudness to bring them to within about half a decibel of each other. You leave the monitor volume alone.
Next, you listen in short passes. On the kick and bass pass, your low end feels looser and a bit woolly. On the vocal pass, your lead sits slightly behind the snare. On the width pass, your backing vocals feel narrower than the reference's.
Then you bring up the analyser with identical settings. It shows a bump between 200 and 300 Hz on your mix that the reference doesn't have, which agrees with what you heard. It also shows less energy above 10 kHz, but the reference has a shimmering percussion loop your arrangement lacks, so you leave that alone for now.
Your action list is short: a gentle cut in the low mids on the bass or a bus, a small vocal lift, and widen the backing vocals. You apply them, re-match levels and compare again. Three moves, each with a reason, none of them copied from a graph.
For imaging checks specifically, our piece on mix imaging consistency walks through a quick measurement routine, and sidechaining the bass to the kick is a common remedy when the low end feels cluttered. If you want a broader toolkit, see our mixing tricks.

FAQ
Do I need a reference track for every mix?
Not for every single step, but it is wise to check against one at key moments: after the rough balance, after the main EQ and compression moves, and before you bounce. A reference keeps your ears calibrated when they have drifted after hours of work.
How many reference tracks should I use?
A small set works best. Use one to three per project, each answering a different question, such as low end, vocal level or width. More than that tends to produce conflicting goals and slow you down.
What file format should my reference be?
Use a lossless file such as WAV or AIFF whenever possible. Lower bit-rate and lossy formats like MP3 discard detail in the highs and transients, which are exactly what you are comparing.
Is it okay if my mix doesn't match the reference's spectrum exactly?
Yes. A reference is a guide to direction, not a template. Differences in arrangement, instrumentation and artistic intent will always show up, so aim for a similar overall balance and trust your ears for the final call.
Sources
- How to Use Reference Tracks in a Mastering Session
- Reference tracks can be your secret weapon when mixing (MusicRadar)
- How to Use Reference Tracks in Logic Pro
- The Ins And Outs Of Reference Tracks (Bobby Owsinski)
- What should I upload as a reference track?
- What References Are Good For (Sound on Sound)
- The Science of Mix Referencing: The 5-Step Method
- How I Use Voxengo's Span Plus for Tonal Balance and Reference Mixing
- How To Use Cubase's Spectral Comparison EQ (Sound on Sound)
- What is Tonal Balance in Mixing and Mastering?