
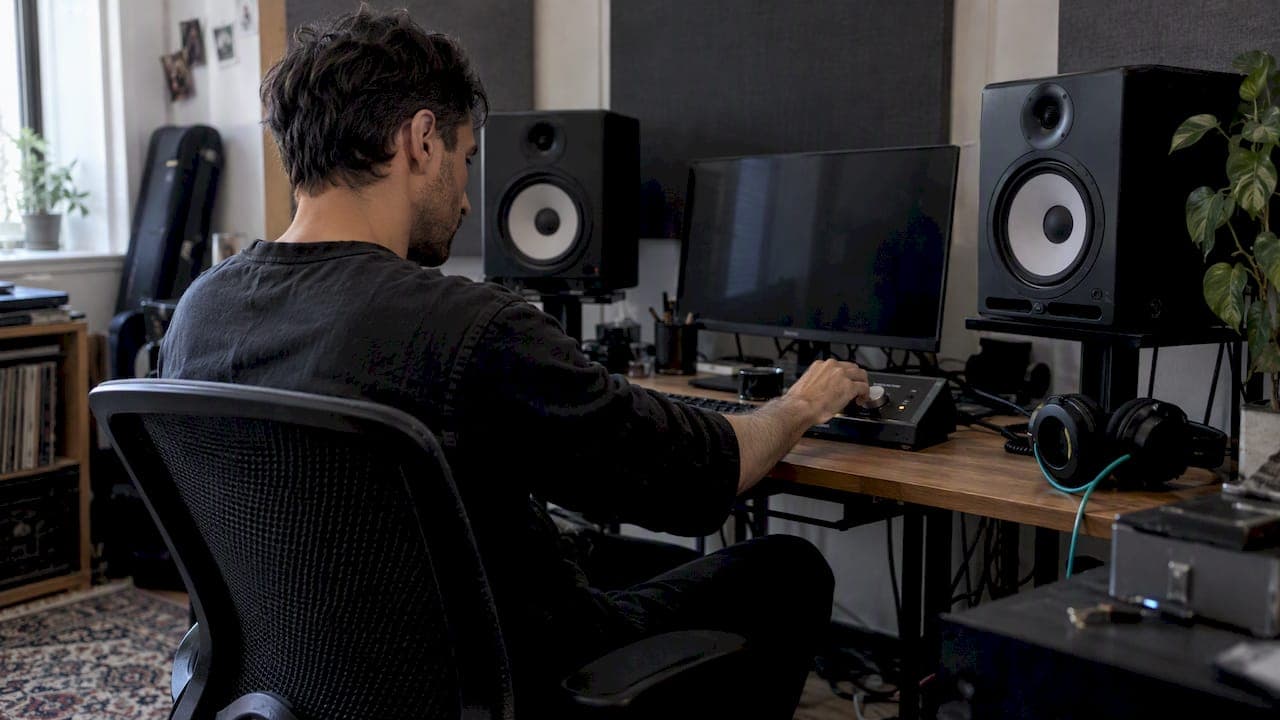
Mix imaging consistency means your stereo balance, perceived width and spatial placement stay coherent from the first bar to the last, and across every system your listeners use. The single highest-impact move is to lock your low end to mono and run a phase-correlation and mono-sum check early, before you touch a widener. We lean on tools like AubioMix, the ITU‑R BS.1770 loudness framework and phase-correlation metering to make that check fast and repeatable.
TL;DR:
- Keep bass frequencies below 150 Hz mono to ensure clean summing across different systems and prevent phase cancellation in the low end.
- Run phase-correlation and mono-sum checks on every bus and the master to identify mono-compatibility issues early in the workflow.
- Use metering tools like phase-correlation meters and vectorscopes to monitor stereo image health, paying attention to sustained negative correlation readings.
- Test mixes across multiple playback devices, including monitors, headphones, phones, and car speakers, to catch translation issues before final release.
- Regularly verify and adjust stereo imaging during automation and arrangement changes to prevent drift, maintaining a fixed mono center and rechecking after each modification.
Table of Contents
- Quick checklist for immediate consistency fixes
- Meters and measurements: what to read and why it matters
- Mixing techniques that preserve consistent imaging
- Mix bus and mastering prep: safety nets for imaging translation
- How to verify translation: test systems and an efficient listening sequence
- Real-world workflow: building imaging consistency into your process
- Addressing and correcting stereo image issues caused by plugin latency or delay
- Impact of room acoustics and monitoring setup on perceived stereo imaging
- Maintaining imaging consistency during automation and arrangement changes
- Author perspective: why consistency beats flashy width
- How AubioMix helps you guarantee imaging consistency
- FAQ
- Sources
Quick checklist for immediate consistency fixes
Before you chase a wider mix, fix the fundamentals that break translation first. We run this sequence on nearly every session, and it rarely takes more than fifteen minutes.
- Make everything below 100 to 150 Hz mono. Low frequencies carry most of your mix's energy and mono bass sums cleanly on every system, from club subs to phone speakers.
- Run a phase-correlation and mono-sum check on every bus and on the master, not just the final export.
- Pull up a reference track and match your perceived width band by band rather than guessing at the whole mix.
- Skip heavy stereo wideners on the mix bus or master. Reach for mid/side or band-split widening on the top end instead.
- Save a snapshot before any wide-reaching change, so a bad widening decision is one click from undone.
Pro Tip: Bounce a mono sum of your rough mix and listen on a cheap phone speaker before you commit to any stereo processing. If it sounds hollow or thin there, fix that first.
Meters and measurements: what to read and why it matters
A good ear catches most imaging problems, but meters catch the ones that only show up on someone else's speakers. We treat metering as a second opinion, not a replacement for listening.
- Phase-correlation meters read between -1 and +1. Readings that float between 0 and +1 are healthy; a correlation meter sitting mostly in negative territory signals mono-compatibility trouble.
- Vectorscopes and side-energy meters show the shape of your stereo field at a glance, a tall vertical trace means a narrow, centred mix, and a wide circular trace means heavy decorrelation.
- Short negative dips on a correlation meter are normal and often musical; sustained negative readings are the ones worth fixing.
Historically, phase-correlation meters were used to check records would cut and sum safely to mono, a role Sound On Sound says they still serve today when you need to diagnose decorrelation before it becomes an audible problem.
Imaging also feeds into loudness. The ITU‑R BS.1770 loudness algorithm works across mono, stereo and multichannel signals, and its own testing notes that imaging and ambience affect how loud a programme is perceived to be. That is one more reason a meter-first workflow, solo check, bus check, master check, then a mono sum, pays off before you export anything.
Mixing techniques that preserve consistent imaging
Imaging consistency is built track by track, long before you reach the mix bus. A handful of habits keep the image stable rather than letting it drift as the arrangement grows.
- Pan with intent. Decide where each element sits and why, rather than nudging pan pots until things feel less cluttered.
- Use mid/side EQ and compression selectively. Carving width in the side channel, or tightening the mid channel, works well on pads and guitars but can thin out a lead vocal if overdone; our own guide to mid/side mistakes covers the usual traps.
- Widen by frequency, not globally. Keep the sub and low mids centred and apply width above that line, where decorrelation is far less likely to cause cancellation.
- Be cautious with Haas-effect tricks. Short delays between left and right can create a convincing sense of width, but they also introduce comb filtering that behaves unpredictably in mono; phase-safe widening plugins, covered in our stereo widening guide, are the safer default.
- Treat reverb as part of the image, not an afterthought. A wide, lush reverb return can destabilise an otherwise focused mix if it is not managed with its own width and low-cut settings; keep early reflections narrower than the tail and roll off reverb low end to protect mono translation.
Mix bus and mastering prep: safety nets for imaging translation
Whatever you have built track by track still needs protecting on the way out of your session. The mix bus and your export settings are the last places imaging problems can quietly creep in.
- Process the stereo bus conservatively. A gentle bus compressor and a light limiter are usually enough; anything that aggressively reshapes the stereo field at this stage is hard to undo later.
- Run a mid/side sanity check on the master before you bounce, confirming the mid channel still carries the core of the mix and the side channel has not swollen out of proportion.
- Keep loudness and true-peak practice in line with the principles behind ITU‑R BS.1770‑5, which continues to recommend standardised measurement across mono, stereo and multichannel material.
- Export at a sample rate and bit depth that avoids unnecessary resampling artefacts, and bounce a true mono version alongside your stereo master to catch late-stage phase surprises.
- Prepare stems for mastering: a dedicated mono bass stem, plus separate mid and side (or left and right) stems, give a mastering engineer the control to fix imaging issues without reopening your whole session.
Pro Tip: Always bounce a mono-summed safety copy of your final mix. It takes seconds and gives you an instant reference if a later playback test reveals a problem.
How to verify translation: test systems and an efficient listening sequence
Checking a mix once on your main monitors tells you almost nothing about how it will behave everywhere else. A short, repeatable sequence catches the issues that only appear on other systems.
- Start on near-field monitors in a treated position, listening for a stable, centred image.
- Switch to headphones and listen for anything that feels unnaturally wide or that collapses oddly in the centre.
- Sum to mono and listen for vocal loss, thinning bass or elements that vanish entirely.
- Play back on a small speaker or a phone, checking that the low end still reads as solid rather than disappearing.
- Where possible, test in a car or on a PA system, the environments most likely to expose masking and cancellation.
Document anything that sounds off at each stage and revert to a saved snapshot rather than patching over a problem live. Once you are happy, run a final automated pass checking mono LUFS, true peak and correlation, so the numbers back up what your ears already told you.
Real-world workflow: building imaging consistency into your process
We built our own workflow around four stages: prepare, measure, adjust, verify. Preparing means setting up your routing and loading a reference track before you touch a fader. Measuring means running the meter checks above on every bus. Adjusting means fixing problems at their source, not papering over them with a limiter. Verifying means working through the playback sequence before you call a mix finished.
- We analysed 'Mirror' by Sigrid using this same framework, flagging stereo width and mono-compatibility behaviour track by track.
- Our stereo imaging guide walks through the same three meters and mono check we use internally.
- Snapshots, annotations and repeat analyses let you track whether a change actually improved translation or just felt different in the moment.
Treat any analysis, ours included, as a verification step that confirms what your ears are telling you, never as a substitute for listening.
Addressing and correcting stereo image issues caused by plugin latency or delay
Plugin latency is an easy source of imaging drift that has nothing to do with your panning or widening decisions. When a plugin on one channel introduces a different processing delay than its neighbour, even by a few samples, the two signals arrive slightly out of time with each other. That misalignment shows up as subtle phase cancellation, a smeared centre image or a correlation meter that drifts negative for no obvious reason.
The usual culprits are linear-phase EQs, certain look-ahead limiters and some convolution reverbs, all of which can introduce noticeable latency compared with a simple minimum-phase plugin sitting on an adjacent track. Most digital audio workstations compensate automatically through plugin delay compensation, but that compensation can fail when plugins are bypassed, frozen or rendered differently between mix and export.
Catch this early by soloing suspect pairs of tracks, particularly stereo buses processed by different plugin chains, and watching the correlation meter as you toggle each plugin on and off. A sudden shift in correlation when you bypass a single plugin is a strong sign that plugin latency is the cause rather than your actual panning or stereo processing. Where your DAW allows it, check that delay compensation is active project-wide, and avoid freezing or rendering tracks mid-session unless you are confident the latency has been accounted for. A quick mono-sum check after any plugin change is still the fastest way to confirm nothing has shifted.

Impact of room acoustics and monitoring setup on perceived stereo imaging
Your room shapes what you hear just as much as your plugins do, and an untreated or asymmetrical space can make a perfectly balanced mix sound skewed. Reflections bouncing off a wall closer to one monitor than the other, furniture placed unevenly, or a monitor stand near a corner all colour the stereo image before a single fader move. If your listening position is not equidistant from both monitors, you will perceive width and centre placement that does not actually exist in the mix.
Monitor placement matters as much as room treatment. Keep both monitors at equal distance from your listening position, forming a roughly equilateral triangle, and keep them away from corners where bass build-up skews your sense of the low end. Basic acoustic treatment at the first reflection points, the spots on the side walls and ceiling where sound bounces directly into your ears, reduces the chance that your room is lying to you about width and centre focus.

The most reliable way to work around an imperfect room is to never trust it alone. Cross-check everything on headphones, which remove room influence entirely, and use the playback sequence described earlier to confirm what you are hearing on monitors holds up elsewhere. A reference track you know well, played through your own monitoring setup, also reveals quickly whether your room is adding width that is not really there or masking width that is.
Maintaining imaging consistency during automation and arrangement changes
Imaging that sounds locked-in during a verse can drift the moment you add a wide synth layer in the chorus or automate a filter sweep across a breakdown. Arrangement changes are one of the most common places consistency quietly breaks down, simply because each new element gets auditioned in isolation rather than against the full stereo picture.
Automate width and pan changes gradually rather than in sudden jumps, since an abrupt shift in stereo spread is far more noticeable, and more likely to cause a jarring translation issue, than a gradual move. When you add a new layer to a busy section, immediately recheck your correlation meter and mono sum rather than waiting until the whole arrangement is finished, because problems compound quickly when several wide elements stack on top of each other.
Keep a reference point fixed through the arrangement: if your low end and central vocal are locked to mono throughout, you give yourself a stable anchor against which every other automated move can be judged. Revisit your saved snapshots whenever you make a structural change, comparing the new section against the earlier one to confirm the stereo field has not quietly widened or narrowed without your intention. Automation should shape energy and interest, not accidentally become the reason a chorus falls apart on a phone speaker.
Author perspective: why consistency beats flashy width
We would rather hear a mix that sums cleanly to mono than one that sounds huge on expensive monitors and collapses everywhere else. Width is easy to fake and easy to overdo; mono compatibility takes discipline. Measure, document, revert where needed, and treat this checklist as routine rather than an afterthought.
— AubioMix
How AubioMix helps you guarantee imaging consistency
We built AubioMix as an online mix analysis tool specifically so you do not have to run every one of these checks by ear alone. Upload a mix and our reports cover stereo width, phase behaviour, low-end mono compatibility and translation across devices, with both visual and written feedback you can act on straight away.

Our analysis of 'Mirror' by Sigrid shows the depth of that feedback in practice. A single mix review costs £4.99, and our Professional plan at £19.99 per month gives you a fixed number of reviews each month if you want to check imaging consistency as a regular part of your workflow.
FAQ
What does mix imaging consistency actually mean?
It means your stereo balance, perceived width and spatial placement stay coherent from section to section and across different playback systems. A mix with good imaging consistency sounds centred and solid whether it is played on studio monitors, headphones or a phone speaker.
Why should I keep bass frequencies mono?
Low frequencies below roughly 100 to 150 Hz carry most of a mix's energy, and keeping them mono means that energy sums cleanly on every system, including mono club subs and small speakers. Stereo bass below this range often causes phase cancellation that weakens the low end when summed to mono.
What should a healthy phase-correlation reading look like?
A phase-correlation meter reading that floats between 0 and +1 is generally healthy, with occasional brief dips into negative territory being normal. Sustained negative readings signal a real mono-compatibility risk that is worth investigating.
How much does AubioMix cost to check a mix?
A single mix review on AubioMix costs £4.99, and our Professional subscription at £19.99 per month includes a set number of reviews each month. A Professional + plan at £34.99 per month is also available for producers who need more frequent feedback.
How often should I test my mix on different playback systems?
Run the full translation check, near-field monitors, headphones, mono sum, then a small speaker or phone, at least once before you consider a mix finished, and again after any significant arrangement or widening change. Catching an imaging problem early is far easier than discovering it after the mix is mastered and released.
Sources
- Algorithms to measure audio programme loudness and true-peak audio level (Rec. ITU‑R BS.1770‑4)
- Q. What are my phase-correlation meters telling me? — Sound On Sound