
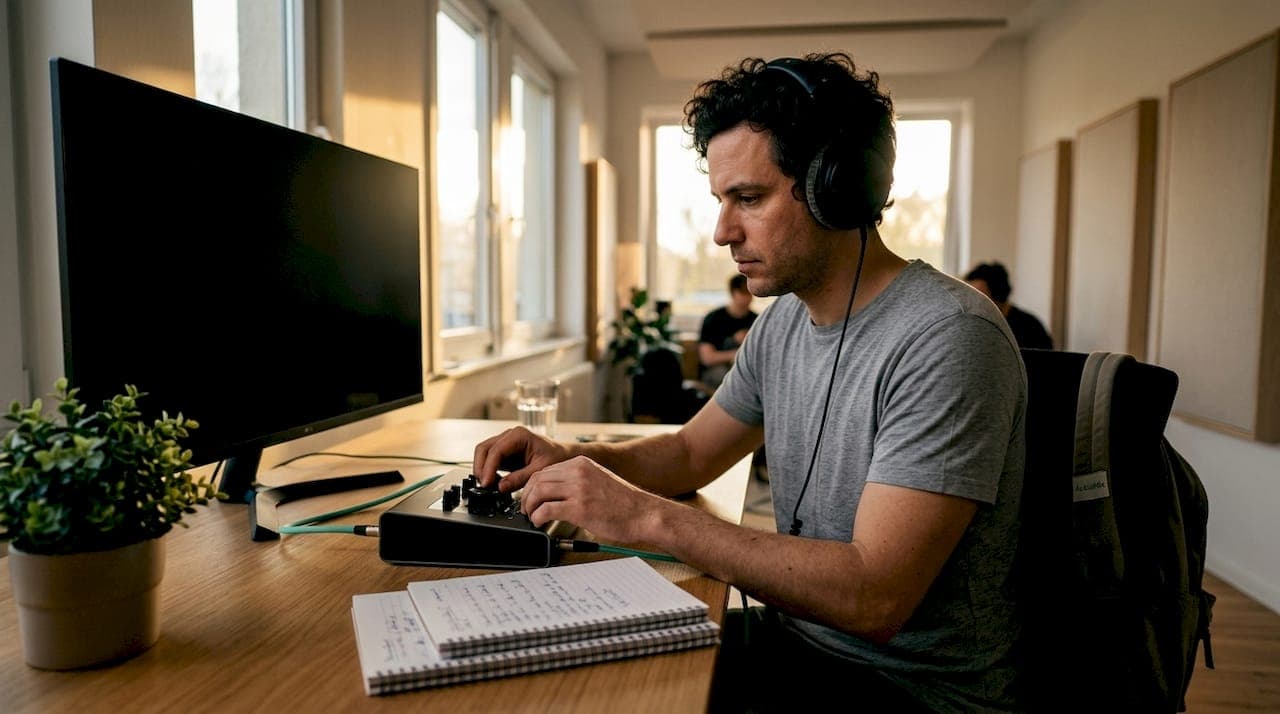
Converting rough ideas into mixable tracks is the process of taking a raw musical concept, whether a hummed melody, a chord sketch, or a groove loop, and developing it into a clean, well-structured audio session that a mix engineer can work with professionally. The industry term for this full workflow is music production, and it spans four distinct phases: capture, arrange, edit, and mix preparation. Most independent artists stall between phases one and two, losing momentum before a single bar of structure exists. This guide walks you through each phase with practical methods, modern AI tools, and the mindset shifts that actually get tracks finished.
What essential tools and preparation do you need to convert ideas into mixable tracks?
The right setup removes friction before inspiration arrives. You need a DAW (digital audio workstation), an audio interface with at least one clean microphone or instrument input, and a pair of studio headphones or monitors. Beyond hardware, your session preparation determines how smoothly the rest of the process runs.
Before recording a single note, set your tempo, key, and chord progression. These three decisions anchor every subsequent choice, from drum patterns to vocal phrasing. Reference tracks are equally important. Choose two or three released songs that match the energy and genre you are aiming for, and keep them open in your session for comparison throughout.

AI-driven tools can generate full multi-track arrangements from text prompts, providing stems, chord summaries, and genre-specific markers to help you move from a blank session to a working draft faster. These tools work best as a starting point, not a finished product.
Session organisation is the unsung hero of a clean mix. Label every track clearly from the start: "Lead Vox," "Kick," "Bass DI," "Pad Layer 1." Colour code your groups. A well-labelled session saves hours when you hand files to a mix engineer or return to the project after a break.
Key preparation checklist:
- Set gain staging so recorded inputs peak around -18 dBFS, leaving plenty of headroom
- Create a dedicated reference track channel and match its loudness to your session
- Label and colour code every track before recording begins
- Decide on song sections (intro, verse, chorus, bridge, outro) before arranging
- Save a session template so future projects start with this structure already in place
Pro Tip: Set a master tempo and time signature before you record anything. Changing tempo mid-project after recording live audio creates timing nightmares that eat hours of editing time.
How to effectively capture and build from your initial musical idea
The first rule of capturing a musical idea is to prioritise emotion over sound quality. A scratchy voice memo of a melody is more valuable than a perfectly recorded version of the wrong idea. Get the concept down immediately, using whatever is available, and refine the sound later.
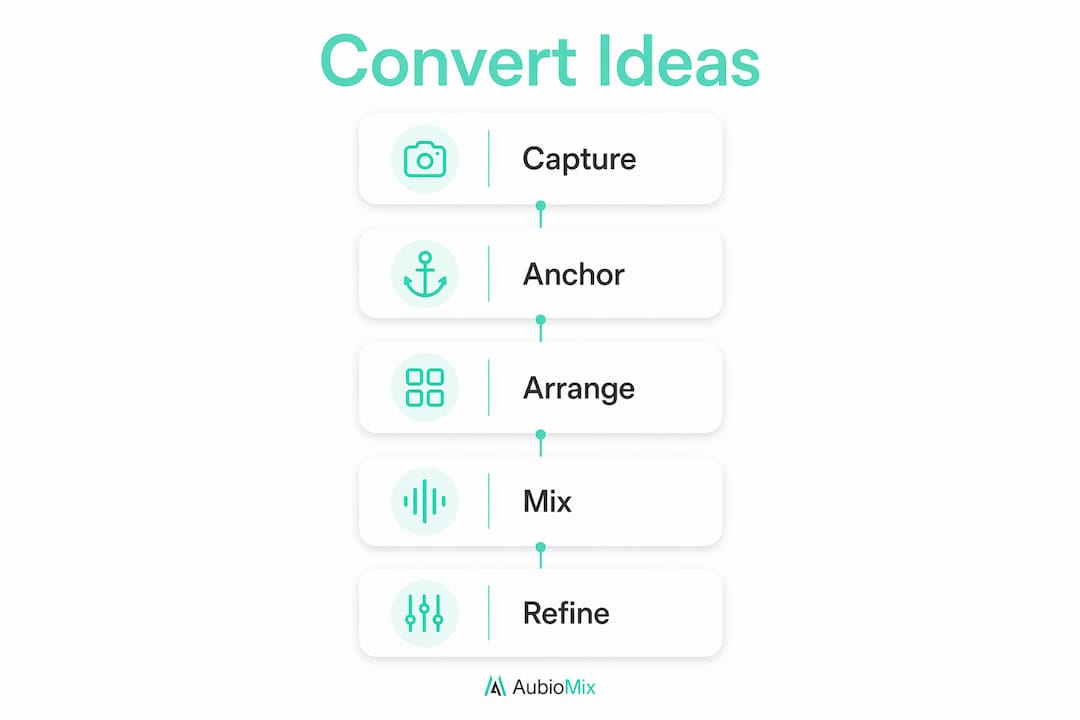
Once you have the core idea recorded, anchor it to one of three musical pillars: a melody, a groove, or a chord progression. These pillars give you something concrete to build around. A melody suggests a harmonic world. A groove suggests a rhythmic feel. A chord progression suggests both mood and movement.
The most common trap at this stage is the four-bar loop trap. Producers build a satisfying four-bar loop and then repeat it endlessly, never creating the contrast that makes a song feel like a song. The solution is subtractive arranging, which duplicates your loop across a full timeline and then removes elements to create distinct sections. A verse might strip back to kick, bass, and a single pad. A chorus brings everything back in. This method builds structure in minutes rather than hours.
Here is a practical sequence for building your first full arrangement:
- Record or import your core idea into your DAW as a loop
- Duplicate the loop across a three-minute timeline to fill the full song length
- Identify your chorus section and mark it as the fullest, most energetic moment
- Strip elements back in verse and pre-chorus sections using mutes, not deletions
- Add a contrasting bridge section by removing the main groove and introducing a new texture
- Place ear candy elements, such as a riser, a vocal chop, or a reversed cymbal, every eight bars to maintain listener interest
Pro Tip: Never delete muted clips during the arrangement phase. Keep them in place so you can restore them quickly if a stripped section feels too bare.
Separating your arrangement phase from your mixing phase prevents decision fatigue. Finish the full arrangement before you touch a single EQ or compressor. This discipline alone dramatically improves track completion rates.
Best practices for editing and refining rough recordings
Editing is where raw recordings become usable material. The goal is not perfection. The goal is clarity without destroying the natural feel of the performance.
Start by cleaning noise and artefacts between phrases. Silence the gaps between vocal lines, guitar takes, and spoken sections. Use short fades at the start and end of each clip to prevent clicks. Do not over-edit: removing every breath or micro-timing imperfection strips the humanity from a performance and makes it feel robotic.
- Comp multiple takes by listening through each one and selecting the best phrases, then assembling them into a single composite track
- Apply light timing correction to drums and bass where needed, but avoid locking everything to the grid unless the genre demands it
- Remove low-end rumble from non-bass tracks using a high-pass filter set around 80–100 Hz
- Check for phase issues when using multiple microphones on the same source
- Set relative volumes so the lead element, usually the vocal or hook instrument, sits clearly above everything else
Professional mix engineers value rough mixes as emotional roadmaps, not polished tracks. A rough mix with a clear focal point and a sensible spatial layout tells the engineer exactly what the song is about before they touch a fader.
Mixing balances technical level and frequency management with artistic intent to convey emotion and space. Naming one technical goal and one artistic goal before you edit sharpens every decision you make. For example: "Technical goal: clean low end. Artistic goal: the vocal feels intimate and close."
Pro Tip: Use your reference tracks constantly during editing. If your vocal sits noticeably louder or quieter than the vocal on your reference, adjust before moving to mix preparation.
How to create a rough mix that preserves dynamic headroom
A good rough mix communicates your artistic vision without boxing in the mix engineer. A clean rough mix with sufficient headroom preserves dynamics and detail, enabling the engineer to enhance rather than repair your session. The target is a mix that peaks around -6 dBFS on the master bus, with no limiting or heavy compression applied to the master channel.
Follow this order when building your rough mix:
- Set static fader levels first, with no processing, until the balance feels right
- Apply panning to separate elements across the stereo field
- Add EQ to remove problem frequencies, not to sculpt tone at this stage
- Apply light compression to control dynamic peaks on individual tracks
- Check the master bus and confirm it peaks no higher than -6 dBFS with no limiter engaged
Many artists mistakenly apply limiters or heavy mastering to their rough mixes, which destroys the dynamic headroom that engineers need. This forces the engineer to undo damage rather than improve the sound. Remove every plugin from your master bus before exporting stems or a rough mix for a professional.
AI tools can help you achieve a quick rough balance, particularly for level setting and basic panning. However, AI mixing tools solve standard technical problems but struggle with nuanced artistic choices such as preserving vocal grit or emotional effect. Use AI for a first-pass balance, then refine by ear.
| Rough mix element | Recommended approach |
|---|---|
| Master bus peak level | No higher than -6 dBFS |
| Limiting on master bus | None. Remove all limiters before export |
| Panning | Lead vocal centred, instruments spread across field |
| Reference tracks | Include in session for loudness comparison |
| Stems export | Label clearly: "Drums," "Bass," "Vox," "Keys" |
Pro Tip: Send your mix engineer a short context note alongside your stems. Describe the emotional feel you want, name your reference tracks, and flag any elements you are attached to. This note is worth more than any amount of extra processing.
When working with a mix engineer's workflow, understanding whether they prefer a "fresh start" or a "match and improve" approach shapes how you present your rough mix. A match-and-improve engineer treats your rough as a creative statement and builds from it. Knowing this upfront saves revision cycles.
Troubleshooting common challenges when turning rough ideas into tracks
Every producer hits the same walls. Recognising them early means you spend less time stuck and more time finishing.
- The loop trap: If you have been listening to the same four bars for two hours, you are in the loop trap. Force yourself to duplicate the loop and mute elements immediately. Structure breaks the spell.
- Endless tweaking: Set a hard deadline for each phase. Give yourself one session for arrangement, one for editing, one for rough mix. Deadlines create decisions.
- Ear fatigue: Artists often get stuck obsessing over imperfect rough mixes, leading to burnout. Taking mandatory breaks resets your ears and restores perspective. Step away for at least 30 minutes before any critical listening session.
- Knowing when to hire a professional: If your rough mix sounds muddy despite clean editing and sensible levels, book a session with a mix engineer. The mix readiness checklist is a useful self-assessment before that conversation.
- AI tool limitations: AI mixing handles technical averages well but lacks the context of your artistic vision. Use it to identify obvious problems, then make the final calls yourself.
"The most common failure among independent producers is infinite revision and fear of finishing. Finishing an imperfect mix teaches you more than perfecting one that never gets completed. Ship the track, learn from it, and apply that knowledge to the next one."
Perspective: what I have learned about finishing tracks efficiently
The single biggest shift in my own workflow came when I stopped treating arrangement and mixing as one continuous task. They are completely different cognitive modes. Arrangement is creative and generative. Mixing is analytical and corrective. Trying to do both at once is like writing and proofreading the same sentence simultaneously. You end up doing neither well.
The second thing I have learned is that finishing imperfect mixes is the fastest route to improvement. The most common failure among independent producers is infinite revision and fear of finishing. Every track you complete teaches you something a tutorial cannot. The discomfort of releasing something imperfect is the price of getting better.
On AI tools: I use them, and I recommend them for specific tasks. They are genuinely useful for generating a starting arrangement or checking a rough balance. But AI mixing algorithms lack understanding of the artist's intention and often average out expressive or unusual elements. The vocal rasp that makes a performance special, the slightly off-grid snare that gives a groove its character: AI smooths these out. Human judgement preserves them.
My honest advice is this. Set your technical and artistic goals in writing before you start mixing. Know what you want the track to feel like, not just what you want it to measure like. That clarity changes every decision you make, from the first fader move to the final export.
— Aubiomix
How Aubiomix helps you get from rough mix to professional quality
Finishing a rough mix is one thing. Knowing whether it is actually ready for professional mixing or mastering is another challenge entirely.

Aubiomix is an online app where you upload your audio file and receive detailed, AI-driven feedback on your mix and mastering decisions, with specific steps you can act on immediately. The evaluation framework covers everything from gain staging and frequency balance to dynamic headroom and spatial placement. You get a clear picture of what is working and what needs attention, without waiting for a studio booking or a mix engineer's availability. Whether you are preparing stems for a professional or finishing the track yourself, Aubiomix gives you the structured feedback that closes the gap between a rough idea and a polished, professional-quality mix.
Key takeaways
Converting rough ideas into mixable tracks requires separating the arrangement phase from the mixing phase, maintaining clean headroom throughout, and using AI tools as assistants rather than replacements for human creative judgement.
| Point | Details |
|---|---|
| Separate arrangement from mixing | Finish the full song structure before touching EQ or compression to avoid decision fatigue. |
| Protect dynamic headroom | Keep the master bus peak below -6 dBFS and remove all limiters before exporting for a mix engineer. |
| Use subtractive arranging | Duplicate your core loop across the full timeline and mute elements to build distinct song sections quickly. |
| Label sessions clearly | Name every track and colour code groups so mix engineers can navigate your session without confusion. |
| Finish imperfect mixes | Completing tracks, even flawed ones, builds skills faster than endlessly revising a single project. |
FAQ
What does "mixable track" mean in music production?
A mixable track is a recorded session with clean, well-labelled audio files, sufficient dynamic headroom, and a clear balance between elements. It gives a mix engineer the space to enhance the sound rather than repair technical problems.
How do I avoid the four-bar loop trap when producing?
Duplicate your loop across a full three-minute timeline immediately after creating it, then mute elements to form distinct sections. This subtractive arranging method forces structure and breaks the repetition cycle.
Should I use AI tools to mix my rough tracks?
AI tools are useful for achieving a quick level balance and identifying obvious frequency problems. They struggle with nuanced artistic choices, so use them for a first-pass check and make the final creative decisions yourself.
How loud should my rough mix be before sending it to an engineer?
Your rough mix master bus should peak no higher than -6 dBFS with no limiter applied. This preserves the dynamic headroom that engineers need to shape and polish the final sound.
How do I know when my rough mix is ready for professional mixing?
Your rough mix is ready when every track is labelled, the balance is clear with a defined focal point, and the master bus has no limiting or heavy processing applied. Running it through a structured evaluation tool like Aubiomix can confirm readiness before you send it out.