

Trap beat mixing is the process of balancing and shaping core elements like the 808 sub-bass, kick drum, snares, hi-hats, and melodies to create a clear, punchy, and immersive sound. Getting this right separates a bedroom beat from a professional release. The trap beat mixing best practices covered here are grounded in real technique, not theory, and they address the specific challenges that trip up producers at every level. We will walk through gain staging, frequency carving, dynamic control, and stereo imaging so your mixes hit hard on every system.
1. Trap beat mixing best practices start with gain staging
Gain staging is the foundation of every great mix. Before you touch a single plugin, set all faders to zero and bring elements into the mix in a deliberate order. Start with the 808 sub-bass, then add the kick drum, then the primary snare or clap, then the main melody, and finally the hi-hats and percussion. This order reflects the frequency and energy hierarchy of trap music.
The reason this order matters is simple. Each element you add should sit comfortably around the ones already present. If you start with hi-hats and melodies, you lose your reference point for the low end, and the 808 ends up fighting for space it should own.
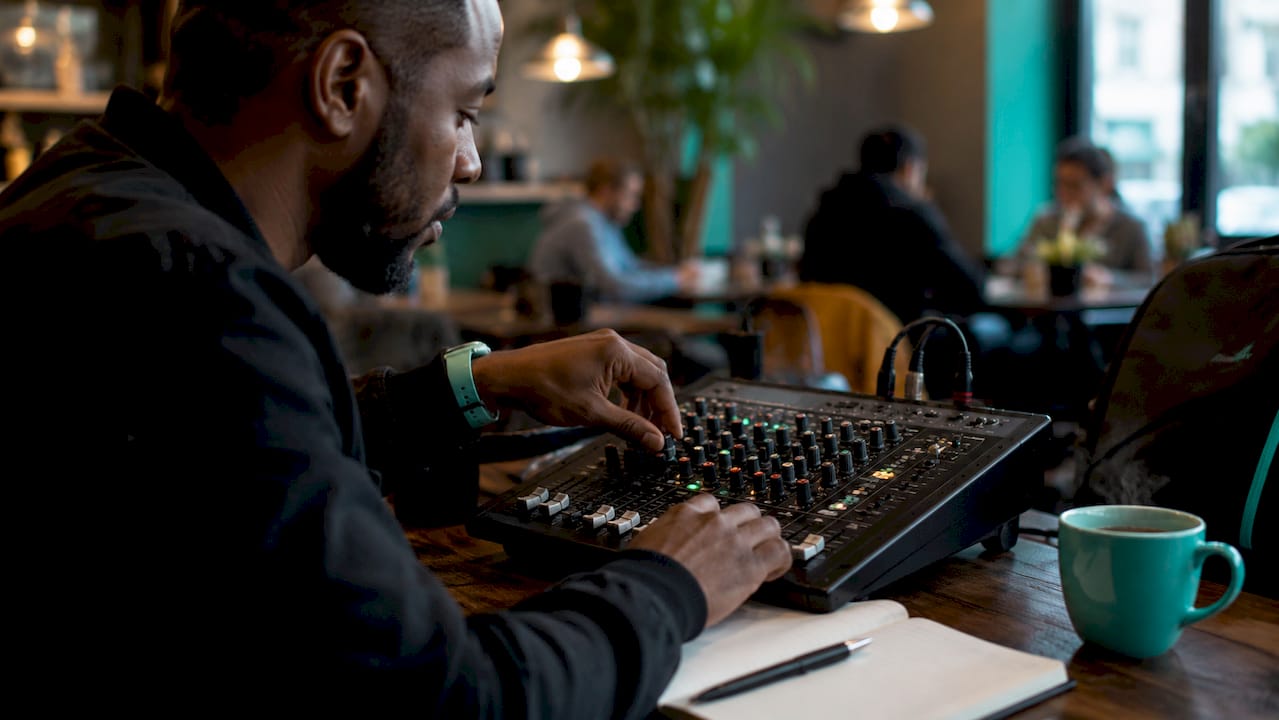
Maintain headroom of around 6–12 dB below 0 dBFS on your master bus before any limiting or clipping. This headroom gives your plugins room to breathe and prevents distortion from building up across the chain. Proper gain staging also means your compressors and EQs behave predictably, because they are responding to consistent signal levels rather than hot, clipping inputs.
Pro Tip: Use a gain plugin at the top of every channel strip to trim signals before they hit your EQ and compressor. This one habit alone will clean up your mixes faster than any single plugin purchase.
2. Carving frequency space between the 808 and kick
The relationship between the 808 and kick drum is the defining challenge in trap mixing. Both elements live in the low end, and without careful management, they will clash into a muddy, undefined mess. The goal is to give each element its own frequency territory so they reinforce rather than cancel each other.
Start by tuning the kick and 808 to harmonically related pitches. When the fundamental frequencies of these two elements align musically, they create a reinforcing low-end impact rather than phase cancellation. This is one of the most overlooked steps in trap production, and it pays off immediately.
Next, apply high-pass filters between 80 Hz and 150 Hz on every non-bass element in your mix. Synth pads, melodic leads, and even snares carry unnecessary low-frequency energy that muddies the mix without adding anything audible. Cutting this energy frees up headroom for the kick and 808 to punch through cleanly.
For the 808 and kick themselves, use subtractive EQ in the 200–500 Hz range to reduce the boxy, muddy buildup that accumulates in this zone. A cut of 2–3 dB on each element in this range opens up the mix considerably. Subtractive EQ is the professional approach because boosting frequencies adds energy and phase shift, while cutting removes what does not serve the sound.
Sidechain compression is the next layer of control. Set a fast attack of 1–5 ms, a medium release of 80–150 ms, and a ratio of at least 4:1 to duck the 808 briefly each time the kick hits. This creates the characteristic pumping feel of trap without making the 808 disappear entirely.
Pro Tip: Try nudging your 808 MIDI notes 5–20 milliseconds after the kick transient. This simple timing adjustment often produces better separation than complex sidechain routing alone.
| Frequency zone | Element | Treatment |
|---|---|---|
| 40–80 Hz | 808 sub-bass | Preserve and keep mono |
| 80–150 Hz | Non-bass elements | High-pass filter to remove |
| 200–500 Hz | Kick, 808, melodics | Subtractive EQ cut of 2–3 dB |
| 8–12 kHz | Hi-hats | De-esser or dynamic EQ to tame |
3. Shaping the transient and dynamic feel of trap drums
Trap drums need to feel aggressive and alive. Over-compression kills that energy, so the goal is controlled dynamics rather than squashed ones. Here is how to approach each element:
- Kick transient: Preserve the initial click of the kick by using a compressor with a slow attack (around 10–20 ms). This lets the transient pass through before the compressor engages, keeping the punch intact.
- Parallel compression on the drum bus: Parallel compression blends an aggressively compressed version of your drums underneath the clean signal. Use a ratio of 4:1, an attack of around 10 ms, and a release of around 100 ms, then blend carefully until the drums feel denser without losing their snap.
- Soft clipping on the master bus: A soft clipper preserves sharp drum transients while increasing overall loudness through harmonic saturation. Traditional peak limiters tend to squash transients, which makes drums feel flat. Soft clipping is the better choice for trap.
- Layering claps over snares: Place a clap sample slightly after the snare, typically by 5–15 ms, to create a thicker, more textured hit. This layering technique is common in professional trap production and adds body without muddying the transient.
- Hi-hat harshness control: Use a de-esser or dynamic EQ to tame frequencies between 8 kHz and 12 kHz on your hi-hats. Bright hi-hats are a signature of the genre, but uncontrolled harshness causes listener fatigue quickly.
- Panning: Keep the kick, 808, and snare centred. Pan percussion elements like shakers, open hats, and ride cymbals to create width without destabilising the core groove.
Pro Tip: Avoid applying heavy compression to individual drum hits before they hit the drum bus. Let the bus do the gluing work. Individual compression should only address specific problems, not general loudness.
4. Stereo imaging and automation for immersive trap beats
Stereo width gives a trap beat its sense of space and movement, but the low end must stay mono to translate well on club systems and car speakers. Keep bass frequencies below 100–120 Hz in mono at all times. Phase cancellation in the sub frequencies causes the 808 to disappear entirely on mono playback systems, which is a serious problem for any release.
Above 5 kHz, you have much more freedom. Apply subtle stereo widening to hi-hats, melodic pads, and atmospheric effects using a stereo shaper or a pitch-doubled layer panned left and right. This creates depth and width without touching the mono low end. The contrast between a wide top end and a tight mono low end is what gives professional trap mixes their three-dimensional quality.
Volume automation and velocity variation are two of the most underused tools in trap mixing. Varying the velocity of hi-hat patterns by 10–20% between hits creates a natural, human-feeling groove rather than a mechanical loop. Automate volume on melodic elements to build tension through verses and release it at drops. These small movements make a mix feel alive.
- Mono check: Always reference your mix in mono before finalising. If the 808 weakens or disappears, you have a phase issue to address.
- Stereo widening: Apply widening only above 200 Hz. Widening below this point creates phase problems on mono systems.
- Automation for transitions: Use mix automation to pull elements back before a drop and push them forward after. This creates the energy contrast that makes trap beats feel dramatic.
- Reference tracks: Compare your mix against a professionally released trap track at matched loudness. This reveals width and depth differences that are hard to hear in isolation.
Pro Tip: Monitor your mix at low volume during the stereo imaging stage. Width issues and frequency imbalances become much easier to hear when you are not listening loud.
Key takeaways
Effective trap mixing requires gain staging, frequency separation between the 808 and kick, controlled dynamics, and a mono low end to deliver a professional, hard-hitting result on every playback system.
| Point | Details |
|---|---|
| Gain staging first | Set faders to zero and introduce elements in order: 808, kick, snare, melody, hi-hats. |
| High-pass non-bass elements | Filter everything except the 808 and kick between 80–150 Hz to clear low-end mud. |
| Sidechain with precision | Use a 4:1 ratio, 1–5 ms attack, and 80–150 ms release to duck the 808 under the kick cleanly. |
| Keep the low end mono | Bass below 100–120 Hz must stay mono to prevent phase cancellation on club and car systems. |
| Use soft clipping, not limiting | A soft clipper on the master bus preserves drum transients and increases loudness without squashing. |
What I have learned about keeping trap mixes clear and purposeful
The biggest mistake I see producers make is reaching for more processing when the mix feels wrong. More compression, more EQ, more reverb. The instinct is understandable, but it almost always makes things worse. The mixes that hit hardest are usually the ones with the fewest plugins doing the most focused work.
Sound selection matters more than processing. If your 808 and kick clash before you have touched a single knob, no amount of sidechain compression will fully fix it. Tune them to each other first. Choose samples that already occupy complementary frequency ranges. The mix should start sounding good before the processing begins, not because of it.
My personal workflow tip is to mix in short sessions with breaks. Ear fatigue is real, and it causes you to make decisions that sound good in the moment but fall apart on a fresh listen. Step away for 20 minutes, come back, and trust what you hear in the first 30 seconds. That first impression is usually the most honest one.
Experiment freely, but within a technical framework. Try unconventional panning, unusual reverb on a snare, or a filter sweep on the melody. The best trap producers push boundaries, but they understand the rules well enough to know which ones they are breaking and why. Technique gives you the freedom to be creative because you are not fighting basic problems.
— Aubiomix
Get professional feedback on your trap mixes with Aubiomix
Knowing the techniques is one thing. Hearing exactly where your specific mix falls short is another.

Aubiomix is an online platform where you upload your track and receive detailed, professional mix feedback covering frequency balance, dynamic control, stereo imaging, and more. The feedback is specific to your mix, not generic advice. For trap producers who want to close the gap between their current sound and industry-level quality, Aubiomix gives you a clear picture of what to fix and how to fix it. Upload your beat and get your mix assessment today.
FAQ
What is the correct order to mix trap beat elements?
Start with the 808 sub-bass, then add the kick, snare or clap, main melody, and finally hi-hats and percussion. This order establishes a clear frequency and energy hierarchy from the bottom up.
How do I stop my 808 and kick from clashing?
Tune both elements to harmonically related pitches, apply subtractive EQ cuts in the 200–500 Hz range, and use sidechain compression with a 4:1 ratio and a fast attack of 1–5 ms. Nudging the 808 MIDI note 5–20 ms after the kick transient also improves separation significantly.
Should I use EQ boosts or cuts when mixing trap beats?
Use subtractive EQ cuts rather than boosts. Cutting 2–3 dB in the 200–500 Hz range on melodic and non-bass elements removes muddy buildup and creates a cleaner, more professional sound.
Why does my mix sound different in mono?
Phase cancellation in the low end causes elements, particularly the 808, to weaken or disappear in mono. Keep all bass frequencies below 100–120 Hz in mono to prevent this and ensure your mix translates across all playback systems.
What is the best way to control hi-hat harshness in trap?
Apply a de-esser or dynamic EQ to tame frequencies between 8 kHz and 12 kHz on your hi-hats. This preserves the brightness and energy of the hats while preventing the listener fatigue that harsh high frequencies cause over time.