
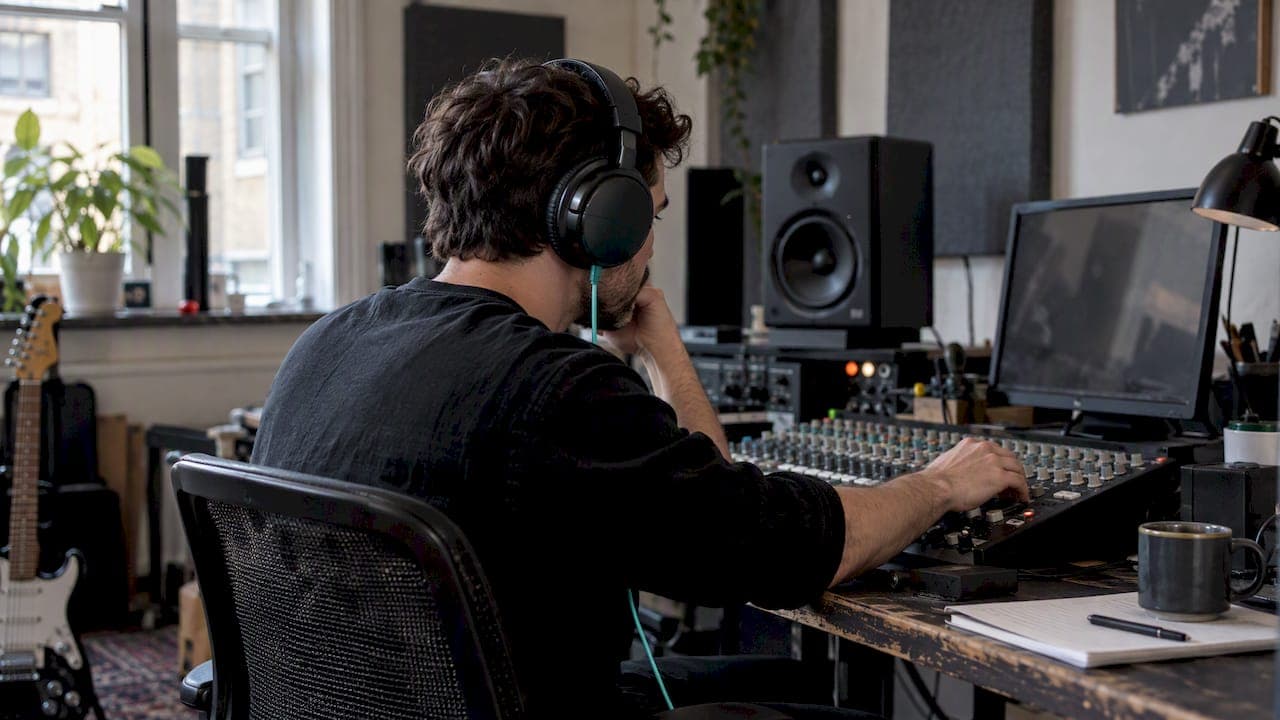
Headphone calibration applies an inverse EQ to reduce headphone tonal colouring so you can make mixing decisions that translate, but it's an aid, not a replacement for translation checks. It corrects frequency response, not distortion, phase behaviour or the spatial cues a room gives you. The practical rule is simple: apply correction only in your monitoring chain, never on the exported mix, and still verify on other systems before you call anything finished.
TL;DR:
- Calibration corrects only frequency response deviations; it does not address distortion, phase issues, or spatial cues influenced by room acoustics.
- Use a room-based target curve, such as Harman, for mixing, and layer a personalized delta only after establishing a reliable baseline.
- Always verify calibration effectiveness by checking on multiple systems and performing routines like mono and phase tests before finalizing a mix.
- Re-test large EQ boosts and worn earpads regularly, as measurement artifacts and physical changes can alter headphone response over time.
- Calibration improves starting accuracy but does not replace comprehensive mix translation validation on different devices and reference tracks.
Table of Contents
- What headphone calibration actually does
- Common target curves and how to pick one for mixing
- Session-ready step-by-step calibration workflow
- Tools and methods: profiles, plugins, DIY and utilities
- Verification and translation checks you must run
- Limitations and best practices
- Our take on calibration and mix validation
- Validate your calibrated mix with AubioMix
- FAQ
- Sources
What headphone calibration actually does
Every headphone has a frequency response that deviates from flat, often by several dB across the midrange and treble, because of driver design, ear coupling and the physical quirks of whatever pair you're wearing. Calibration measures that deviation and applies an inverse EQ curve to flatten it out, or more usefully, to shape it towards a target that sounds like a well-treated room.
That's the key limitation to understand early: calibration fixes tonal coloration. It does nothing for driver distortion, the phase smear some headphones introduce, or the binaural and crossfeed cues your brain uses to judge width and depth over speakers. A calibration guide from Sonarworks notes that correction addresses frequency-response variation specifically, not these other mechanisms.
- Inverse EQ compensates for peaks and dips measured on a specific headphone unit.
- Phase, distortion and spatial perception stay unchanged after correction.
- A target close to a well-behaved monitor in a treated room tends to translate better than a literally flat response.
A measured preference: controlled listening tests found that in-room loudspeaker-derived targets were preferred over diffuse-field and free-field curves in double-blind comparisons, which tells you something important about what "accurate" should mean for mixing headphones.
Common target curves and how to pick one for mixing
Three target families come up constantly: Harman or room-based curves, diffuse-field targets, and free-field targets. They're built from different assumptions about how sound reaches your ears, and they don't sound the same.
- Room-based/Harman-style targets model a loudspeaker in a treated room, with a gentle bass lift and a slightly rolled-off top end.
- Diffuse-field targets assume sound arriving equally from all directions, which suits some research contexts but can feel thin for mixing.
- Free-field targets assume a single frontal source in open air, rarely how we actually monitor.
For mixing work, a room-based target tends to be the safer default because it mirrors what you'd hear on monitors, and the preference data above backs that instinct. If you build a personalised delta on top of a stock profile, using a tool like HearCal, treat it cautiously: it reflects your hearing at one playback level on one day, and it needs validation against reference tracks before you trust it on a paying session.
Pro Tip: Start from a measured, room-based profile for your exact headphone model, then only layer a personal delta afterwards, and only if you can justify each adjustment by ear over multiple sessions.
Session-ready step-by-step calibration workflow
Calibration only earns its keep when it's reproducible. Here's the sequence we'd run before trusting a calibrated headphone mix:
- Confirm the exact model and mode. Note whether you're wired, in ANC mode or ambient mode, since each measures differently; disable ANC and wireless for mixing sessions.
- Check pads and fit. Worn earpads change the seal and shift response by a few dB, so inspect them before you measure or load a profile.
- Load a measured profile or run your own measurement. Use a factory or third-party profile matched to your unit, or measure it yourself if the tool supports that.
- Set and mark your monitoring SPL. Pick a consistent reference level, note the hardware volume position, and stick to it across sessions.
- Insert correction on the monitoring return only, never on a channel that could end up printed or exported.
- Choose latency and phase mode for the task at hand. Low-latency modes suit tracking and quick edits; phase-accurate modes suit final listening passes.
- Leave headroom. Steep correction curves can push levels close to clipping internally, so give the plugin room to work.
- Bypass the correction and listen again. If the mix still holds up with calibration off, you're in reasonable shape.
- Check on at least one other system before export: a second pair of headphones, a phone speaker, or monitors if you have them.
Pro Tip: Write your SPL reference and headphone mode on a sticky note by your desk. Consistency matters more than precision here.
Tools and methods: profiles, plugins, DIY and utilities
Most engineers reach for one of three approaches. Profile-library systems, such as SoundID Reference, ship measured correction curves for specific headphone models and insert as a plugin on your monitoring bus. The workflow note that matters here: select the exact mode (wired, ANC off) rather than assuming a similar-sounding model will measure the same, because mode and pad wear both shift response by a measurable amount.
DIY measurement sits at the other end. Tools like HearCal generate a personalised equal-loudness delta by switching instantly between reference and test tones across ISO bands, at a fixed SPL reference around 79 to 85 dB. It's genuinely useful, but it's a single-session, single-listener result, so treat large boosts in the resulting curve as a flag to re-test rather than evidence of a real response error.
- Profile libraries: fast, consistent, dependent on correct model and mode selection.
- DIY measurement: personal and specific, but needs repeat validation.
- Verification utilities worth keeping open: a spectrum analyser, a goniometer for stereo and mono behaviour, and LUFS/true-peak metering on your mix bus.
Verification and translation checks you must run
Calibration changes what you hear, not whether the mix actually translates, so build a short checklist you run every time.
- A/B with calibration on and off against a reference track you trust, listening for whether the correction is helping or just sounding different.
- Mono check. Sum to mono and listen for cancellation or a loss of key elements; a quick mono compatibility check takes a few minutes and catches real problems before mastering.
- Goniometer pass. Confirm stereo image and phase relationships look sane, not just tonally pleasant.
- LUFS and true-peak metering on the mix bus, so loudness decisions aren't being made purely by ear through a correction curve.
- Spot checks on real devices: a phone speaker, earbuds, a car system if you have access. Calibration can't predict how a mix behaves on a tiny driver with no low end.
Practitioner guidance on mixing with headphones treats calibration as exactly this: a reference aid that still needs reference tracks, level matching and device checks layered on top. A calibrated monitoring chain gets you a better starting point, not a finished answer.
Limitations and best practices
Calibration corrects tone, and that's genuinely where it stops. Driver distortion, inherent phase behaviour and the spatial cues you'd get from two speakers and a room aren't things an EQ curve can reach, no matter how carefully it's measured.
- Don't mix on ANC or wireless headphones; both introduce processing and latency that undermines a calibrated response.
- Replace worn earpads promptly, since ageing foam changes the seal and shifts response by a few dB.
- Make sure your headphone amp has enough clean headroom to drive the corrected signal without strain.
- Re-test any large EQ correction (anything beyond a gentle few dB) rather than trusting it blindly, and smooth aggressive boosts before committing to them.
Pro Tip: If a calibration profile asks for a large boost in a narrow band, it's usually a measurement artefact, not a genuine headphone flaw. Smooth it and re-test.
Speaker-simulation add-ons, like the virtual monitoring mode in SoundID Virtual Monitoring Pro, go further by adding spatial emulation on top of frequency correction. That's a distinct workflow from plain inverse EQ, worth knowing about, but not something to rely on in place of an actual translation check.

Our take on calibration and mix validation
We treat calibration as the thing that gets your monitoring chain to a sensible starting point. Nothing more. The real confidence comes after: checking the mix against measured benchmarks and on actual devices, repeatedly, until the pattern holds. Calibration removes guesswork about tone; it doesn't remove the need to verify. Build the habit of checking every mix by device, every time, and calibration becomes genuinely useful rather than a false sense of security.
— AubioMix
Validate your calibrated mix with AubioMix

Once your headphones are calibrated and your translation checks are done, a second set of measured eyes helps close the loop before release. Our mix analysis is designed to give producers and engineers detailed, specific feedback across compression, EQ, masking, stereo width, phase and loudness, checked against genre benchmarks rather than generic rules. A 1 Mix Review gives you that validation pass for £4.99, a quick way to confirm your calibrated monitoring actually led you somewhere accurate before the track goes out.
FAQ
How do you calibrate your headphones?
You measure or load a profile matched to your exact headphone model and mode, then insert that correction as a plugin on your monitoring chain only. Set a consistent SPL reference, mark your hardware volume, and bypass the correction before export so it never ends up printed on the mix.
What is the 60-60 rule for headphones?
Device volume percentage isn't a reliable SPL measurement, so use an actual SPL reference for mixing and follow occupational exposure guidance for safe listening levels instead.
How much does a calibration cost?
Calibration tool pricing varies by provider and isn't something we sell directly, so check the specific tool's own pricing page for current figures. What we do offer is mix validation after calibration: a 1 Mix Review costs £4.99, and a 1 Reference Pass costs £2.99.
What software can I use to calibrate my headphones?
Profile-library systems like SoundID Reference ship measured correction curves for specific headphone models, while DIY tools like HearCal let you generate a personalised equal-loudness delta through manual A/B testing. Both need the exact headphone model and mode selected correctly to measure or apply correction accurately.
Does calibration fix every translation problem on headphones?
No, calibration only corrects frequency-response coloration, not distortion, phase behaviour or the spatial cues a room naturally provides. You still need reference tracks, mono checks and spot checks on other devices to confirm a mix actually translates.
Sources
- NIOSH bulletin — Workplace noise and hearing loss
- bzeiss/hearcal
- Mixing With Headphones 3
- Listener preference for different headphone target response curves
- Sonarworks SoundID Virtual Monitoring Pro review — Sound on Sound