
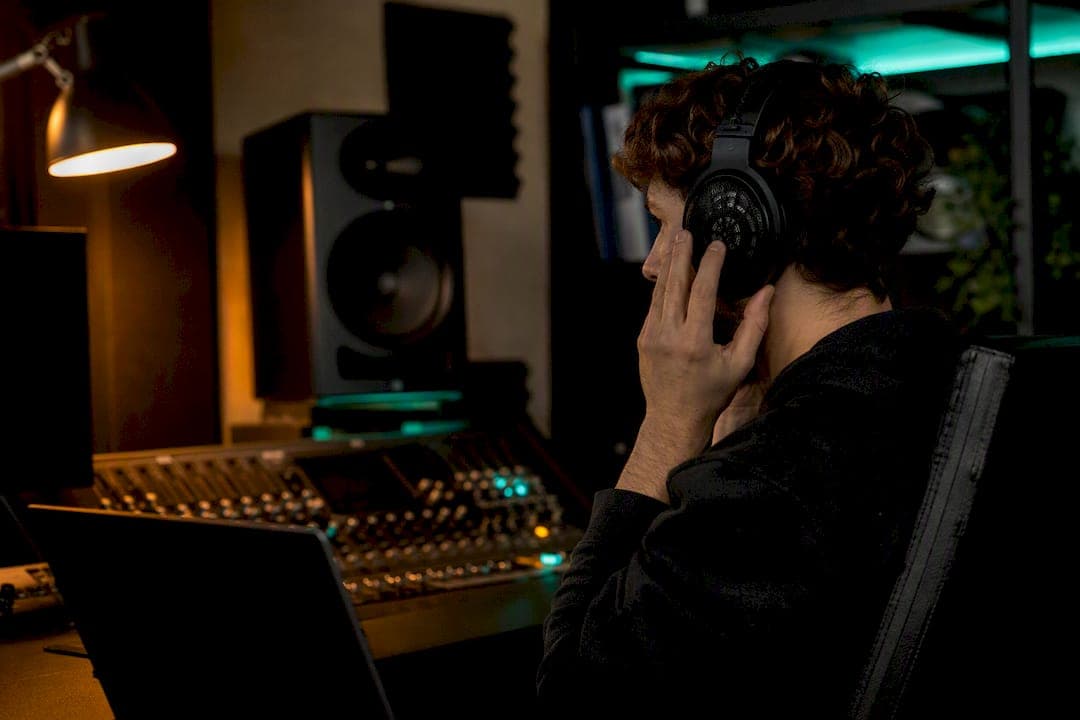
Yes, you can mix on headphones to a professional standard, provided you follow a calibrated workflow. That means using an accurate, preferably open-back pair, applying headphone correction or crossfeed, monitoring at a moderate and safe volume level, and cross-checking on at least two other playback systems before you call anything finished.
Skip any one of those steps and you're gambling. Headphones lie to you in specific, predictable ways: bass feels bigger than it is, stereo width feels wider than it is, and reverb tails feel longer than they are. The fix isn't to avoid headphones. It's to know exactly how they distort your judgement and build habits that compensate.
Three things to do right now, before your next session:
- Load a spectrum analyser (Voxengo SPAN is the industry default) and leave it visible on your master bus the entire time.
- Set your headphone correction or speaker-simulation plugin as the last insert on your master bus, never anywhere earlier in the chain.
- Check your monitoring level with an SPL meter app. If you're guessing, you're almost certainly mixing too loud.
Pro Tip: Keep a stereo correlation meter open alongside SPAN. If the needle spends most of its time below zero, your mix will collapse in mono, and headphones are the worst place to catch that by ear alone.
Key Takeaways
Reliable headphone mixing depends on calibrated correction, conservative stereo habits, analyser-verified bass, and mandatory multi-system cross-checks before export.
| Point | Details |
|---|---|
| Choose open-back headphones | Prioritise flat response and comfort; expect a 2–3 week adaptation period to learn a new pair. |
| Correction goes last, never exported | Place correction or crossfeed as the final master bus insert and bypass it before bouncing. |
| Mix at 70–80 dB SPL | Take a 5 to 10 minute break every 45 to 60 minutes to avoid ear fatigue skewing your judgement. |
| Verify bass and phase with meters | Keep SPAN visible for the 40–150 Hz band and aim for correlation above +0.4 for mono safety. |
| Confirm with AubioMix before export | Run a pre-bounce check through AubioMix to catch low-end and phase issues headphones can miss. |
Table of Contents
- What mixing on headphones actually does to your perception
- Choosing headphones for mixing: open-back, closed-back, and fit
- How headphone correction and crossfeed actually work
- Supporting gear that makes headphone playback reliable
- Recommended monitoring levels and avoiding ear fatigue
- Managing stereo width so mixes survive outside headphones
- Getting bass translation right using analysers, not guesswork
- Reference tracks and the cross-check routine that actually catches problems
- Fixing the most common headphone mixing mistakes
- How AubioMix fits into a headphone-first mixing workflow
- Adjusting your room to complement headphone mixing
- Emulating speaker placement and spatial cues on headphones
- Handling dynamic range and compression for headphone playback
- The verdict: treat headphones as a monitoring system, not a shortcut
- Use AubioMix as your final headphone-mix cross-check
- Sources
What mixing on headphones actually does to your perception
Headphones remove something your ears have relied on since the first time you heard music: crosstalk. On speakers, your left ear hears a little of the right channel and vice versa, blended by the air in the room. Headphones eliminate that entirely, so every sound sits in a hard, isolated position inside your skull rather than out in front of you. Engineers call this "in-head" imaging, and it's the single biggest reason mixes built on headphones alone often sound strange on anything else.
There's a second, quieter problem: bass has no body. On a monitor or a subwoofer, low frequencies move air, and you feel 60 Hz in your chest as much as you hear it. Headphones can reproduce the frequency, but not the physical pressure, so producers routinely overcompensate, boosting sub-bass that then sounds bloated the moment the track hits a car stereo or a club system.
Panning and reverb behave differently too. A reverb tail that feels tastefully spacious on headphones can feel intrusive on speakers, because the isolated left/right split exaggerates the sense of the tail lingering. The practical fix for reverb is to run slightly drier, shorter tails than instinct suggests, then confirm on speakers.
What this means for your workflow:
- Treat headphone panning decisions as provisional until confirmed elsewhere.
- Be conservative with stereo widening tools; what sounds "exciting" on headphones usually reads as excessive on speakers.
- Don't chase bass weight by ear on headphones. Use a meter instead (more on that below).
Choosing headphones for mixing: open-back, closed-back, and fit
Open-back headphones should be your default for mixing. Their design lets air pass through the earcup, which reduces the pressure build-up and resonance peaks that closed designs are prone to, giving you a more natural, speaker-like sense of space. The trade-off is isolation, or the lack of it. Open-back cans leak sound both ways, so they're a poor choice if you're tracking vocals in the same room or mixing somewhere with a noisy household.
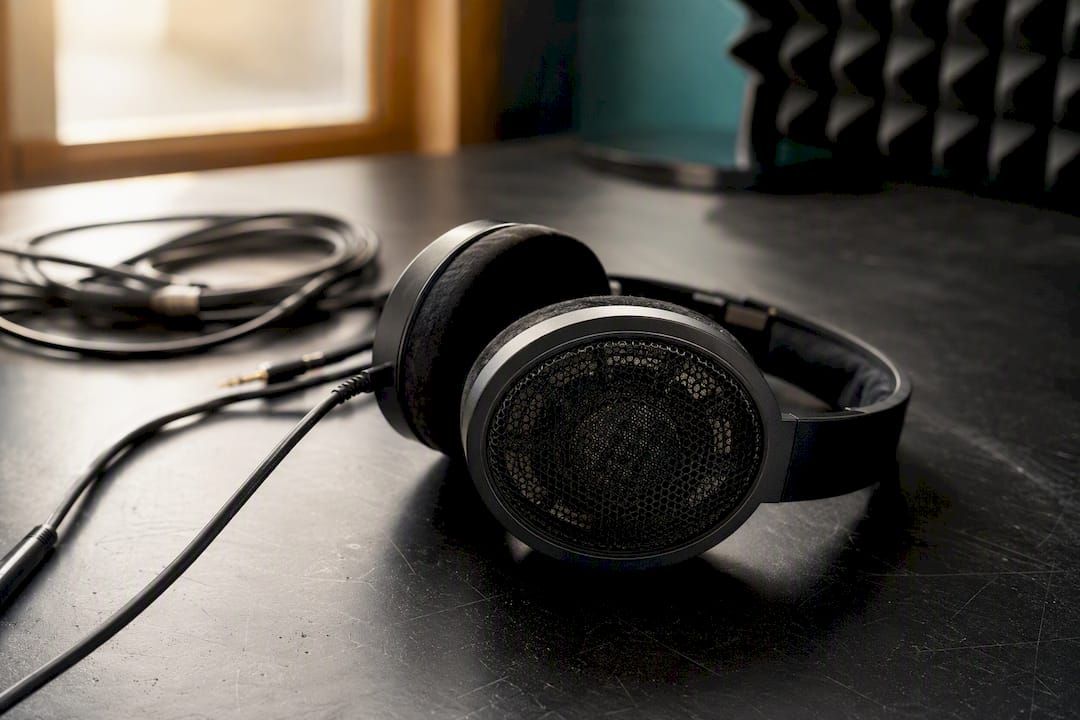
Closed-back headphones earn their place when isolation matters more than tonal neutrality: recording sessions, noisy environments, or checking how a mix sounds through a "worse" playback path, which is genuinely useful information in its own right. Just don't rely on closed-back cans as your only reference for finished decisions on stereo image or high-frequency detail, since their sealed design tends to introduce more colouration.
A few practical criteria matter more than the price tag:
- Frequency response should be as flat as the manufacturer's measurements allow. Scooped-bass, boosted-treble "fun" tunings are built for listening, not mixing.
- Comfort matters enormously if you're doing three-hour sessions; clamping force and earcup padding will make or break your ability to concentrate.
- Impedance needs to match your interface or headphone amp. High-impedance studio headphones (250 ohms and up) often need a dedicated amp to reach usable volume cleanly, while most audio interfaces handle low-impedance pairs without issue.
Whichever pair you land on, budget time as well as money. Engineers generally agree it takes two to three weeks of consistent listening with reference tracks before you can trust a new pair's colouration. Don't judge a headphone purchase after one session. Learn its quirks the way you'd learn a new room.
How headphone correction and crossfeed actually work
Headphone correction is measured inverse EQ: software analyses your specific headphone model's frequency response and applies the opposite curve, flattening out its peaks and dips so what you hear is closer to a neutral reference. Crossfeed, sometimes bundled as speaker simulation, does something different. It blends a small amount of each channel into the other, mimicking the natural crosstalk your ears get from real speakers and easing that unnatural in-head imaging.
Used together, correction and crossfeed give you a monitoring picture that behaves much more like a treated room and a pair of monitors than a raw pair of headphones ever will on their own.
There's one rule that matters more than any plugin choice: correction must sit as the last insert on your master bus, or applied system-wide at the OS/output level, and it must never be printed into your export. It's a monitoring aid, not a mix ingredient. Bake it into your final bounce and you'll hand a client or a streaming platform a file that's been secretly EQ'd for your specific headphones, not for the world.
Setting it up properly:
- Confirm the plugin has a profile for your exact headphone model, not just a generic "open-back" preset.
- Insert it last on the master bus, after your mix bus processing but before any final limiter you're testing.
- Enable crossfeed at a moderate setting first. Too much collapses your stereo image; too little defeats the point.
- Bypass it entirely before every export or bounce, then double-check the bypassed file sounds different (that confirms it was actually doing something).
- Re-enable it the moment you're back to mixing.
The most common mistake isn't choosing the wrong plugin. It's forgetting step four and shipping a file that only sounds right through your own headphones.
Supporting gear that makes headphone playback reliable
Your headphones are only as accurate as the signal feeding them. A cheap onboard soundcard headphone jack, or an underpowered laptop output, can introduce noise floor issues and fail to drive higher-impedance headphones to a clean, adequate volume. A proper audio interface or a dedicated headphone amp solves both problems, giving you clean gain and enough current to drive studio-grade cans without strain or distortion.
Before you mix a single note, run a quick setup check:
- Confirm your interface's output is set to a sensible level, not maxed out, to avoid clipping before the signal even reaches your headphones.
- Check your DAW's master bus isn't clipping and that your headphone volume knob isn't compensating for a mix that's already too hot.
- Verify your correction plugin is loaded and active before you start making tonal decisions, not added as an afterthought later.
A simple session-start checklist saves you from wasted hours: reference track loaded and levels matched, correction plugin active on the master bus, and monitoring level set with an SPL meter rather than by feel. Three checks, ninety seconds, done.
Recommended monitoring levels and avoiding ear fatigue
Mix at a comfortable and safe listening level for critical decisions. That's the level audio engineers consistently recommend for accurate perception of tonal balance, and it's quiet enough that your ears won't start compensating for their own fatigue. Push much past 85 dB for extended stretches and you're not just risking hearing damage. You're actively degrading your judgement, because loud playback makes everything sound punchier and more exciting than it really is, tricking you into under-mixing dynamics and bass.
Use an SPL meter app on your phone, or a hardware limiter on your monitoring chain, rather than trusting your gut. Volume perception drifts within minutes of sitting down, and what felt like a sensible level at the start of a session can creep up 10 dB by the end without you noticing.
Build breaks into the session itself:
- Stop for 5 to 10 minutes every 45 to 60 minutes, away from any music entirely.
- When you come back, play a familiar reference track before touching your own mix. It resets your ears' sense of "normal" and exposes anything that drifted while you were fatigued.
- If a section is starting to sound flat or lifeless no matter what you do, that's usually ear fatigue talking, not a genuine mix problem. Stop rather than keep tweaking.
Managing stereo width so mixes survive outside headphones
Headphones exaggerate stereo width because of that missing crosstalk. An element that sounds "reasonably wide" through your cans can sound genuinely excessive the moment it's played through speakers, where natural room crosstalk narrows the perceived image back down. The safe habit is to widen less aggressively than your headphones tell you to, then verify.
A stereo correlation meter takes the guesswork out of this. Readings near +1 indicate a mostly mono signal; readings around zero suggest healthy, natural width; anything drifting negative signals phase cancellation that will hurt you badly in mono playback. Aim to keep your overall mix correlation comfortably above zero, ideally above +0.4 across most of your instrumentation, for safe translation.
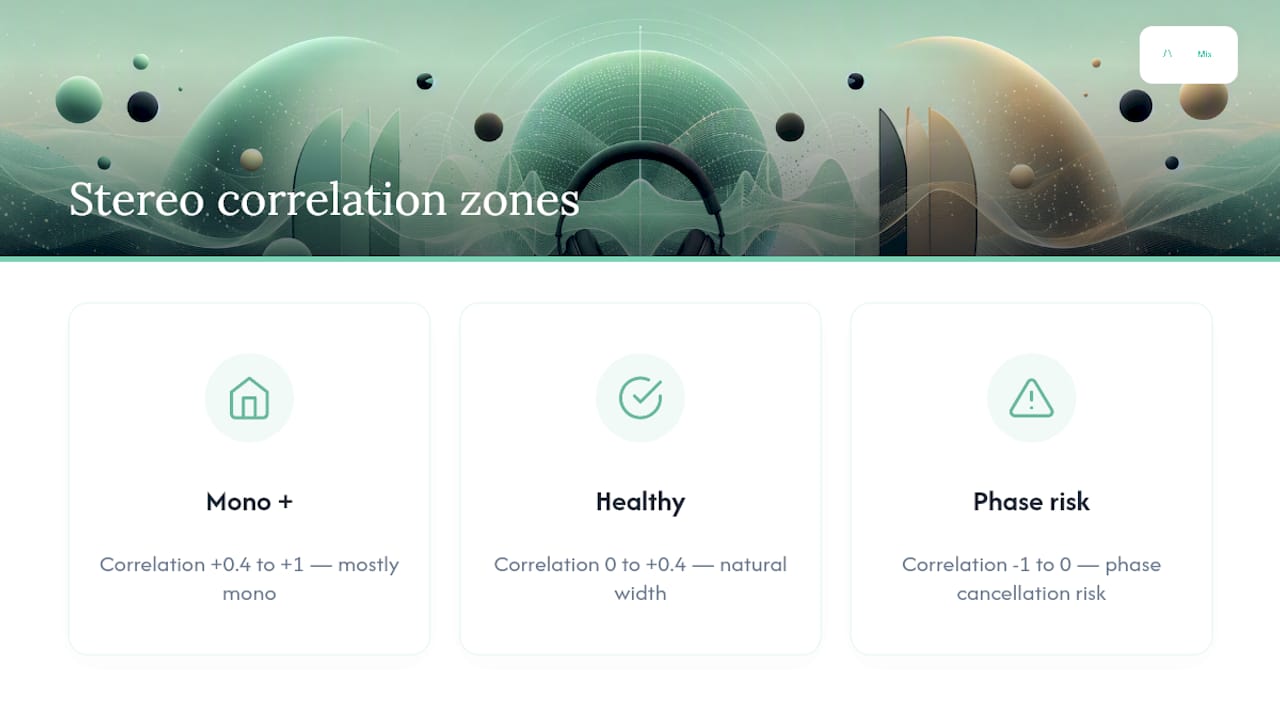
Fold your mix to mono regularly during the session, not just at the end. If a lead vocal or a bass element vanishes or thins out noticeably in mono, you've got a phase problem that headphones alone would never have flagged, because they don't sum channels the way a mono Bluetooth speaker or a phone speaker does.
Pro Tip: If a stereo effect sounds "just wide enough" on your headphones, it's probably right. If it sounds excitingly, dramatically wide, that's your cue to pull it back before you check anything else.
Reverb tails deserve the same scepticism. Trim them slightly drier than feels natural on headphones, since the in-head imaging tends to make tails linger longer than they will through open air.
Getting bass translation right using analysers, not guesswork
Low end is the single most commonly misjudged element in headphone mixing, and it's not close. Without the physical pressure of a subwoofer or a full-range monitor, your ears have no reliable reference for how much sub-bass is actually present, so it's easy to either overboost it, chasing a feeling headphones can't give you, or leave it thin because it never "hits" the way you expect.
The fix is visual, not aural. Keep a spectrum analyser like Voxengo SPAN open on your master bus for the entire session and watch the 40–150 Hz band specifically. That range covers the fundamentals of most kicks, basses, and 808s, and problems there are far easier to spot visually than to hear accurately on headphones.
A practical sequence that catches most bass mistakes before they leave your session:
- Solo your kick or 808 and check SPAN for a clear, visible fundamental. If it's weak or missing, the note will sound thin no matter how loud you push it.
- Confirm harmonic energy extends up through the mid-bass range, roughly to 150 Hz. A fundamental with no supporting harmonics reads as thin on speakers even when it feels present on headphones.
- High-pass everything that isn't doing low-end work. Guitars, vocals, and most synths rarely need content below 100 Hz, and removing it frees up headroom for your actual bass elements.
- Set up basic sidechain compression between kick and bass so the two aren't fighting for the same frequency space and masking each other.
- Finish with a mono check specifically on your low end. If the sub disappears or shifts noticeably, you have a phase issue that needs fixing before you trust anything else about the balance.
Reference tracks and the cross-check routine that actually catches problems
Pick two or three reference tracks in your genre and match their loudness to yours using LUFS metering, not by ear. A reference that's playing 4 dB louder than your mix will always sound better, fuller, and more polished, regardless of how good your actual mix is. Level-matching removes that bias entirely.
Run your finished mix through a short, deliberate cross-check stack before you consider it done:
- Phone or earbuds. This exposes mono compatibility issues and reveals whether your vocal sits clearly without the support of a wide stereo field.
- Laptop speakers or a Bluetooth speaker. These have almost no low-end extension, so they tell you instantly whether your mix depends too heavily on sub-bass to feel complete.
- Car stereo or small nearfield monitors. This is where most headphone-only mixes reveal an overblown low end or an image that collapses awkwardly in mono.
Set a genuine exit criteria checklist rather than mixing indefinitely: the vocal is intelligible on earbuds, the low end holds together in mono, the mix doesn't lose all its punch on a phone speaker, and it still sounds balanced against your loudness-matched reference track. Meet all four and you're done. Miss one, and you know exactly which section of this guide to revisit.
Fixing the most common headphone mixing mistakes
Most headphone mixing problems trace back to one of three root causes, and each has a fast diagnostic.
Elements sound over-wide once you check on speakers. Pull back your stereo widening plugins, fold to mono to confirm nothing is cancelling, and shorten reverb tails that felt fine on headphones but bloom too much elsewhere.
Bass disappears the moment you play through actual speakers. Open SPAN and check whether your kick or 808 has a genuine fundamental with supporting harmonics up to 150 Hz. Reduce any sub-bass boost that was compensating for the lack of physical pressure in your headphones, and confirm the low end survives a mono fold.
You keep making tiny edits and the mix stops improving, or starts getting worse. That's ear fatigue, not a real problem with the track. Enforce a break, come back with fresh ears, and play your reference track first to recalibrate before touching the mix again.
- Check width and mono compatibility before finalising any stereo effect.
- Verify bass fundamentals on SPAN rather than trusting the "feel" of sub-bass on headphones.
- Never keep editing past the point of fatigue. Step away and reference-check instead.
How AubioMix fits into a headphone-first mixing workflow
Once you've built the habits above, an automated second opinion is genuinely useful, precisely because it doesn't have ears that get tired or headphones with their own colouration. AubioMix analyses an uploaded mix across the areas that headphone mixing tends to get wrong: low-end balance, stereo-phase and mono-compatibility warnings, and overall spectral balance against genre norms.
Three practical ways producers use it alongside a headphone workflow:
- Pre-export audit. Run the mix through before bouncing to catch anything your ears missed during a long session, especially after fatigue has set in.
- Bass verification. Cross-reference AubioMix's low-end reading against your own SPAN check to confirm your kick and bass fundamentals are actually where you think they are.
- Stereo-phase alert. Catch correlation and mono-compatibility issues that headphones, lacking crosstalk, are structurally poor at revealing on their own.
The right point in the chain is right before your final export, after you've already run your own reference-track and multi-system checks. Treat the report as a second set of ears confirming what you've already verified, or flagging the one thing you missed.
Adjusting your room to complement headphone mixing
Headphones don't eliminate the need for a decent-sounding room, even though it's tempting to assume they do. Untreated reflections and background noise still affect you, just less directly than with speakers.
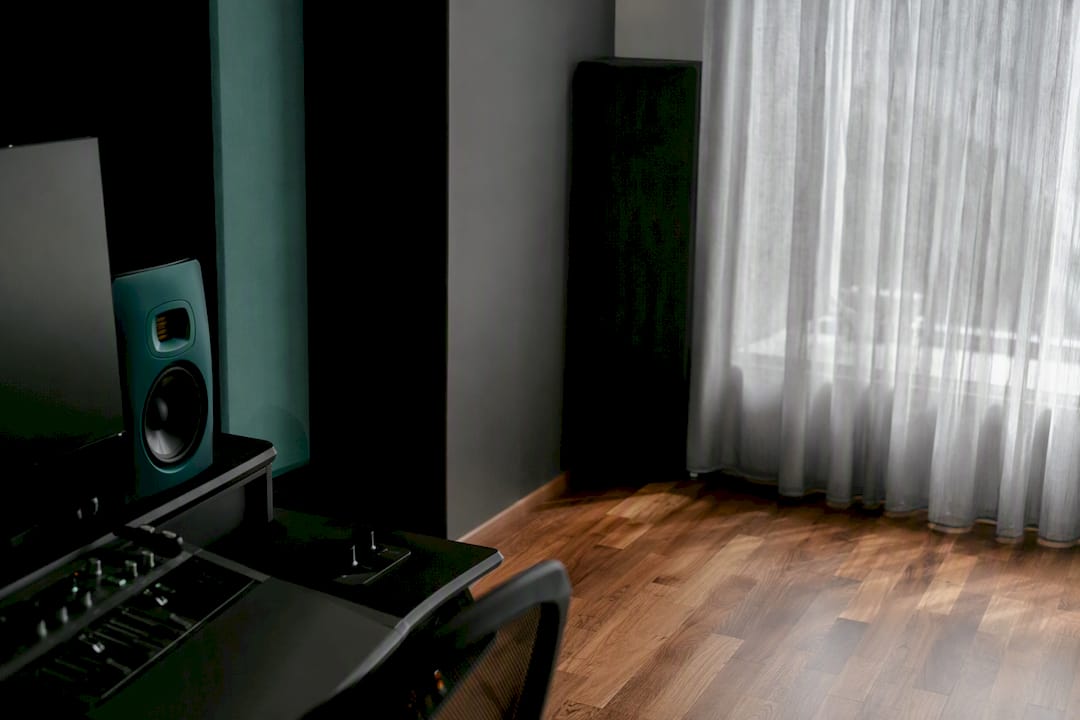
A noisy room forces you to raise your headphone volume to hear detail over ambient sound, which pushes you straight into the ear fatigue and elevated-SPL problems covered earlier. Basic noise reduction, closing a door, adding a rug, positioning yourself away from a noisy PC fan, protects your ability to mix at that safer 70–80 dB SPL target for longer sessions.
Room acoustics also matter indirectly, because most headphone-only workflows still involve at least occasional speaker checks. If your monitors are fighting bass buildup from untreated corners, you'll misjudge what "correct" low end sounds like when you switch back to headphones afterwards, since your ears will have adjusted to a skewed reference. Even light treatment, bass traps in the corners and some absorption at first reflection points, keeps your speaker checks honest, which in turn keeps your headphone decisions honest.
Lighting and seating matter more than most producers admit. A comfortable, well-lit setup reduces the physical fatigue that compounds with ear fatigue over a long session, and comfortable posture makes it far easier to actually take the breaks your ears need rather than pushing through out of momentum.
Emulating speaker placement and spatial cues on headphones
Real stereo monitors sit apart from each other and interact with the room, giving you natural depth cues, front-to-back placement, and a sense of space that headphones can't reproduce on their own. Crossfeed processing, covered earlier, recreates part of that by blending channels the way air does between two speakers. But there are additional habits worth building into your panning and effects decisions specifically.
Think in terms of a stage rather than a hard left/right split. Elements panned to the extremes on headphones can feel like they're inside your ear rather than positioned in a space, so many mixers deliberately pull hard-panned elements in slightly, toward
rather than 100%, to preserve a sense of a physical stage rather than an artificial hard-left or hard-right point source.Depth cues matter as much as width. A short pre-delay on reverb, combined with subtle high-frequency roll-off on elements meant to sit further back, mimics the way distant sound behaves in a real room, an effect that's genuinely easier to judge accurately on headphones than on speakers, since there's no room reflection muddying the picture.
Some producers use a subtle short room reverb, blended at a low level across the entire mix bus, purely to reintroduce a sense of shared space between elements that would otherwise feel isolated in their own headphone channel. Used sparingly, it does a similar job to crossfeed: gluing the mix back together into something that feels like it exists in one place, rather than several disconnected points floating in your skull.
Handling dynamic range and compression for headphone playback
Headphones sit directly against your ears, which means dynamic range differences register more intensely than they would through speakers across a room. A sudden loud transient that would simply fill a room when played on monitors can feel startling, even uncomfortable, on headphones, particularly at the higher end of that 70–80 dB SPL window.
This has a practical consequence for compression decisions. Producers mixing primarily on headphones sometimes over-compress vocals and lead elements specifically to tame that startling quality, flattening dynamics further than the track actually needs once it's heard on speakers, where the same transients feel far less aggressive.
The safer approach is to make your initial compression decisions for control and consistency, not for perceived comfort, and then specifically re-evaluate dynamics during your speaker cross-check. If a vocal feels appropriately dynamic on headphones but suddenly feels flat or lifeless on speakers, you've likely over-compressed to compensate for headphone intensity that speakers simply don't reproduce the same way.
Watch your limiter and master bus compression with particular care. Loudness decisions made purely by ear on headphones tend to run hotter than intended, because the isolation of headphone listening makes a loud mix feel more impressive and "finished" than it actually is. Cross-check your final loudness against a matched-level reference track, using LUFS metering rather than gut feeling, before you commit to a final limiter setting.
The verdict: treat headphones as a monitoring system, not a shortcut
The advice that circulates most often, "just get good headphones and trust your ears," misses the actual lesson from every credible source on this topic. Good headphones alone fix almost nothing. What fixes headphone mixing is a small set of habits applied consistently: correction as the last insert, SPAN visible the entire session, correlation checked rather than assumed, and a genuine multi-system cross-check before you call anything finished.
Where conventional advice falls shortest is bass. Producers are told to "trust their ears" on low end, but headphones physically cannot reproduce the pressure that makes bass judgement reliable on speakers. No amount of experience compensates for that missing sensation. A visual analyser isn't a crutch here. It's the only honest substitute for the information your ears simply don't have access to.
If you take one thing from this guide, prioritise the cross-check habit over any single piece of gear or plugin. A mediocre pair of headphones with a rigorous verification routine will consistently outperform an expensive pair mixed on in isolation.
— AubioMix
Use AubioMix as your final headphone-mix cross-check
You've built the calibration, the analyser habits, and the multi-system checks. The one gap most home-studio workflows still have is an objective, consistent second opinion that doesn't get tired after a four-hour session, and that's exactly what AubioMix adds to the process.

Upload your mix and AubioMix runs it against genre-specific benchmark data drawn from professionally released tracks, flagging low-end imbalance, stereo-phase and mono-compatibility issues, and spectral deviations you might have missed after your ears started to fatigue. It's built to catch precisely the things headphones are structurally bad at revealing on their own.
Three steps to fold it into the workflow above: finish your usual headphone session and speaker cross-check, export a working version before your final bounce, and run it through AubioMix's evaluation framework for a written, actionable report on anything that still needs attention. Curious what a properly translated mix actually measures like? Compare your report against how chart-level records score on the same benchmarks and see exactly where the gap is.
Sources
Three sources back most of the workflow in this guide, and each is worth bookmarking. Sound On Sound's piece on mixing on headphones covers the professional case for headphone mixing and the adaptation timeline for new pairs in more technical depth than most blogs attempt. MusicProductionWiki's guide to mixing in headphones is the best single source on correction, crossfeed, and correlation meter targets. Audient's five tips for mixing on headphones is the shortest read of the three and a solid refresher on monitoring levels and cross-checking before you commit to a final mix.
- Mixing on headphones
- How to mix in headphones — MusicProductionWiki
- 5 Tips for mixing on headphones — Audient