

A limiter is defined as a dynamic range processor that enforces a strict maximum output ceiling, preventing any audio signal from exceeding a set peak level. Think of it as a brick wall your mix cannot pass through. Unlike a standard compressor, a limiter operates at an infinite or near-infinite ratio, meaning any signal that hits the threshold gets clamped hard. The result is total control over your loudest peaks, which is exactly what you need when preparing masters for streaming platforms, broadcast, or digital release. If you want clean, loud, and distortion-free mixes, understanding how a limiter works is non-negotiable.
How does a limiter work?
A limiter attenuates any signal that exceeds its threshold using an infinite ratio, which is what separates it from a compressor. A compressor might use a 4:1 or 8:1 ratio to gently reduce peaks. A limiter uses 100:1 or higher, which means the signal simply cannot go above the ceiling you set.
The key parameters you will encounter on any audio limiter are:
- Threshold / Input gain: This controls how much of the signal gets pushed into the limiter. Raising the input gain increases loudness by driving more of the signal into the ceiling.
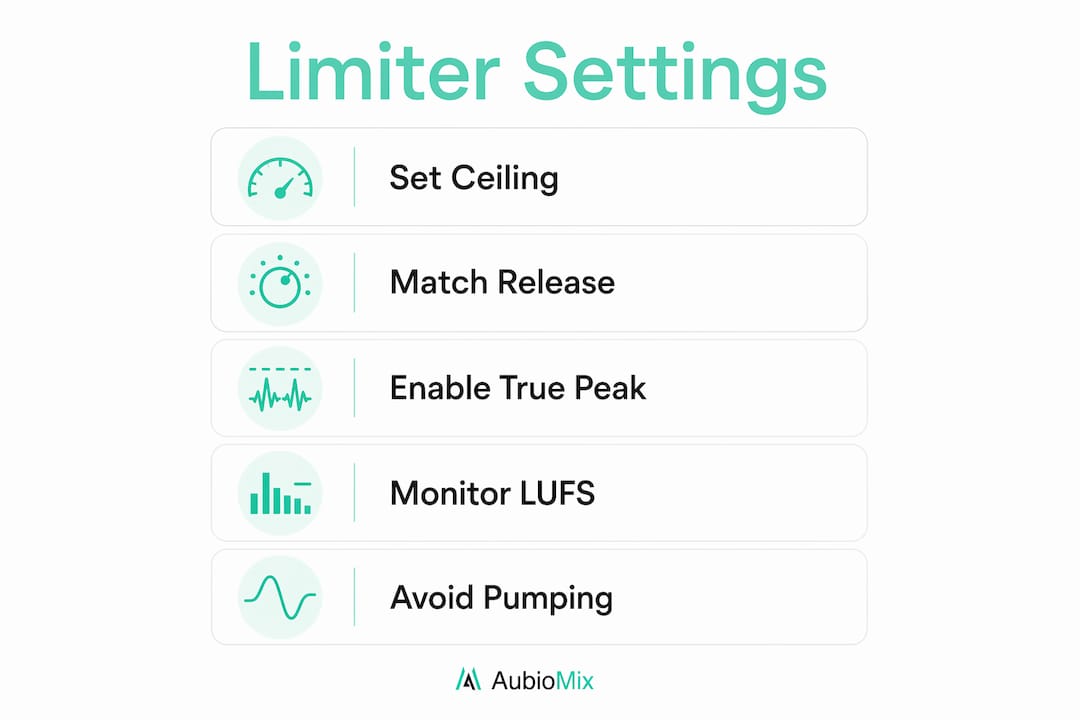
- Output ceiling: The absolute maximum level the signal can reach. Industry standard places this at -1.0 dBTP for streaming masters.
- Attack: How quickly the limiter responds to a peak. Faster attack catches transients but can dull the punch of drums and percussive elements.
- Release: How quickly the limiter lets go after clamping a peak. Too fast causes distortion; too slow causes pumping.
- Look-ahead: A buffer that lets the limiter "see" peaks before they arrive, allowing smoother and more transparent gain reduction.
True Peak limiting is a separate and critical feature. Standard peak limiters measure samples individually, but inter-sample peaks occur between samples during digital-to-analogue conversion or lossy encoding. These peaks can cause distortion even when your waveform looks safe at 0 dBFS. A True Peak limiter reconstructs these inter-sample peaks and catches them before they cause problems. For any master going to Spotify, Apple Music, or similar platforms, True Peak limiting is not optional.
Pro Tip: Enable True Peak mode on your limiter and set the output ceiling to -1.0 dBTP, not 0 dBFS. That single change prevents the most common cause of distortion on streaming platforms.
Where should you place a limiter in your chain?
The limiter belongs at the very end of your mastering chain, after EQ, compression, saturation, and stereo widening. Placing it last ensures it catches any peaks that earlier processors may have introduced. Nothing should come after it in a mastering context.
Here is the recommended signal flow for a mastering chain:
- Gain staging and EQ — Shape the tonal balance and correct any frequency problems before anything else touches the dynamics.
- Compression — Apply gentle glue compression to control the overall dynamic range and add cohesion to the mix.
- Saturation or harmonic excitation — Add warmth and perceived loudness without increasing peak levels significantly.
- Stereo imaging — Widen or tighten the stereo field as needed, keeping an eye on mono compatibility.
- Clipper (optional but recommended) — A two-stage approach using a clipper before the limiter handles fast transient peaks first, reducing the workload on the limiter itself.
- Limiter — The final stage. Set your ceiling to -1.0 dBTP and push the input gain until you reach your loudness target.
The loudness target for most major streaming platforms sits around -14 LUFS integrated, with a True Peak ceiling of -1.0 dBTP. Platforms normalise audio to these levels, so masters that exceed them get turned down automatically. Knowing this, there is no benefit to pushing your master louder than the platform will allow.
In a mixing context, you might place a limiter on individual buses, such as the drum bus, to catch rogue transient peaks without affecting the overall mix level. This is a different use case from mastering. Here, the limiter acts as a safety net rather than a loudness tool.

Limiter settings: practical tips for getting it right
Getting your limiter settings right is where most producers either win or lose the battle for loudness. The goal is maximum volume with minimum audible artefacts.
- Set your ceiling to -1.0 dBTP. Avoid 0 dBFS as your ceiling. Inter-sample peaks will clip during encoding even when your DAW shows the signal is safe.
- Raise input gain gradually. Push the gain up in small increments and listen for the point where the mix starts to lose punch or the low end gets wobbly. Back off slightly from that point.
- Watch your gain reduction meter. Consistent gain reduction of 1–3 dB is healthy. If you are seeing 6 dB or more of constant reduction, the limiter is working too hard and the mix will suffer.
- Pre-process transients before limiting. Clippers handle fast transient peaks far more cleanly than limiters do. Running a clipper before your limiter reduces the amount of work the limiter needs to do, which keeps the sound more natural.
- Check your stereo image. Aggressive limiting can collapse the stereo field. Use a correlation meter to monitor this and ease off if you see the image narrowing.
Pro Tip: Match your release time to your track's tempo. A release time that aligns with the beat feels natural and avoids the pumping artefact that makes amateur masters sound obvious. A rough starting point: divide 60,000 by your BPM to get the length of one beat in milliseconds, then set release somewhere in that range.
The most common mistake producers make is treating the limiter as a volume boost tool. Proper workflow means controlling dynamics with compression and clipping first, then using the limiter only to enforce the ceiling. When you do it this way, you get louder masters without the distortion and pumping that come from overworking a single processor.
Common limiter problems and how to fix them
Even experienced engineers run into problems when limiting. Knowing what to listen for saves you hours of frustration.
| Problem | Cause | Fix |
|---|---|---|
| Pumping or breathing | Release time too slow for the tempo | Match release to BPM; use look-ahead |
| Low-end distortion | Bass frequencies triggering heavy gain reduction | High-pass the sidechain or use mid/side limiting |
| Stereo image collapse | Excessive gain reduction on the stereo bus | Reduce input gain; pre-clip transients |
| Harsh or brittle top end | Attack too fast, killing transients | Slow the attack slightly; use look-ahead |
| Clipping after export | Ceiling set to 0 dBFS, inter-sample peaks clipping | Set ceiling to -1.0 dBTP with True Peak mode |
Pumping is the most audible sign that your limiter is being pushed too hard. It sounds like the mix is breathing in and out in time with the music, and it is almost always caused by a mismatch between the release time and the track's tempo.
Low-end instability is a subtler problem. Bass frequencies carry the most energy in most modern mixes, and when they trigger heavy gain reduction, the whole mix ducks in an uneven way. Advanced limiters use selective oversampling and sophisticated look-ahead algorithms to handle this more gracefully than basic peak limiters can.
Pro Tip: Use a loudness meter alongside your limiter. Monitoring integrated LUFS, short-term LUFS, and True Peak simultaneously gives you a complete picture of what is happening to your dynamics in real time.
Basic peak limiters measure only individual samples and miss inter-sample peaks entirely. True Peak limiters reconstruct the signal between samples, catching the peaks that cause distortion after lossy encoding. For any professional release, the difference between these two approaches is audible.
Key takeaways
A limiter is the final gatekeeper in any mastering chain, and using it correctly requires pre-processing transients, setting a True Peak ceiling of -1.0 dBTP, and matching release times to tempo.
| Point | Details |
|---|---|
| Set the right ceiling | Use -1.0 dBTP, not 0 dBFS, to prevent inter-sample clipping on streaming platforms. |
| Limiter goes last | Place the limiter as the final plugin in your mastering chain, after all other processors. |
| Pre-process transients | Use a clipper or gentle compression before the limiter to reduce its workload and avoid pumping. |
| Match release to tempo | Aligning release time with your track's BPM keeps gain reduction natural and avoids artefacts. |
| Use True Peak mode | True Peak limiting catches inter-sample peaks that standard limiters miss, protecting your master. |
The part most producers get wrong about limiting
Most producers I speak with treat the limiter as the place where loudness happens. They skip the prep work, slam the input gain, and wonder why their master sounds squashed and lifeless. The limiter does not create loudness. It enforces a ceiling. Loudness comes from everything that happens before it.
The single biggest shift in my approach came when I started thinking of the limiter as the last line of defence, not the main event. I began using a clipper before the limiter to handle fast transients, and the difference in transparency was immediate. The limiter barely had to work, the stereo image stayed wide, and the low end kept its weight. That combination is what separates a professional master from one that just sounds loud.
The other thing I want to push back on is the idea that louder is always better. Streaming platforms normalise to around -14 LUFS, so a master pushed to -7 LUFS gets turned down to match. You lose nothing in perceived loudness and gain a lot in dynamics and clarity by not over-limiting. The producers who understand this deliver masters that sound better at the same playback volume as everyone else's.
The audio compression guide and the gain staging guide on the Aubiomix blog are worth reading alongside this, because limiting without solid gain staging and compression upstream is like putting a roof on a house with no walls.
— Aubiomix
Get professional feedback on your limiting and dynamics
Knowing the theory is one thing. Hearing exactly where your master is going wrong is another.

Aubiomix is an online app built for music producers and mix engineers who want honest, detailed feedback on their mixes and masters. Upload your track and receive pro-level mix analysis covering dynamics, loudness targets, True Peak levels, stereo imaging, and more. The feedback is specific, fast, and built around the same standards professional mastering engineers use. Whether you are struggling with pumping artefacts, unsure about your LUFS targets, or just want a second opinion before you send a master to a label, Aubiomix gives you the clarity to fix it and move forward with confidence.
FAQ
What is a limiter in audio production?
A limiter is a dynamic range processor that prevents an audio signal from exceeding a set output ceiling, using an infinite or near-infinite ratio to clamp peaks. It is used in mixing and mastering to control transient overshoots and protect against clipping.
What is the difference between a limiter vs compressor?
A compressor reduces peaks using a moderate ratio such as 4:1 or 8:1, allowing some signal through above the threshold. A limiter uses a ratio of 100:1 or higher, acting as a hard ceiling that the signal cannot exceed.
What ceiling should I set on my limiter?
Set your output ceiling to -1.0 dBTP with True Peak mode enabled. Setting it to 0 dBFS risks inter-sample clipping during encoding, which causes distortion on streaming platforms.
What loudness target should I aim for on streaming platforms?
The standard target for streaming is approximately -14 LUFS integrated loudness with a True Peak ceiling of -1.0 dBTP. Platforms like Spotify and Apple Music normalise audio to these levels automatically.
Why does my master sound pumping after limiting?
Pumping is caused by a release time that does not match the track's tempo, or by pushing too much gain reduction through the limiter. Match your release time to your BPM and pre-process transients with a clipper to reduce the limiter's workload.