Plosives are defined as sudden bursts of air pressure produced when consonant sounds like 'p' and 'b' are articulated, and they are one of the most damaging artefacts a vocal recording can carry. When that burst of air hits a microphone diaphragm directly, it causes mechanical stress, distortion, and a low-frequency thump that can ruin an otherwise perfect take. The good news is that plosive control is a learnable skill, and the techniques available to producers and engineers today are both practical and highly effective. This guide covers the acoustic mechanics behind the problem, prevention strategies, post-production fixes, and the equipment choices that make the biggest difference.
What are plosives and why do they wreck your recordings?
Plosives, known formally as plosive consonants in phonetics, are stop consonants produced by a complete closure of the vocal tract followed by a sudden release of built-up air pressure. In English, the primary plosive consonants examples are the bilabial stops 'p' and 'b', the alveolar stops 't' and 'd', and the velar stops 'k' and 'g'. Each one fires a concentrated jet of air outward from the mouth.
That jet of air is the problem. A microphone diaphragm is designed to respond to sound pressure waves, not to physical gusts of air. When a plosive blast hits the capsule directly, the diaphragm can be physically pushed against its backplate, causing mechanical clipping that distorts the signal. This distortion can persist in the signal for up to 500 ms, meaning nearly half a second of your vocal track is compromised by a single consonant.
The resulting artefact sounds like a deep, booming thump sitting below 150 Hz. This is a critical distinction for producers to understand:
Plosives live in the low-frequency spectrum below 150 Hz. De-essers operate above 3 kHz, targeting sibilance. Reaching for a de-esser to fix plosives is the wrong tool entirely. It will do nothing to the thump and may actually thin out the vocal in the process.
Cardioid microphones are significantly more susceptible to plosive damage than omnidirectional designs. This is because cardioid capsules respond to pressure gradients, and a direct blast of air creates an extreme gradient event. Omnidirectional microphones measure absolute pressure rather than gradients, making them far less reactive to the same burst of air. Understanding this distinction shapes every equipment and placement decision that follows.
How to prevent plosives during vocal recording sessions
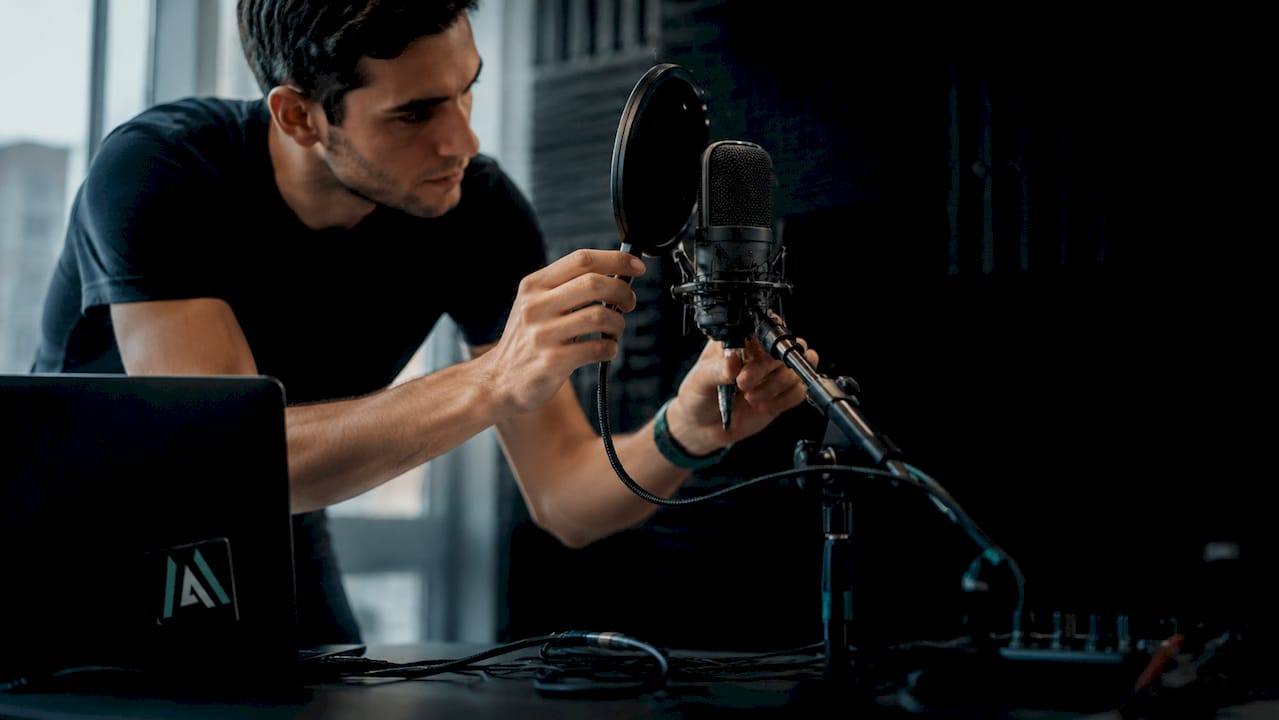
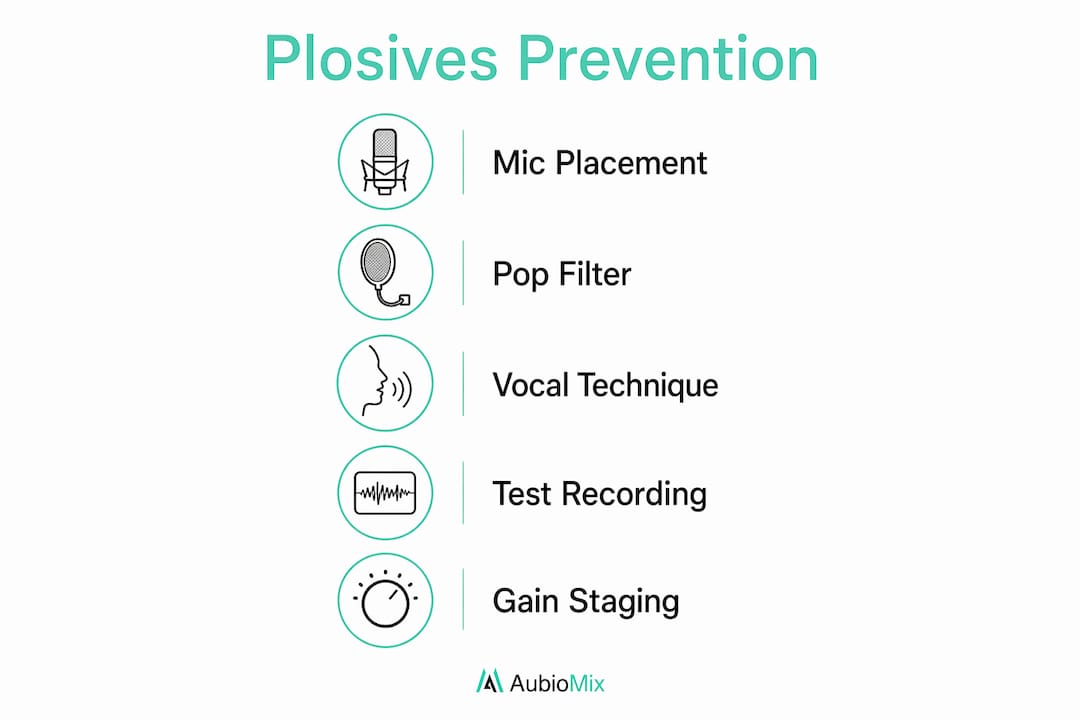
Prevention is the most effective and efficient approach to plosive control. Pop filters and mic placement are the critical first steps, and getting them right costs nothing beyond a few minutes of setup time.
The most effective prevention combines two techniques simultaneously:
- Position the microphone off-axis. Angle the capsule 15–30 degrees off-axis from the vocalist's mouth. This redirects the air jet away from the diaphragm while keeping the sound pressure wave on-axis. The tonal character of the recording changes very little, but the plosive impact drops dramatically.
- Place a pop filter correctly. Mount the pop filter 2–4 inches from the capsule, not from the vocalist's mouth. Many engineers place it too close to the singer, which reduces its effectiveness. The filter needs to disperse the air jet before it reaches the mic, and that requires adequate distance from the capsule.
- Raise the microphone slightly above mouth level. Positioning the capsule a few centimetres above the singer's mouth and angling it downward means the air jet from bilabial plosives travels below the capsule rather than directly into it.
- Coach the vocalist on delivery. Ask singers to soften plosive consonants subtly during performance. A slight reduction in the force behind 'p' and 'b' sounds rarely affects the emotional quality of a take but significantly reduces the air burst reaching the mic.
- Consider switching to an omnidirectional microphone. For close, intimate vocal recordings, omnidirectional mics reduce plosive sensitivity because they do not respond to pressure gradients in the same way cardioid designs do.
Pro Tip: Place a thin sheet of paper in front of the pop filter and ask the vocalist to deliver a hard 'p' sound. If the paper moves, the filter is not positioned correctly. Adjust until the paper stays still.
A common pitfall is treating the pop filter as a substitute for good mic placement. The two techniques work together. Relying on the filter alone while keeping the microphone directly on-axis still leaves the capsule exposed to residual air pressure. Combine all five approaches above and you will capture the vast majority of vocal sessions without a single plosive artefact reaching your DAW.
Post-production methods for fixing plosives in the mix
When a plosive does make it onto the track, surgical editing is the only reliable fix. Global processing tools like EQ applied across the whole vocal, or de-essing, will not address the problem and may degrade the rest of the performance.
The workflow for correcting plosives in post-production follows a clear sequence:
- Identify the plosive visually. In your DAW's waveform view, plosives appear as jagged, asymmetric spikes that look distinctly different from normal vocal transients. They are usually wider and more irregular than a typical consonant attack.
- Isolate the region. Use your DAW's clip gain or region-based editing tools to select only the affected 10–30 ms window. Working on the full clip will damage the surrounding audio.
- Apply a steep high-pass filter selectively. A high-pass filter with a cutoff between 100 Hz and 150 Hz, applied only to the isolated region, removes the low-frequency thump without affecting the rest of the vocal. This is not a global EQ move. It is a surgical cut on a single region.
- Reduce the amplitude. Volume automation or clip gain reduction targeting a 6–12 dB reduction over the affected window brings the spike down to a manageable level. The goal is to match the surrounding vocal dynamics, not to silence the consonant entirely.
- Listen in context. Solo the vocal, then check it in the full mix. A fix that sounds clean in isolation can still feel unnatural against the rest of the arrangement.
| Stage | Tool | Target value |
|---|---|---|
| Region isolation | Clip gain / region edit | 10–30 ms window |
| Low-frequency removal | High-pass filter | 100–150 Hz cutoff |
| Amplitude reduction | Volume automation | 6–12 dB reduction |
| Final check | Full mix playback | Match surrounding dynamics |
Attempting to fix severe plosives in post-production can introduce audible artefacts, particularly if the diaphragm clipping has modulated the frequencies above the thump. When the distortion extends into the midrange, no amount of EQ or automation will restore the natural vocal tone. Re-recording the affected phrase is always preferable to spending an hour on a fix that still sounds wrong.
Choosing the right equipment to manage plosives professionally
Equipment choices shape how vulnerable your recordings are to plosive problems before a single note is sung. Getting the signal chain right reduces the workload at every stage that follows.
Microphone type matters most. Omnidirectional microphones are the most resilient option for plosive-prone vocalists. Because they measure absolute pressure rather than pressure gradients, they do not react to the directional air jet the same way a cardioid does. The trade-off is reduced off-axis rejection, which means room acoustics become more important. In a treated space, an omnidirectional mic can be a genuinely superior choice for intimate vocal work.
Pop filter material affects performance. The three common designs each behave differently:
- Nylon mesh filters are the most common and effective for dispersing air. They are inexpensive and work well for most vocal sessions.
- Metal mesh filters offer more durability and are easier to clean. They disperse air slightly differently from nylon, with some engineers preferring the subtle high-frequency transparency they provide.
- Foam windshields that fit directly over the capsule are the weakest option for studio plosive control. They reduce air impact but also colour the sound noticeably. Reserve these for location recording.
Gain staging protects the signal from the start. Professional vocal recording guidelines recommend setting gain so peak signals hit between -10 and -6 dBFS. Headroom at this level means a plosive spike is less likely to clip the preamp or convertor, giving you more to work with in post-production. For a deeper look at how gain decisions affect the whole signal chain, the Aubiomix guide on gain staging for producers covers the full picture.
Pro Tip: Record a short test phrase containing several 'p' and 'b' sounds before committing to a full take. Check the waveform immediately for plosive spikes. Adjust mic position, filter placement, or gain before the session proper begins.
Vocal delivery coaching rounds out the equipment approach. Encouraging vocalists to modify plosive articulation subtly, by slightly reducing the force on bilabial stops, produces cleaner recordings without affecting the emotional character of the performance. The best engineers treat this as a standard part of the pre-session setup conversation, not an afterthought.
Key takeaways
Preventing plosives at the source is always more effective than correcting them in post-production, because mechanical diaphragm clipping can persist for up to 500 ms and introduce distortions that no EQ or automation can fully repair.
| Point | Details |
|---|---|
| Prevention beats correction | Off-axis placement and a correctly positioned pop filter eliminate most plosives before they reach the capsule. |
| De-essers are the wrong tool | Plosives sit below 150 Hz; de-essers target sibilance above 3 kHz and cannot address the low-frequency thump. |
| Surgical post-production works | Apply a 100–150 Hz high-pass filter and 6–12 dB volume reduction over the affected 10–30 ms region only. |
| Gain staging provides headroom | Target vocal peaks at -10 to -6 dBFS so plosive spikes are less likely to clip the preamp or convertor. |
| Omnidirectional mics reduce risk | Omnidirectional designs are less sensitive to pressure-gradient changes, making them resilient to plosive blasts. |
What I've learned from years of fighting plosives in the studio
The uncomfortable truth about plosives is that most of the time they are entirely avoidable, and when they are not caught at the source, they cost far more time to fix than they ever should. I have spent hours on surgical edits that, in hindsight, a two-minute mic placement adjustment would have prevented entirely.
The thing producers often miss is that prevention is not just about the pop filter. It is about the whole chain: mic angle, filter position, gain staging, and vocalist coaching working together. When one of those elements is missing, the others cannot fully compensate. I have seen sessions where a beautifully positioned pop filter was completely undermined by a vocalist leaning into the mic on every chorus.
Post-production fixes do work, and the selective high-pass and volume automation approach is genuinely effective for mild to moderate plosives. But attempting to fix severe mechanical clipping in post is a lesson in diminishing returns. The distortion that spreads into the midrange after a hard diaphragm hit simply cannot be undone cleanly. Re-recording is not a failure. It is the professional choice.
My honest recommendation is to build plosive prevention into your standard session setup as a non-negotiable step, the same way you check phantom power or set your sample rate. Treat it as part of the vocal recording workflow rather than a problem to solve later. The recordings you get back will be cleaner, the mixes will sit better, and you will spend your editing time on creative decisions rather than damage control.
— Aubiomix
Get professional feedback on your vocal mixes with Aubiomix
Plosive management is one piece of a larger puzzle. Even when you have nailed the recording, the vocal still needs to sit correctly in the mix, with the right frequency balance, dynamics, and spatial treatment.

Aubiomix lets you upload your mix and receive detailed, professional feedback on exactly those elements, including how low-frequency artefacts like plosive thumps are affecting your overall sound. The sample report shows you the depth of analysis you get, covering everything from frequency balance to dynamic control. If you want a clear picture of where your vocal mix stands and what to address next, get your mix analysed with Aubiomix and see the results in minutes.
FAQ
What are plosives in audio recording?
Plosives are bursts of air pressure produced by stop consonants like 'p' and 'b' that hit a microphone diaphragm directly, causing low-frequency thumps and mechanical distortion in the recorded signal.
Why can't I just use a de-esser to fix plosives?
De-essers target sibilance frequencies above 3 kHz and have no effect on plosives, which sit below 150 Hz. You need a selective high-pass filter and volume automation applied to the affected region instead.
What is the best microphone placement to avoid plosives?
Angle the microphone 15–30 degrees off-axis from the vocalist's mouth and place a pop filter 2–4 inches from the capsule. This combination redirects the air jet away from the diaphragm without affecting vocal tone.
Can plosives always be fixed in post-production?
Mild to moderate plosives can be addressed with surgical high-pass filtering and volume automation. Severe plosives that cause mechanical diaphragm clipping lasting up to 500 ms often require re-recording the affected phrase.
Are omnidirectional microphones better for plosive-prone vocalists?
Omnidirectional microphones are less sensitive to the pressure-gradient changes that cause plosive blasts in cardioid designs, making them a practical choice for close vocal recording in treated rooms.