
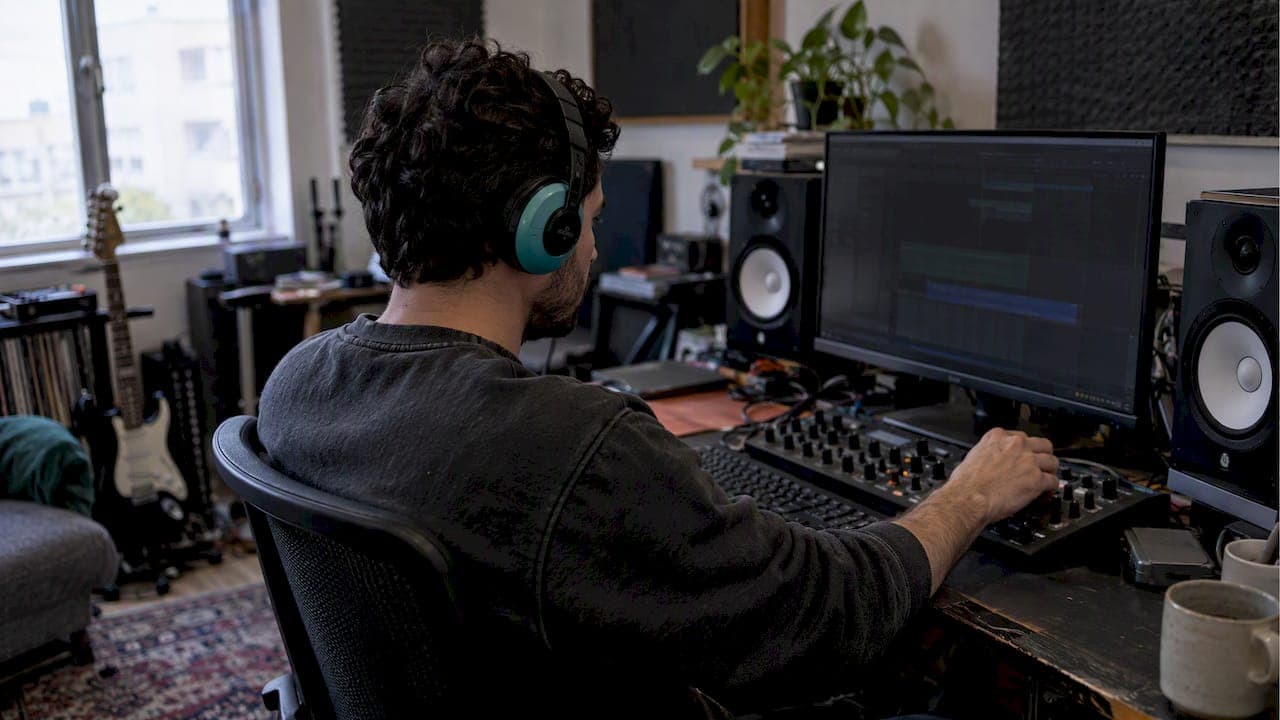
Pumping is audible, tempo-linked gain reduction: a compressor ducks a signal and lets it recover in time with the music. To get it under control, tempo-sync the release to the beat or add a high-pass filter to the sidechain detector. To create it on purpose, do the opposite: short release, deep gain reduction, and a kick as the trigger.
TL;DR:
- Set the release from the tempo by dividing 60,000 by BPM; at 120 BPM, one beat is 500 ms, with half or quarter values for quicker recovery.
- Start with 3–6 dB of gain reduction on peaks, then adjust the attack to preserve the transient and compare at matched loudness.
- When kick and bass pull down the whole mix, filter low frequencies from the detector or use multiband compression to protect cymbals and vocals.
- For transparent mix bus glue, use a ratio near 2:1 and keep gain reduction around 1–2 dB; higher ratios become audible quickly.
Table of Contents
- What is pumping compression and why does it happen?
- How do sidechain routing and compressor settings produce a pump?
- What are session-ready settings and the tempo-sync rule?
- How do you avoid unwanted pumping with filters and multiband compression?
- How can you use pumping creatively?
- What should you check when pumping is unwanted?
- How does a mix review identify pumping?
- Pump as instrument or problem: our view
- Fix the pump in your own track with a professional mix review
- FAQ
- Sources
What is pumping compression and why does it happen?
Pumping is what you hear when a compressor's gain reduction becomes rhythmic enough to notice. A trigger signal crosses the threshold, the gain drops, and then it recovers as the signal falls back under the threshold. When that recovery lands on a regular pulse, your ear reads it as breathing. Sidechain-induced pumping is exactly this: rhythmic ducking and recovery of one signal, caused by another trigger source, usually a kick drum.
It started life as a technical tool and became a stylistic staple. The same technique has been in use since the 1930s, originally for de-essing, and now sits at the heart of French house and EDM. So whether pumping is a problem depends entirely on intent:
- Intentional pump: a pad or bass ducking under the kick to create movement and space, as in French house and most modern EDM.
- Unintended bus pump: a mix-bus or drum-bus compressor reacting to loud kicks and bass, dragging down cymbals, vocals and everything else with it.
- Utility ducking: subtle gain reduction, a dB or two, that clears room for a kick or vocal without anyone noticing.
Why do we hear it so clearly? Gain modulation draws attention because it changes the level of sustained material on a regular schedule, and our ears are very good at spotting repeated patterns. Low-frequency energy makes it worse. A kick and bass hold most of the energy in a typical dance mix, so they push the detector hardest, and the whole mix moves with them. Transients matter too: if the attack lets the front edge of a drum through and then clamps down, the contrast between the hit and the dip makes the pump more obvious.
How do sidechain routing and compressor settings produce a pump?
Think of the compressor as two circuits: a detector that decides when to act, and a gain stage that does the acting. Normally the detector listens to the signal it is compressing. With sidechaining, you point the detector at something else. Here is the usual sequence for building a pump:
- Route the trigger. Send the kick to the sidechain input of a compressor on the pad, bass, synth bus or whole mix. Ableton's sidechain guide describes the standard steps: enable sidechain, choose the triggering track, then choose a pre-FX or post-FX source. If your kick is not on its own track, use a dummy or aux track carrying a copy of it.
- Set the threshold and ratio for depth. A lower threshold and higher ratio mean deeper ducking. Start with enough gain reduction that you can hear the dip, then back off if you only want a subtle effect.
- Set the attack for transient handling. Attack settings shape the amplitude envelope: a fast attack under 10 ms reduces punch, while 10–30 ms lets transients pass. On a ducked pad, a fast attack gives a clean, immediate dip.
- Set the release for rhythm. Release is the main control for the pump itself. It decides how fast the gain returns to unity, and therefore how the dip sits against the beat. Release time governs recovery: longer settings smooth things out, shorter ones add apparent loudness but risk pumping and distortion if mis-set.
- Choose the detector behaviour. Peak detection reacts to individual hits, while RMS follows average level and gives a softer response. Whether you tap the trigger before or after its effects also changes how the compressor reacts, so audition both.
The interaction matters more than any single knob. A fast attack with a short release gives a hard, clicky duck. A slower attack with a beat-length release gives a rounded swell. Make one change at a time and listen to how the shape moves.
What are session-ready settings and the tempo-sync rule?
The most useful number in this article is a one-line sum. One beat in milliseconds equals 60,000 ÷ BPM, so you can set a release that returns the gain to unity exactly in time with the track. Use half or quarter of that value for subdivisions, or double it for a slow, phrase-length recovery.
| Tempo | One beat | Half a beat | Quarter of a beat |
|---|---|---|---|
| 120 BPM | 500 ms | calculate from the beat length | calculate from the beat length |
Rounded to the nearest millisecond. For the starting points below, the figures are common practice rather than hard rules, so treat them as places to begin and adjust by ear:
Here is the workflow we follow when dialling in a pump:
- Play the loudest section and lower the threshold until the gain reduction meter shows roughly 3–6 dB on peaks. The Producer's Bible uses the same method, starting with an attack near 10 ms and a release near 100 ms as reference points.
- Set the attack so the transient you want to keep passes through.
- Calculate the release from the tempo and type it in, then nudge it up or down until the recovery feels like it belongs to the groove.
- Check at matched loudness, because extra gain reduction often sounds like "better" simply because it is louder.
Auto-release can help on a mix bus. It tends to lengthen the release for sustained content and shorten it for transients, which is why it often sounds transparent. For a deliberate rhythmic pump, though, manual tempo-synced release gives you control that auto cannot.
Pro Tip: If the pump feels mechanical, your release is probably out of step with the tempo. Recalculate it from the BPM, then lengthen it in small steps until the movement shifts from every beat to the phrase.
How do you avoid unwanted pumping with filters and multiband compression?
Most unwanted pumping comes from the detector hearing too much low end. A kick and bass hit the threshold hard, so the compressor clamps down on everything, including hi-hats and vocals that never needed it. The fix is to change what the detector listens to, not just how hard it works.
- High-pass the sidechain detector. Filtering low frequencies out of the detector means the compressor triggers on mid and high content instead of kick and bass energy. That preserves punch and reduces audible pumping. Start with a high-pass filter on the detector and adjust it until the low end stops dragging the mix around.
- Go multiband or spectral. Multiband or spectral compression can isolate the low band, so a kick does not pull down cymbals and highs, which avoids cross-frequency pumping.
- Split the work into stages. Two gentle compressors in series, each doing a little, are less audible than one compressor doing everything. Let the first stage glue lightly and the second catch only what is left.
- Keep broadband compression where it earns its place. For glue, a slow, low-ratio broadband compressor on the bus is still hard to beat. A ratio of 2:1 with 1–2 dB of gain reduction is typically near-transparent, and ratios above that are considered aggressive and become audible quickly.
Mix-bus pumping happens when gain reduction is fast enough to be heard against the music, and a release shorter than a beat lets the compressor recover between hits. For a deeper dive into bus settings, we cover the practical side in our guide to bus compression.
Pro Tip: Solo the sidechain filter's listen mode if your compressor has one. Hearing exactly what the detector hears makes it obvious whether the kick is still driving the gain reduction.
How can you use pumping creatively?
Pumping is a sound in its own right, and a lot of dance music is built around it. French house made the ducked-filter groove a signature, and EDM turned it into a drop-ready energy source. Daft Punk is the usual reference point for the French house sound. If you are mixing in that world, our electronic music mixing guide covers the wider context.
Once you can control the pump, you can bend it:
- Change the trigger. Use the whole kit for a full groove, the snare alone for a backbeat bounce, or a muted dummy track playing a custom rhythm. Delayed or duplicated trigger signals shift the timing of the pump, and multiple triggers give different ducking patterns.
- Gate or delay the trigger. Delaying the sidechain trigger offsets the attack, so the dip lands just after the hit rather than on it. That leaves the transient intact and the body ducked.
- Drive it with an LFO. A tempo-synced LFO or volume shaper gives you a pump that does not depend on a real trigger at all, which is handy when the kick is not part of the arrangement.
- Use look-ahead. A look-ahead function lets the compressor start ducking just before the trigger arrives, which tightens the response on fast material.
- Rebalance after ducking. Heavy ducking lowers the average level, so add make-up gain, blend in parallel compression to restore body, or reshape transients to taste.
Heavy and extreme pumping is a valid choice, not a mistake. The same technique can also be tiny: sidechaining can be used for both extreme pumping and subtle utility ducking. For the bass and kick relationship specifically, our sidechain walkthrough for any DAW shows the routing step by step.
If you want to know how other producers approach rhythm and sampling more broadly, the Hot Mic Radio piece on sampling and interpolation is a useful read on the wider production landscape.
What should you check when pumping is unwanted?
Work through these in order and re-listen after each change:
- Check whether the pump is tempo-locked. If it follows the beat exactly, the cause is the release time or the trigger. If it wanders, look at the programme material or an auto-release setting.
- Lengthen the release. Add 50 ms at a time until the breathing moves from every beat to the phrase level. Borisfx notes that mix-bus compression should enhance groove rather than fight it, and a mechanical sound usually means the release is out of sync with the tempo.
- Add a sidechain high-pass filter. Adjust it until the low end stops driving the gain reduction, then check again.
- Reduce the depth. Lower the ratio or raise the threshold. If an 808 is the culprit, slow the release further or drop the ratio to 3:1.
- Share the work. Try serial compression so each stage takes a smaller bite.
- Fix high-frequency ducking. If the highs still dip with every kick, move to a multiband or spectral bus compressor.
How does a mix review identify pumping?
We built AubioMix to provide feedback on your mix. When you upload a track, our analysis provides detailed feedback and actionable steps for improving it. Each report combines objective measurements with practical recommendations tied to your own file, rather than generic presets. You get visual and written feedback across areas such as compression, EQ, stereo width and loudness, so you know which control to touch first, and why.

Pump as instrument or problem: our view
Pumping is an instrument in dance music and a flaw in genres that depend on transparent dynamics. Neither is wrong. What matters is that you chose it. Before you commit, listen at matched loudness, because deeper compression always sounds punchier when it is louder. Then check on a few different systems, since a pump that sounds tasteful on studio monitors can turn into a seasick lurch on earbuds or a club system.
— AubioMix
Fix the pump in your own track with a professional mix review
If you would rather hear what is happening in your session than guess, we can show you. Upload a mix to AubioMix and you get time-stamped, track-specific feedback instead of rules of thumb.
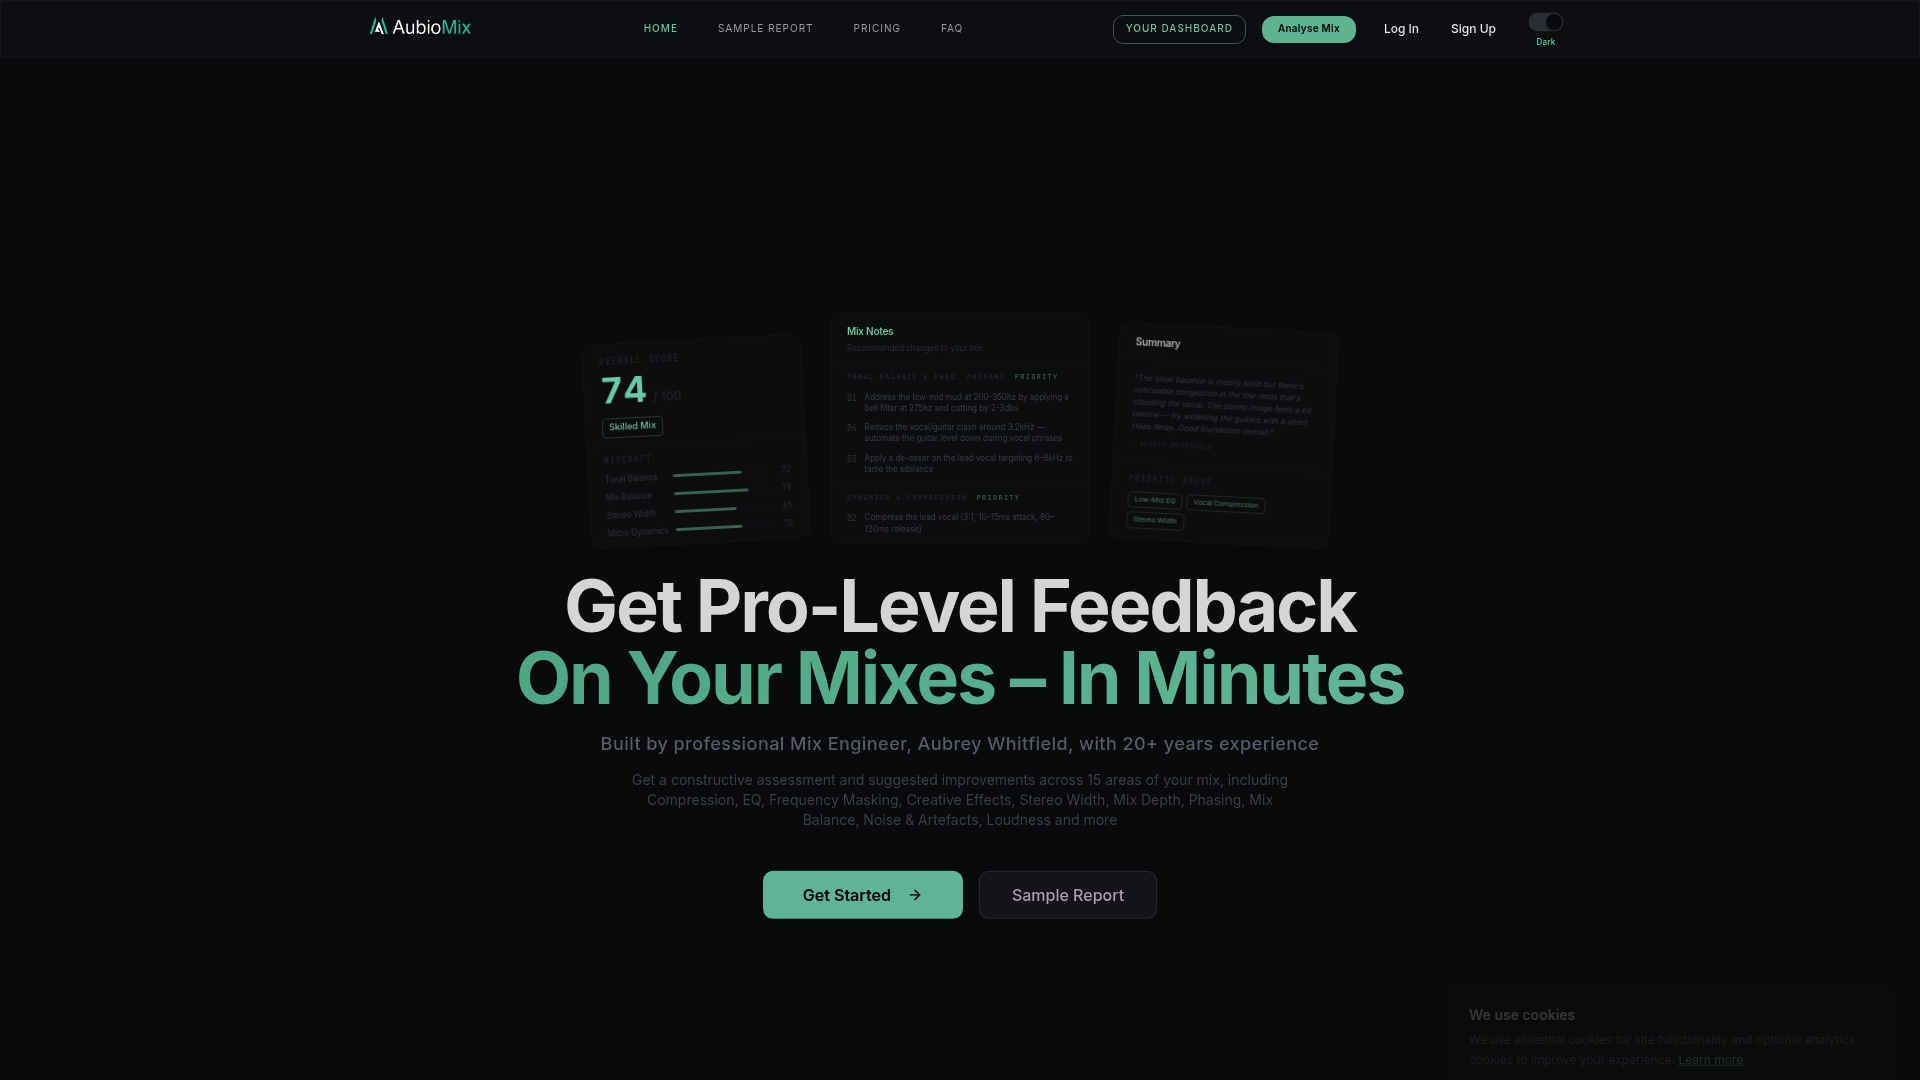
- Visual and written guidance: get detailed feedback on your mix.
- Actionable guidance: get specific steps to help improve your mix.
- One review is enough: a single 1 Mix Review costs £4.99, and the Professional plan is £19.99 per month if you mix regularly.
Upload your next mix and see exactly what to change at our pricing page.
FAQ
What is pumping in audio compression?
Pumping is the audible rise and fall in level that happens when a compressor reduces gain and then recovers in a repeating pattern. It is most obvious when the trigger is a kick drum, and it can be a deliberate effect or an unwanted artefact.
What is a good compression ratio for a mix bus?
A ratio of about 2:1 is a common starting point on the mix bus, and ratios above 2:1 are considered aggressive. Keep gain reduction light, around 1–2 dB, if you want near-transparent glue.
How do you stop a compressor from pumping?
Lengthen the release until it matches the tempo or runs to phrase level, and high-pass the sidechain detector so kick and bass stop driving the gain reduction. If the problem persists, lower the ratio or switch to multiband compression.
How do you set release time to match the tempo?
Divide 60,000 by the BPM to get one beat in milliseconds, then use that value or a fraction of it. At 120 BPM, for example, one beat is 500 ms.