
The order that keeps a mix predictable is this: individual tracks go to a group bus (drums, vocals, music), group buses go to the mix bus, and the mix bus goes to the master output. Time-based effects such as reverb and delay sit on send buses beside that path, fed post-fader. Get that skeleton right and every later decision, from compression to stereo width, gets easier to make and easier to undo.
This guide is for producers and mix engineers who want to understand the routing, not just copy a template. We cover what a bus is, when to group and when to send, the order to build it in, how insert order inside a bus changes the sound, and how to fix routing that has gone wrong.
TL;DR
- Standard path: tracks, then group buses, then the mix bus, then the master output. Avoid sending every channel straight to the output.
- Use a group bus when tracks should share one fader and shared processing. Use a send when you want a processed copy while the dry signal carries on.
- Reverb and delay normally go on post-fader sends, so the effect level falls when the source fader does. Headphone and cue mixes normally use pre-fader sends.
- Inserts process in series, so plugin order inside a track or bus changes what each plugin hears.
- Most routing bugs (silence, doubling, clipping) come down to one wrong output or input assignment. Follow the audio, not the track number.
Table of Contents
- The signal path in one line
- Group bus or send: the decision that shapes your routing
- Building the routing in the right order
- Insert order inside a track or bus
- How the routing looks in different DAWs
- Fixing routing problems
- Check what the routing did to your mix
- Our view on routing
- FAQ
- Sources
The signal path in one line
A bus is a channel that takes signals from several other channels and bundles them into one, as Native Instruments explains. A common path runs from individual channels to a subgroup, then usually the master bus, then the audio-interface output or a rendered file.
The master output, also called the mix bus or 2-bus, is the final stereo or multichannel destination before monitoring and export. If you want the full background on that last stage, our producer's guide to the mix bus goes deeper.
Sound on Sound's Paul White lays out the standard chain as inputs, channels (correction EQ, dynamics), buses or groups, then outputs. The rule of thumb is to avoid sending a channel directly to an output, and to go through a bus instead so the mix stays predictable.
One caution before we go further: DAW vocabulary is not standard. Audient points out that terms like bus, group and aux differ between DAWs, so the signal path matters more than the label. Learn the principle, then find the equivalent buttons in your own software.

Group bus or send: the decision that shapes your routing
Every routing question starts here. Does the source's main output move, or does it stay put?
A group bus (subgroup) replaces the route. The tracks no longer go straight to the master. They go to the bus, and the bus goes on. iZotope's distinction is that a subgroup output replaces the track's destination, while an aux send sends a copy and the original carries on along its existing path.
A send copies the signal. Use an aux send when you want a copy of a source processed while its main output remains free for another destination.
In practice:
- Group bus: drums, backing vocals, synth layers, anything you want to move with one fader and process together, for example with bus compression or a touch of saturation.
- Send: shared reverb, delay or parallel compression. Splice describes the idea as preserving the dry signal while blending a separate processed path.
Shared returns are efficient and musical. Several sources can feed one reverb or delay, each source's send level sets its share, and the return fader sets the combined wet level. Because everything sits in the same space, the mix holds together.
The same idea of gathering related feeds into one controlled path turns up well outside music. A multi-camera livestream setup is a good example, with several sources consolidated into a single output you can manage.
Building the routing in the right order
Build from the destination backwards, or at least check the destination first. Here is the order I use.
1. Start at the master
The master bus is commonly the default destination for new DAW channels and is typically where the final stereo render and monitoring output come from. Leave it clean at first: no limiter, no heavy processing while you are still balancing. If you want processing here, keep it light and add it once the balance is stable. Our piece on mixing and mastering in one session covers how to do that without fighting yourself.
2. Create the group buses
The usual set is drums, bass, music or instruments, vocals, and effects. Sound on Sound's Inside Track on Central Cee's "Straight Back To It" shows a working template with aux bus tracks for vocals, all music, kick, drums and effects, with buses going into buses going into the master bus. The mixer there works top-down, from the main buses to the lower-level buses and then the individual tracks.
Nested routing is simply tracks to a subgroup, subgroup to a broader bus, and that bus to the master, giving you separate levels of control. A kick and snare can go to a drum bus, which goes to a rhythm bus, which goes to the master.
3. Route every track to its group
Set each channel's output to its group bus. Do this for everything, including the small stuff, so nothing bypasses the structure and lands on the master by accident. Top-down mixing means every channel routes through its relevant group bus first (drums, vocals, instruments) and all groups flow into a mix bus just before the master.
4. Add the send buses for time-based effects
Create your reverb and delay returns now, but hold off turning them up. The same top-down approach waits to add reverb and delay until balance and dynamics are stabilised. Keeping returns few helps too: one suggested starting point is two to four returns, such as a short room (50 to 300 ms) for drums, a medium plate for vocals and snare, and a delay for vocal throws. If your reverb is clouding the low mids, our four-step reverb mud triage is the place to go next.
5. Set send levels and the pre/post-fader choice
Post-fader sends follow the source fader and are normally preferred for reverb and delay, so the effect level tracks the dry level. Pre-fader sends are normally preferred for headphone mixes. Beat Kitchen adds that pre-fader also suits effects that must persist independently of source fader moves.
6. Gain-stage and test
Solo each group, then play the whole mix. Check that moving a group fader moves only what you expect. If you want a repeatable workflow around this, our step mixes article shows how to break a mix into passes.
Insert order inside a track or bus
Routing is not only about where the signal goes. It is also about what happens along the way.
Inserts process the signal in sequence. Changing insert order changes what each effect receives: put a delay before a compressor and the delayed signal is what gets compressed.
A good all-purpose order, per Paul White in Sound on Sound, is gating first, then compression, EQ, and finally delay-based effects such as reverb. Gate before reverb so the reverb tails mask gate discontinuities.
For vocals, one published chain runs tuning, gate, EQ, compression, saturation, de-esser, modulation, with reverb and delay on send buses. The same source high-passes the reverb return below 200 to 300 Hz and routes all vocal tracks to shared reverb and delay buses for cohesion. Treat these as starting points, not laws: your source and your genre decide.
How the routing looks in different DAWs
The principle is the same everywhere. The buttons are not. iZotope notes that some DAWs expose buses independently, some use bus channels, and others allow direct channel-to-channel routing.
| DAW | Group (submix) | Shared effect (send) |
|---|---|---|
| Pro Tools | Set track output to a bus, then set the destination Aux Input to the same bus (Avid guide) | Choose an available bus in the Send slot, with the Aux Input set to that bus |
| Ableton Live | Choose the group bus in each track's Audio To selector | Use a Return Track with the source send controls (Splice walkthrough) |
| FL Studio | Route the source to the bus only | Enable the connection to the destination insert and adjust the send knob |
| Ardour | Outputs connect to the master automatically | Bus inputs start disconnected and must be set up (Ardour manual) |
In FL Studio specifically, the habit worth building is to follow the audio, not the track number: source, insert track, bus or send, then master.
Fixing routing problems
Most routing faults are one of four things. Work through them in this order.

Silence. A bus with no input gets no signal. In Ardour, bus inputs are left disconnected and must be configured, while outputs go to the master automatically. In other DAWs check that the source output and bus input name the same destination.
Doubled or louder-than-expected signal. In FL Studio, a send can route a source to both a bus and the master. Choosing "Route to this track only" removes the direct master route. The general cause is a track feeding the master directly as well as through its group. Mute the group and see whether the track is still audible: if it is, there is a second path.
Clipping. Several tracks summing into one bus add up. Pull the track faders down rather than the bus, or trim the bus input, and keep your master clean. If your master peaks only after a bus, look at that bus first.
Hollow or phasey sound after routing. Parallel paths that are not time-aligned can cancel. Check for latency-inducing plugins on one path only, and check that the dry and wet routes are intentional.
The pattern in all four is the same: draw the path on paper if you must, and trace each signal from source to speakers.
Check what the routing did to your mix
Routing choices leave fingerprints in the finished file. A drum bus compressed too hard shows up as flat transients. A reverb return that is not high-passed adds low-mid mud. Too many sources hitting one bus can mean frequency masking. Those are the things that are hard to hear after hours in the same session.
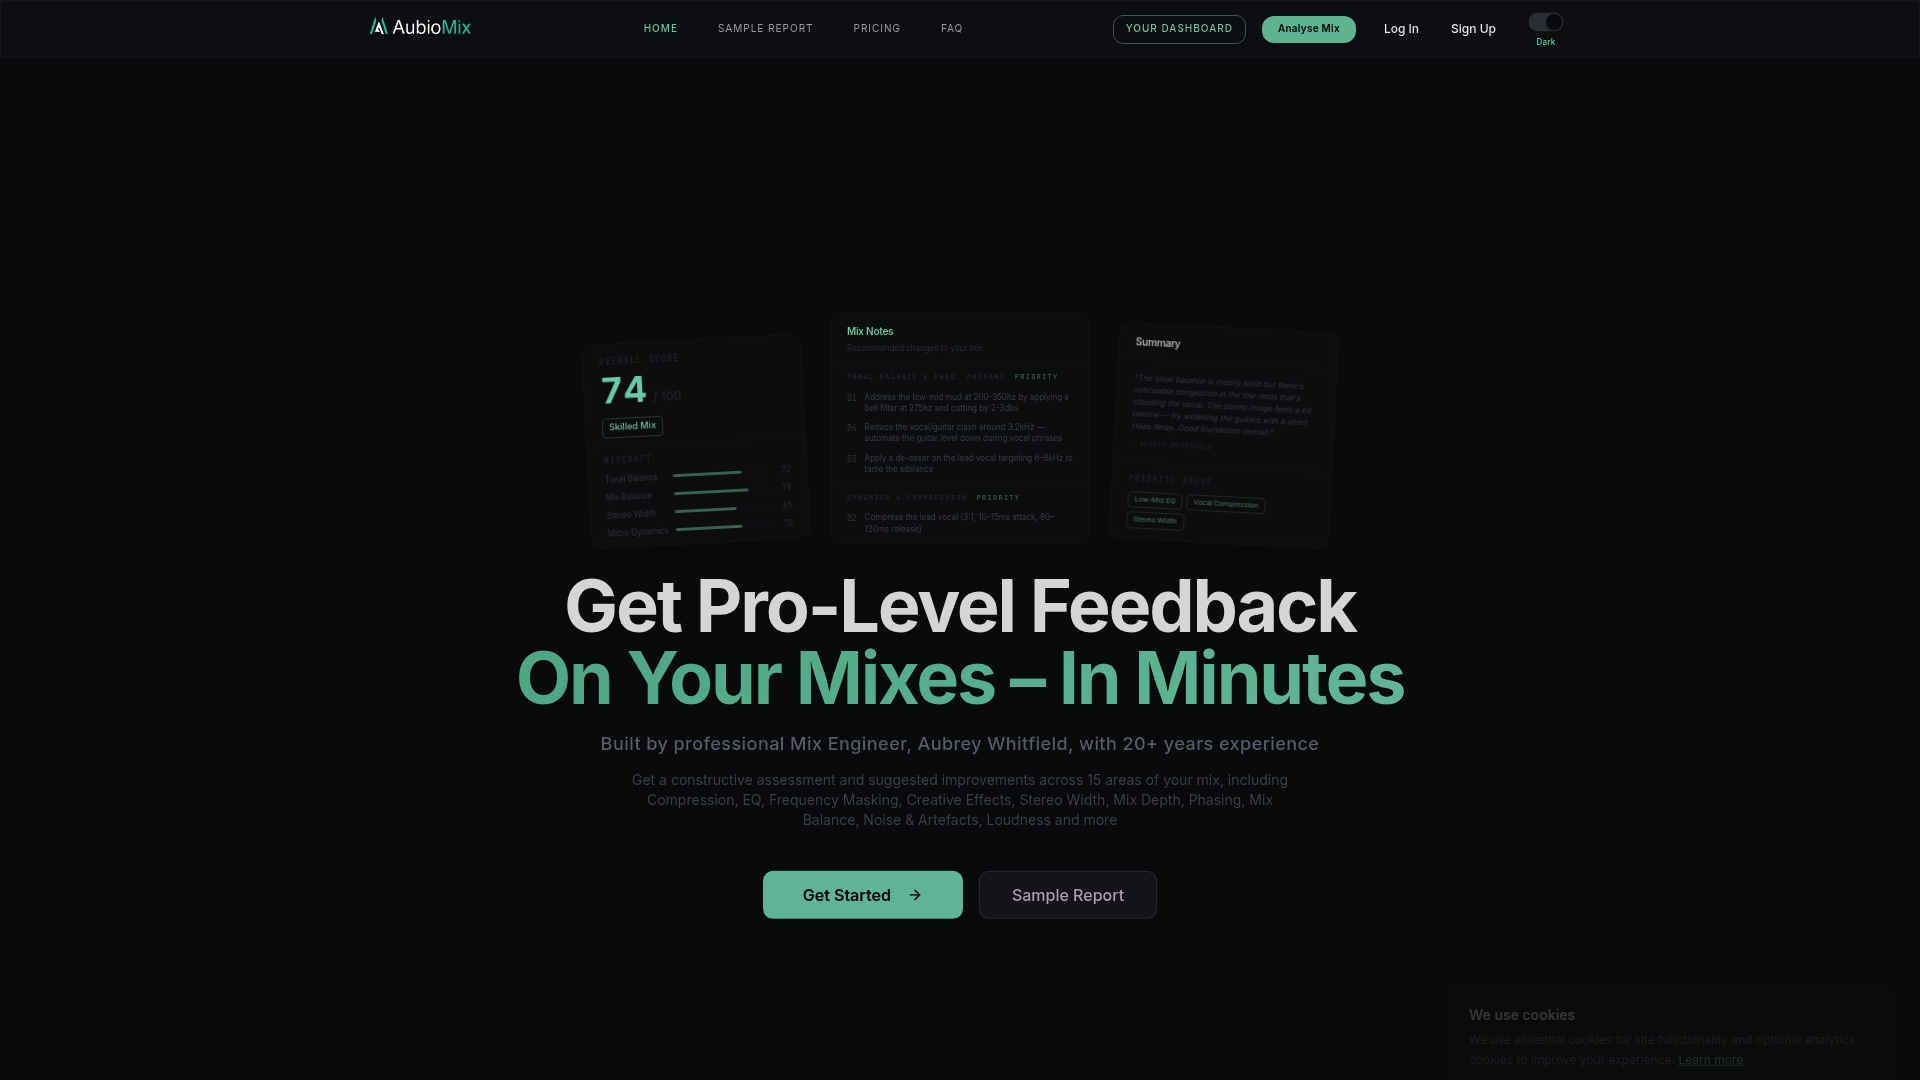
That is where we come in. You export a bounce, upload it to AubioMix, and get written and visual feedback with specific, actionable steps across 15+ areas of mixing and mastering, including compression, EQ, frequency masking, effects, stereo width, phase and loudness. Each report can be downloaded as a PDF, and you can track progress between versions.
A single Mix Review is £4.99, and a Reference Pass is £2.99. If you mix regularly, the Professional plan is £19.99 per month and Professional + is £34.99 per month. See the pricing page for what each includes.
Genre matters too. If you work in dance music, our benchmark for techno and deep house benchmark pages show the standards we measure against, and our electronic mixing best practices article goes through the habits behind them.
Our view on routing
Routing is the part of mixing nobody hears directly and everybody hears indirectly. When a session is organised into clear buses, you make fewer, better decisions: you balance groups before individual tracks, you apply processing where it serves the whole, and you can change your mind without rebuilding the mix.
Our approach to analysis follows the same logic. AubioMix combines audio analysis with the practical experience of our founder, a multi-award winning mix engineer with 20+ years in the craft. Every report gives both subjective guidance and objective measurement, because a number tells you what is happening and an experienced ear tells you what to do about it.
So we would say: build a simple, consistent routing template, trust your ears while you work, and then upload your bounce to see what your decisions did to compression, masking, width and loudness. Our evaluation framework is regularly updated to reflect current genre standards, so the feedback you get is meant to be useful for the music you are actually making.
AubioMix
FAQ
Should I send everything to the master or use group buses?
Use group buses for anything that should be balanced and processed together, such as drums, vocals or synths. Routing everything straight to an output makes the mix harder to control. The usual rule is to go through a bus first, which keeps the mix predictable.
What is the difference between a bus and an aux send?
A bus (subgroup) takes over the main output of the tracks that feed it, so they are heard through the bus. An aux send sends a copy of the signal, and the original keeps playing along its normal route. Use buses for control, sends for shared effects.
Should reverb sends be pre-fader or post-fader?
Post-fader is the normal choice for reverb and delay, because the effect level follows the source fader when you ride it. Pre-fader suits headphone cue mixes, or effects that should stay put when the source fader moves.
Do I need a bus for every instrument?
No. Group only what benefits from shared control or processing. A small number of well-chosen buses and two to four effect returns is a sound starting point, and you can add more when the song needs it.
Why does my track have no sound after routing it to a bus?
The bus input or output is probably not connected, or the track and bus name different destinations. Check the track output, the bus input and the bus output to the master, then follow the signal from source to speakers.
Sources
- Audio routing: how to use buses, auxes, sends, and returns (Native Instruments)
- The beginner's guide to buses, groups and auxiliaries (Audient)
- Routing and buses on a digital console (Sound on Sound / Digital Mixing)
- Mix Bus 101 (iZotope)
- Signal Flow and Mixer Routing (Beat Kitchen)
- Splice: How to Bus Tracks Like a Pro
- Inside Track: Central Cee 'Straight Back To It' (Sound on Sound)
- Top-Down Mixing in FL Studio (Song Mix Master)
- How to Use Sends and Returns in Mixing (Adrian Milea)
- Understanding Audio Signal Flow in a DAW (iZotope)
- Audio Routing: How to Send Signals to the Right Place
- Using Plug-ins (Sound on Sound)
- How to Use Vocal Effects (MusicProductionWiki)
- How to Create Busses in Pro Tools (Avid)
- The Ardour Manual: Signal Routing
- How to Use the FL Studio Mixer
- Multi-camera livestream: setup, gear and switching