
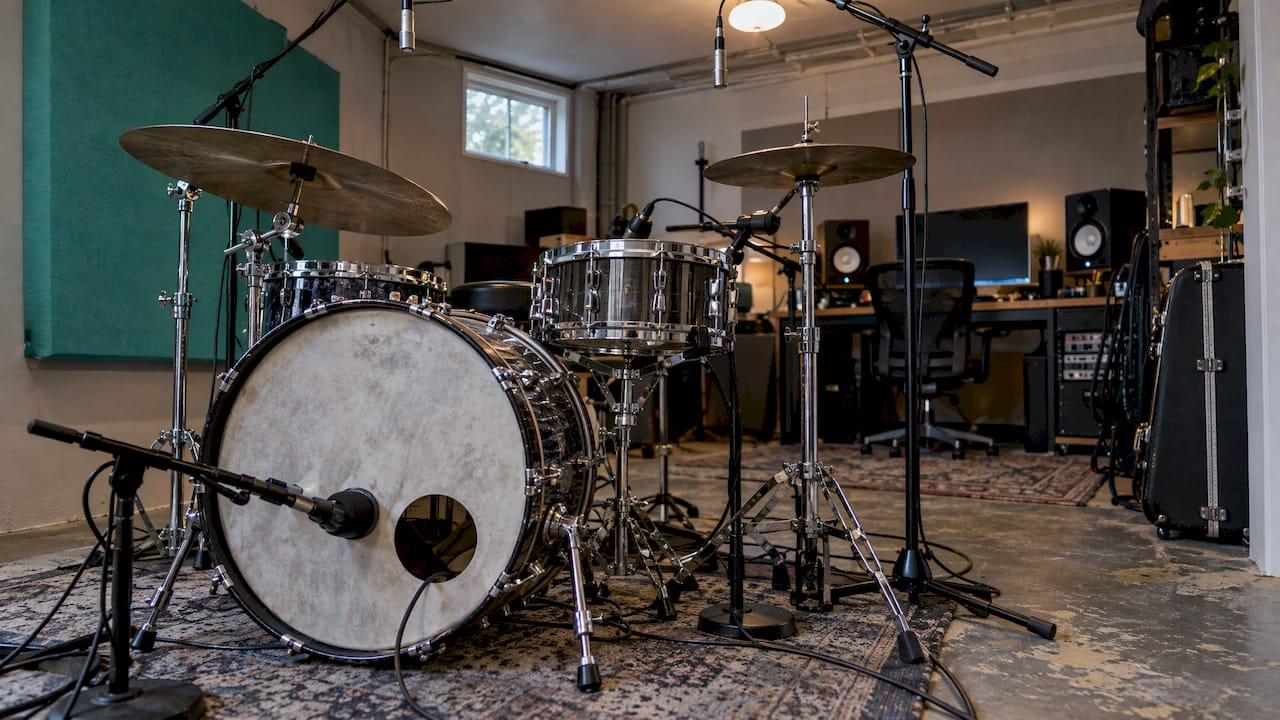
Drum mix analysis means listening to your kit in a fixed order (phase, balance, tone, dynamics, space, then context in the full song) and writing down what is wrong before you touch a plugin. Do it in that order and most drum problems turn out to have one or two root causes. Do it by ear alone, and you can spend an evening EQing a snare that was really being squashed by a bus compressor.
This guide gives you that routine, with the numbers and starting points working engineers use. If you want a second set of ears on the whole song, we built AubioMix for exactly that: upload your mix and get written and visual feedback with specific next steps.
TL;DR
- Analyse in order: organise and check phase first, then balance, EQ, compression, reverb, and finally the drums inside the full song.
- Mute everything, bring the drums back first, and compare each channel against the full drum mix to find what is hiding or harsh.
- Phase and polarity problems make every later move less effective, so rule them out before processing.
- Judge the finished drums against a reference track and against the rest of your mix, never in solo alone.
- An analysis report from AubioMix turns this routine into a written list of fixes across 15+ areas of mixing and mastering.
Table of Contents
- Start with the structure: groups, routing and panning
- Step 1: Check phase and polarity first
- Step 2: Audit the balance with a mute-and-rebuild pass
- Step 3: Analyse tone with EQ in mind
- Step 4: Analyse dynamics and compression
- Step 5: Analyse reverb and space
- Step 6: Check the drums in the full song
- A worked example
- Where a written analysis saves time
- Our view on drum mix analysis
- FAQ
- Sources
Start with the structure: groups, routing and panning
Before you judge any sound, make the session easy to analyse. Mix engineer Neil Rogers routes individual drum tracks into three stereo subgroups, close mics, overheads and rooms/effects, each feeding a master drum bus. His reason is practical: when something sounds wrong, muting or soloing a group tells you where the problem lives, whether that is harsh cymbals or a suspected phase issue. He shapes the sound at the drum-bus level first and only then drills into individual tracks.
Avid's Pro Tools guide suggests a similar setup: one drum bus built from a Routing Folder Track for single-fader control, all faders zeroed before you start, kick and snare set first as the foundation, then the supporting elements.
That gives you three diagnostic tools for free: a close group, an overhead group and a room group you can solo or mute in seconds.
Step 1: Check phase and polarity first
Phase is the first thing to rule out, because it changes how everything else behaves. When two mics hear the same drum at slightly different times, they partly cancel each other, and the result is a thin kick, a hollow snare or a tone that changes from hit to hit.
Recording Magazine's drum-mixing guide gives a simple routine: solo the kick or snare bus, toggle polarity on each mic until the sound is punchiest, then zoom into the waveforms and align the outside kick mic with the inside mic to beef up the low end.

The effect on the whole mix can be large. In a Sound on Sound Mix Rescue, Mike Senior found that basic EQ, two transient designers and a single compressor improved a drum mix dramatically only after the phase and polarity groundwork was done. Parallel compression, tempo-synced delay and hall reverb added little without that foundation.
Phase problems in programmed and layered drums
Phase is not only a live-kit issue. In another Mix Rescue, Senior found a sampled loop and a programmed beat that were out of alignment hit to hit, causing cancellation that made the combined kick tonality unpredictable. A 50 Hz high-pass on the loop tightened it and left room for the bass.
If you layer a recorded loop under programmed 808s or kicks, the same applies. For genre context on kick tuning and tempo, see this rundown of trap and boom bap kick tuning.
What to write down: which mics or layers lose low end when summed, and which polarity or alignment fix restores it.
Step 2: Audit the balance with a mute-and-rebuild pass
The cleanest way to analyse a drum mix is to strip it back. In the Mix Rescue "Jokers, Jacks & Kings", Senior muted everything and reintroduced tracks one at a time, bringing the drums back first and comparing each channel with the full drum mix using Solo and Listen buttons. That revealed three separate problems: an overhead compressor suppressing the snare, a harsh area around 4 kHz and a low-mid cut that was too wide.
Try the same routine on your own session:
- Mute all drum tracks except the kick and snare. Do they hold the groove on their own?
- Add hats and toms, then overheads, then rooms. After each group, ask what changed. Did the snare get smaller? Did the kick lose weight?
- Solo each channel against the full drum mix. A channel that adds nothing is a candidate for a cut. A channel that is essential is probably too quiet.
- Solo your wet-only effect returns. Senior recommends this to expose reverb problems that are hard to hear against the dry signal.
Panning and image
Decide whether you are mixing from the drummer's or the audience's perspective and stay consistent. Sage Audio's fundamentals guide describes kick and snare in the centre, hats slightly left, rack toms left and right, floor tom hard right and the overheads spread, with punchier styles leaning on close mics and roomier styles leaning on overheads and rooms.
If you are unsure how much each element should carry in the overall picture, our guide to mix balance is a good companion to this step.
What to write down: the element that dominates, the element that disappears, and anything that changes the snare's size when it is added.
Step 3: Analyse tone with EQ in mind
Tone problems usually fall into two buckets: too much mud and not enough definition. Both are about masking, where one sound covers another in the same frequency range.
For the kick, Kevin Becka puts the muddiest region between 200 and 500 Hz. He suggests notching it with a medium Q to clarify the 40 to 60 Hz low end and the 1.5 to 2.5 kHz beater attack, which also makes room for the bass guitar. If your kick feels boomy in particular, our boomy kick drum fix shows how to tame it and keep the punch, and the guide to the role of the kick drum covers how it sits against the bass.
Overheads are the other common culprit. In the "Jokers, Jacks & Kings" session, Senior fixed a 4 kHz overhead harshness with a 5 dB medium-narrow dip (Q 1.4) during choruses. He also moved the overhead high-pass from 100 Hz to 170 Hz and narrowed a low-mid cut at 270 Hz to remove flabbiness and snare woolliness.
If harshness and low-mid build-up on the overheads is your issue, this article on balancing close-miked elements shows another way of thinking about level relationships.
A quick tone checklist
| Symptom | Likely cause | First thing to check |
|---|---|---|
| Kick has no punch | Mud in the low mids, or phase cancellation | Polarity between mics, then a cut around 200 to 500 Hz |
| Snare sounds dull or boxy | Mid resonance, or an overhead compressor pressing it down | Overhead bus processing, then narrow cuts |
| Cymbals feel harsh | Build-up around 3 to 5 kHz in the overheads | A narrow dip, applied only where it hurts |
| Whole kit feels flabby | Low-mid overlap between kit, bass and guitars | High-pass the overheads and rooms |
What to write down: the frequency range for each symptom and which element you believe is masking which.
Step 4: Analyse dynamics and compression
Compression is where drums gain or lose their attack, and it is the area where overprocessing is easiest to miss. Mike Senior suggests a starting point of about 1 ms attack, 100 ms release and a 3:1 ratio, lowering the threshold until gain reduction occurs on all but the softest hits and then adjusting the ratio by ear. A longer attack lets transients through while the compressor reduces the sustain, and makeup gain can then restore that sustain.
He also warns that very fast attack times can put kinks in the start of a drum waveform and change its attack character, so listen specifically to the attack portion while you set it.
For the drum bus, glue compression typically means a gentle ratio, a slower attack that lets kick and snare transients through, and only a few dB of gain reduction. If your bus feels lifeless, our guides to a punchy drum bus and bus compression walk through settings and how to judge them.
The analysis question is not "is there compression?" but "is the compression helping the groove?" Match levels with the compressor bypassed and engaged, so loudness does not fool you.

Gates and transient tools
Gates help when close mics pick up a lot of other drums. Set the threshold so the gate opens on real hits and closes in between, keep the attack fast so you do not clip the front of the hit, and use hold and release so decays do not chop off unnaturally. Gates only work well when the hits are clearly louder than the bleed. Quiet ghost notes are the first casualty of a threshold set too high.
Transient shapers are the other clean-up tool. They are useful for bringing back snap or taming ring, but they are easy to overuse: drums can sound impressive in solo and strange in context. Our guide to transient shaping for drums gives measured kick and snare ranges to stay within.
What to write down: where the transient is lost, where sustain is pumping, and whether gating or shaping introduced new artefacts.
Step 5: Analyse reverb and space
Reverb should make the kit sound like one instrument in one place. Using send/return reverb so all drum elements share one space is a common approach, with the return high-passed to keep the tail out of the low end and the dry signal fully present.
In the same Mix Rescue, Senior replaced warm plate and hall sends with a brighter, high-passed stone-room convolution reverb that bonded the kit without cluttering the low mids.
To analyse it: solo the reverb return and listen only to the wet signal. Is the tail muddy? Does it linger past the next snare hit? Is there low end in it that does not need to be?
What to write down: reverb length versus tempo, and how much low end sits in the return.
Step 6: Check the drums in the full song
Solo is for diagnosis, not for decisions. Avid recommends final level adjustments in the context of the full mix rather than in solo. Bring in the vocal, bass and the most prominent harmonic elements, then re-check kick and snare. Often the drums need to be a little louder or a little smaller than you first thought.
A reference track helps here. Kevin Becka suggests using one you admire to answer balance questions: how loud the snare is overall, how big the kick is relative to the bass, and how the kit fits against the rest of the band. For how to do that fairly, see our guides on reference track analysis and the benefits of reference tracks. For measured benchmarks on how acoustic-leaning mixes sit, our acoustic loudness and mix benchmarks are a useful yardstick, and how famous mixes score shows what finished records look like under analysis.
A worked example
Say your rock mix has a weak snare. A tempting move is boosting 200 Hz and adding a transient shaper. Run the routine instead:
- Phase: flip the snare bottom mic. If the snare gets fuller, you have found the main issue.
- Balance: mute the overheads. If the snare jumps forward, the overheads are too loud or the cymbals are masking it.
- Tone: check the overhead high-pass and any low-mid cut. Woolly overheads smear the snare.
- Dynamics: bypass the overhead compressor. If the snare opens up, you have found the same culprit as in the Mix Rescue above.
- Context: check against a reference in the same genre.
Five checks, probably one or two real fixes, and no random EQ boosts.
Where a written analysis saves time
The routine above works, but you are still judging your own mix with the ears and monitoring that made it. That is where an outside analysis helps. AubioMix accepts an uploaded audio file and returns visual and written reports with specific, actionable steps across 15+ areas of mixing and mastering, including compression, EQ, frequency masking, stereo width, phase and loudness. Reports can be downloaded as PDFs, and progress tracking lets you see whether your drum mixes improve from one song to the next.
A single Mix Review costs £4.99. If you mix regularly, the Professional plan is £19.99 per month and Professional + is £34.99 per month, both with a fixed number of mix reviews. You can see everything on the pricing page.

Upload a rough mix and compare the report against your own notes from this checklist. The overlap shows what you already hear, and the difference shows what you have been missing.
Our view on drum mix analysis
We think the biggest mistake in drum mixing is treating every problem as an EQ problem. Phase, balance and bus processing sit upstream of EQ, and when they are wrong, no amount of carving fixes the result.
That is why we built our reports to give you both subjective guidance and objective measurement. Measurement tells you what is happening: how much low-mid energy, how wide the image, how much dynamic movement. Guidance tells you what to do about it, in the context of the genre you are working in.
Our evaluation framework is regularly updated to reflect current genre standards, and it is shaped by the experience of our founder, a multi-award winning mix engineer with more than 20 years in the craft. The aim is simple: feedback that is practical enough to act on in your next session.
AubioMix
FAQ
What is the first thing to check in a drum mix?
Phase and polarity. If two mics on the same drum partly cancel, every later EQ or compression decision will be fighting that problem. Solo the kick or snare bus, flip polarity on each mic, and keep the setting that sounds punchiest.
How do I know if my drums are too loud or too quiet?
Check them with the rest of the song playing, not in solo. Compare the snare level and the kick-to-bass relationship with a reference track in the same genre. If the drums only sound right in solo, they need rebalancing in context.
Should I analyse drums in solo?
Use solo to diagnose and context to decide. Solo helps you hear polarity, harshness and reverb tails, but final levels belong in the full mix, where masking from vocals, bass and guitars changes what you hear.
Can I analyse a drum mix if I only have a stereo bounce?
Yes. You cannot flip polarity on individual mics, but you can still judge balance, low-mid build-up, harshness, stereo width and dynamics. Uploading the stereo mix to an analysis app gives you a written list of what to address.
Sources
- Controlling Your Drum Mix, Sound on Sound
- How to Mix Drums: A Step-by-Step Guide, Avid
- Creating Convincing Drum Mixes, Recording Magazine
- Mix Rescue: Phase Relationships, Sound on Sound
- Mix Rescue: Richard Campbell, Sound on Sound
- Mix Rescue: Jokers, Jacks & Kings, Sound on Sound
- Fundamentals of Mixing Drums, Sage Audio
- The Inside Track: Mixing Drums, Mix Online
- Compression: Fashion The Drum Sound You Want, Sound on Sound
- How to Mix Drums, MusicProductionWiki